How to Clean a Pellet Grill
Nothing ruins a perfect cook like a grimy pellet grill. Over time, grease, ash, and carbon buildup can sabotage your flavor, cause temperature swings, and even create fire hazards. Knowing how to clean a pellet grill properly isn’t just about appearance. It’s essential for performance, safety, and longevity. Whether you own a Traeger, Pit Boss, Camp Chef, or another brand, this guide walks you through every step, tool, and tip you need to keep your grill running like new.
By the end, you’ll have a clear, repeatable deep-cleaning routine that takes less than an hour and ensures consistent heat, better smoke, and no off-flavors. Let’s get your grill back to peak condition.
Clean Every 18 to 20 Hours of Cooking Time
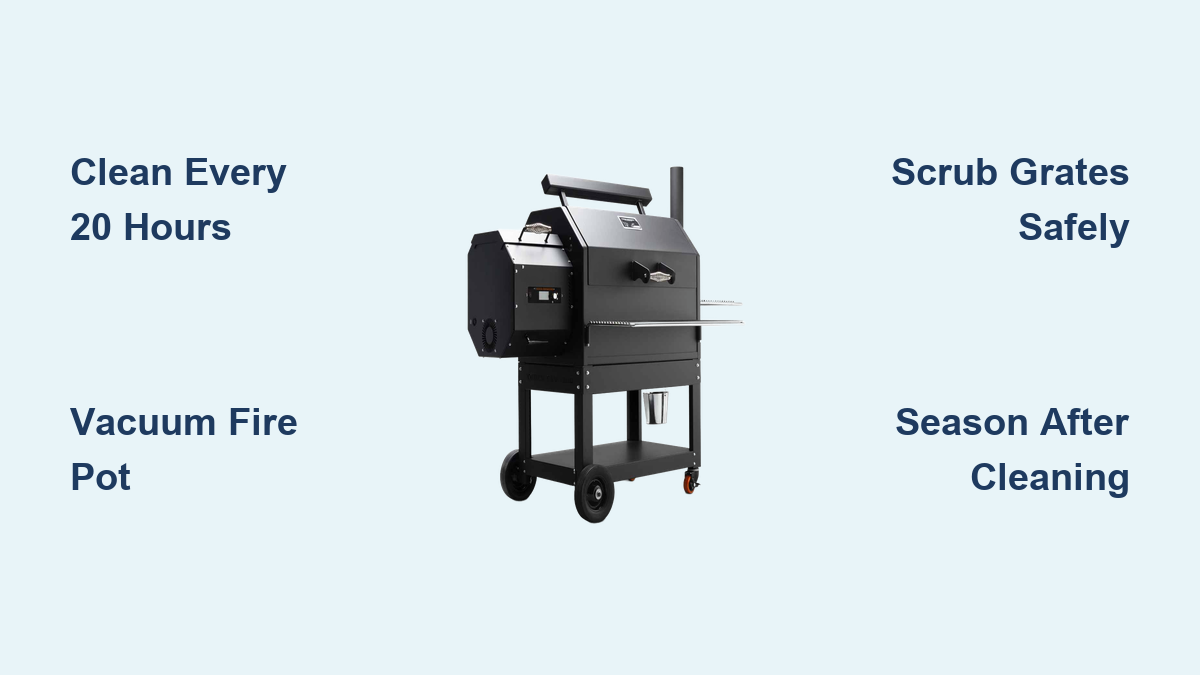
Most manufacturers recommend a full deep clean after 18 to 20 hours of cooking. This interval prevents excessive ash and grease accumulation that can interfere with ignition and temperature control. Some models, like WiFIRE-enabled Traegers, alert you automatically after 35 cooks, but don’t rely solely on notifications. Monitor your grill’s performance closely.
If you cook frequently, plan to deep clean every few weeks. For occasional users, cleaning after each bag of pellets is a reliable rule of thumb. Delaying cleaning can lead to auger jams, poor airflow, and increased fire risk.
Signs Your Pellet Grill Needs Immediate Cleaning
Don’t wait for a schedule if your grill shows warning signs:
– Won’t ignite due to ash blocking the fire pot
– Temperature fluctuations or failure to reach set temps
– Excessive smoke after startup (burning off grease)
– Grease overflow or visible gunk on drip rails
– Oily foil liners or clogged grease chutes
These are red flags that immediate cleaning is required, regardless of usage time.
Pre-Cleaning Safety Steps
Always start with safety. Cleaning a hot grill risks burns and fire. Follow this prep sequence:
- Remove all pellets from the hopper. Moisture from cleaning can cause remaining pellets to swell and jam the auger.
- Burn off residual pellets: Set the grill to 400°F (204°C) and run for 15 minutes to clear the auger and fire pot.
- Shut down and cool completely. Never clean any internal component while warm.
Only proceed once the grill is fully cold. This ensures safe handling and effective debris removal.
Required Tools and Approved Cleaners
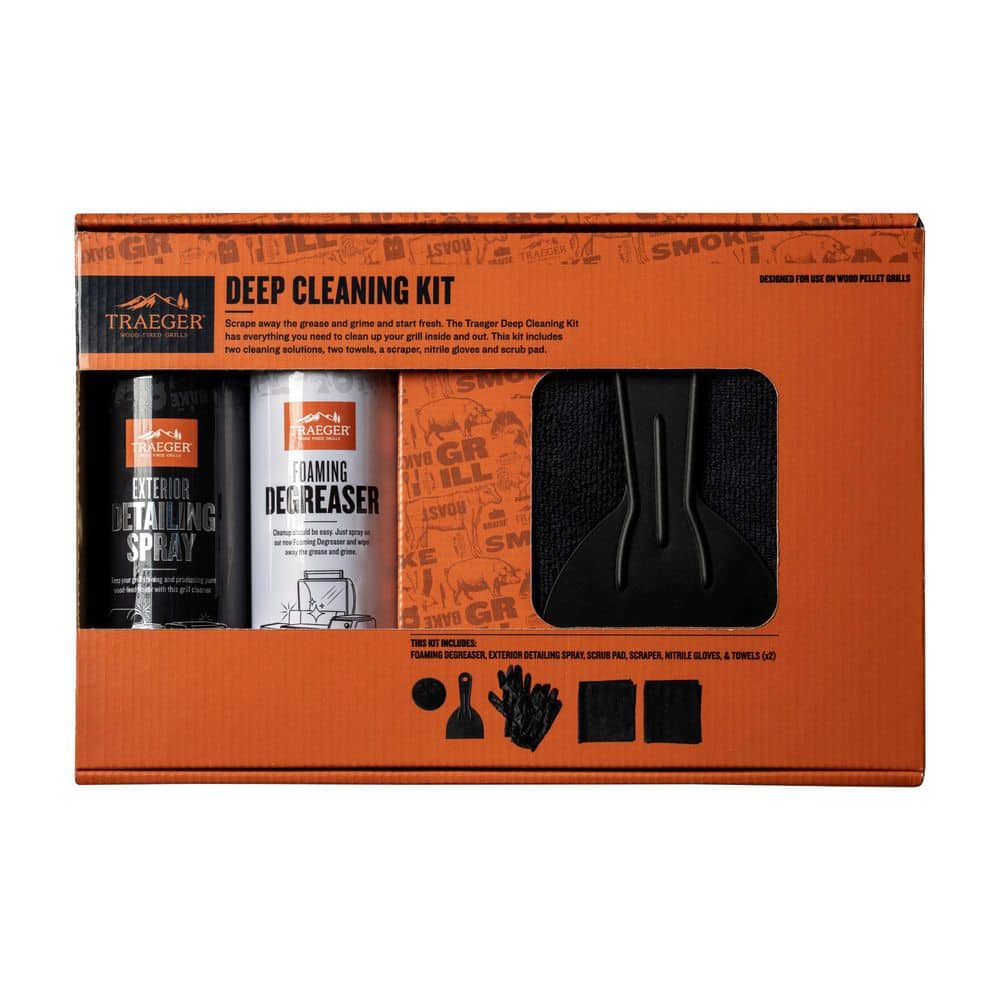
Using the right tools prevents damage and makes cleaning faster. Avoid household items that can scratch surfaces or leave harmful residues.
Essential Cleaning Tools
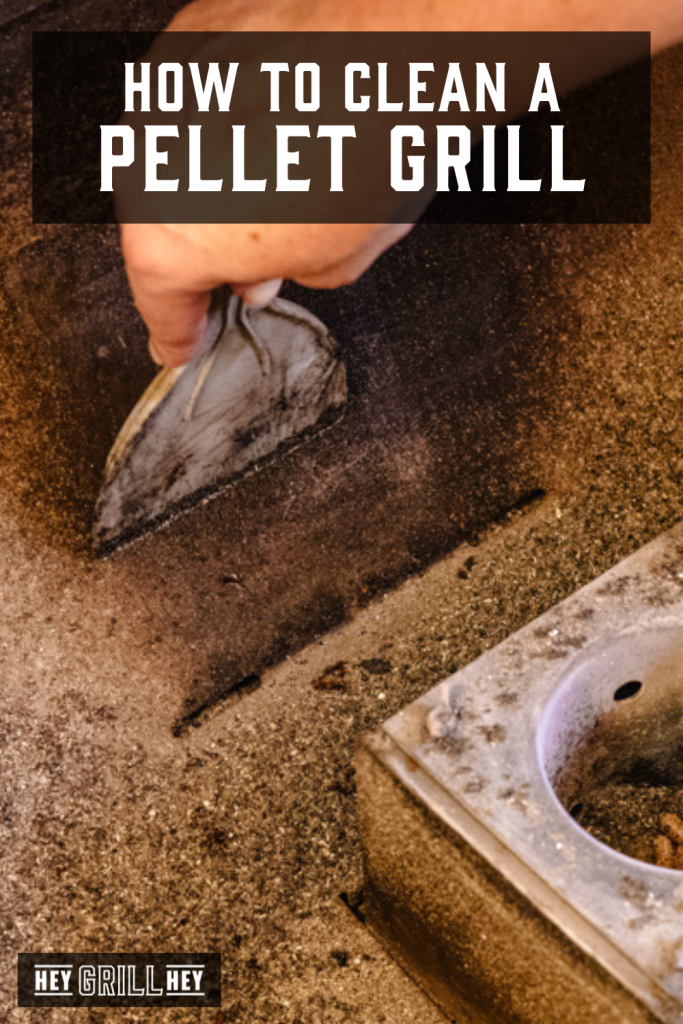
- Putty knife: For scraping carbon from lids, barrel edges, and clearing drip tray vents
- Nylon scrub brush: Safe for ceramic-coated grates; never use wire brushes
- Wooden grill scraper: Traeger-approved for grates (not for Timberline or Ironwood models)
- Wet/dry vacuum (shop vac): Removes ash from fire pot, hopper, and barrel bottom
- Dedicated ash vacuum: Ideal for fire pots; prevents clogging household vacuums
- Tongs and tin foil: For hot grate cleaning after cooking
- Microfiber cloths or heavy-duty paper towels: For wiping interiors and exteriors
Approved Cleaning Solutions
Stick to food-safe, non-caustic cleaners:
– All-natural degreasers: Traeger All Natural Cleaner, Simple Green BBQ Cleaner, Pit Boss Degreaser
– Homemade mix: Warm water, dish soap, and vinegar (1:1:1 ratio)
– Stainless steel wipes: For exterior panels
– Glass cleaner (e.g., Windex): For sight glasses on vertical smokers
– High-temp oil: Canola or avocado oil for post-clean seasoning
What to Avoid
- ❌ Wire brushes on ceramic grates, which damage coating and void warranty
- ❌ Caustic chemicals that leave toxic residues
- ❌ Standard soapy water alone, which is ineffective on baked-on grease
- ❌ Household vacuums for ash, which risk motor damage or fire
Using improper tools or cleaners can shorten your grill’s lifespan. Stick to manufacturer-recommended products.
Step-by-Step Deep Cleaning Process
Follow this top-to-bottom method for a thorough clean. Work systematically to capture all debris before reassembly.
Remove and Prep Components
Start by disassembling the cooking zone:
1. Take out cooking grates, drip pan, deflector plate (heat baffle), and grease tray.
2. If using foil liners, replace them. Scrub reusable drip pans with degreaser and rinse.
3. Brush grates lightly to remove loose debris before deeper cleaning.
Keep all parts organized for easy reassembly.
Clean the Interior Barrel and Lid
This is where most carbon accumulates:
– Use a putty knife to scrape the lid interior, focusing on crevices and the chimney attachment point.
– Scrape the entire barrel wall, especially around the grease chute and bottom edges.
– Clear drip tray vents with the corner of the putty knife to maintain airflow.
For stubborn buildup:
– Spray an all-natural degreaser on vertical surfaces.
– Let sit 10 to 20 minutes to break down grease.
– Wipe clean with a cloth or paper towel.
Avoid soaking large interior areas. Excess moisture can lead to rust.
Clear Fire Pot, Hopper, and Ash
The fire pot is the heart of your grill. Blockages here prevent ignition.
– With the grill cold, use a shop vac to remove all ash from the fire pot.
– Ensure the fire pot lip sits flush when reinstalled. Misalignment can damage the auger.
– Vacuum the hopper to remove sawdust and debris that can clog pellet flow.
– Clean the barrel bottom thoroughly to remove all dislodged ash and gunk.
Never use water or chemicals in the fire pot or hopper.
Wipe Down Thermometer and Chimney
Your internal thermometer controls temperature accuracy:
– Gently wipe the probe with a dry paper towel.
– Avoid bending or submerging it. Moisture can ruin the sensor.
For the chimney:
– Use a cloth to clean the interior flue.
– Do not use wire brushes, which can scratch surfaces and create hotspots.
A clean thermometer ensures stable heat and consistent cooking.
Clean and Maintain Grill Grates

Grates need regular attention to prevent sticking and rust.
Cold vs. Hot Cleaning Methods
- After every cook: While grates are warm (not hot), use tongs and balled-up tin foil to scrub off residue.
- Cold cleaning: Use a nylon brush or wooden scraper to remove baked-on debris.
For heavy buildup:
– Spray with degreaser, wait 15 minutes, then scrub and rinse.
– Dry completely to prevent rust.
Dishwasher and Soaking Options
- If grates disassemble into small parts (e.g., Camp Chef SGX), they can be dishwashed.
- Otherwise, soak in warm, soapy water for 30 minutes, then scrub and rinse.
- Always dry thoroughly before reinstallation.
Never soak entire grate assemblies unless specified by the manufacturer.
Avoid Wire Brush Damage
Wire bristles can:
– Scratch ceramic coatings
– Break off and contaminate food
– Void your warranty
Stick to nylon, wood, or bristle-free scrapers for long-term safety.
Maintain Heat Shields and Drip Systems
These components protect against flare-ups and manage grease.
Clean Deflector Plates and Flame Broilers
- Remove the heat baffle and scrape off carbon buildup with a putty knife.
- Use a nylon scrubber for stubborn residue.
- Inspect for warping and replace if damaged.
A clean deflector ensures even heat distribution and protects the fire pot.
Clear Grease Chutes and Trays
Grease blockages are a fire hazard:
– Remove the grease tray and empty the bucket.
– Use a putty knife to clear the grease chute from the drip pan to the bucket.
– Check grease governors, tubes, and kegs (on Timberline models) for clogs.
Clean this system every deep clean to prevent overflow and fires.
Exterior and Final Touches
A clean exterior improves aesthetics and prevents corrosion.
Wipe Down and Condition Surfaces
- Spray degreaser on the exterior and wipe with a cloth.
- For stainless steel, use stainless wipes or spray to prevent smudges and rust.
- Clean sight glasses (on vertical smokers) with glass cleaner for clear visibility.
Apply Protective Oil
After cleaning:
– Wipe the exterior with a thin layer of vegetable oil.
– This conditions the metal and gives a “like-new” shine.
Avoid over-oiling, which can attract dust.
Reassemble and Season the Grill
Reassembly must be precise to avoid performance issues.
Reinstall Components Correctly
Replace parts in reverse order:
1. Fire pot (ensure it’s flush and not catching on auger)
2. Heat baffle/deflector plate
3. Drip tray (with fresh foil liner)
4. Grease bucket liner
5. Cooking grates
Double-check that all parts are seated properly.
Season After Cleaning
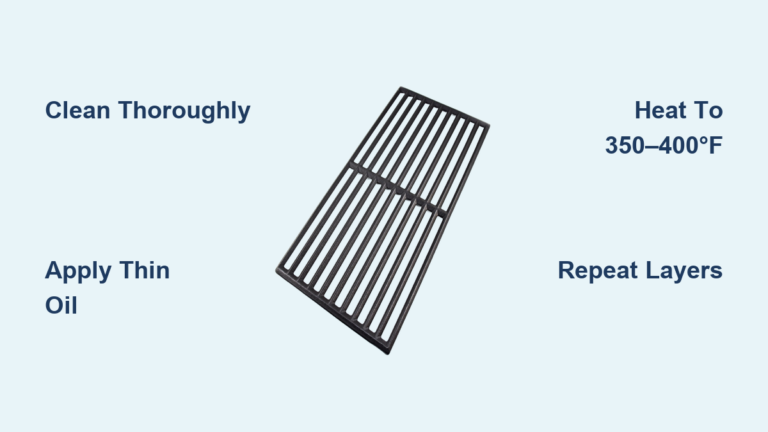
Seasoning protects metal from rust and creates a non-stick surface:
1. With the grill off and cool, brush canola or avocado oil on the deflector plate and grates.
2. Reinstall grates.
3. Set grill to 350°F (177°C).
4. Run for 15 to 20 minutes.
5. Shut down and let it cool completely.
The oil will polymerize, forming a protective layer.
Troubleshoot Common Pellet Grill Issues
Even with regular cleaning, problems can arise. Here’s how to fix them.
Grill Won’t Light?
Most often caused by:
– Ash-clogged fire pot: Vacuum thoroughly.
– Pellets in auger: Ensure hopper is empty and burn-off cycle was done.
– Moisture in pellets: Store pellets in a dry, sealed container.
Always check the fire pot first.
Temperature Swings?
Likely causes:
– Dirty thermometer probe: Wipe clean.
– Grease buildup on sensor: Degrease carefully.
– Poor airflow: Clear vents and chimney.
A clean sensor ensures accurate readings.
Grease Leaks?
Indicates:
– Clogged grease chute: Clear with putty knife.
– Overfilled bucket: Empty regularly.
– Missing or torn liner: Replace before cooking.
Prevent fires by keeping this system clear.
Prevent Rust and Extend Your Grill’s Lifespan
Proper maintenance keeps your grill rust-free and reliable.
Keep It Dry and Covered
- Always cover your grill when not in use.
- Store in a dry area if possible.
- Wipe down grates and interior after cleaning. Never leave wet metal exposed.
Clean After Every Use
- Scrape grates post-cook.
- Empty the ash tray (if equipped).
- Wipe spills immediately.
Small daily steps prevent major cleaning later.
Use Food-Safe Cleaners Only
Chemical residues can transfer to food. Stick to:
– All-natural degreasers
– Vinegar-based solutions
– Manufacturer-approved cleaners
Your health and warranty depend on it.
Frequently Asked Questions About Pellet Grill Cleaning
How often should you clean a pellet grill?
A deep clean is recommended every 18 to 20 hours of cooking time, or after every bag of pellets. WiFIRE-enabled Traegers alert users automatically after 35 cooks. Quick post-cook maintenance (scraping grates, emptying ash) should happen after every use.
Can you use a wire brush on pellet grill grates?
No. Wire brushes can scratch ceramic coatings, break off bristles that contaminate food, and void your warranty. Use nylon brushes, wooden scrapers, or balled-up tin foil held with tongs instead.
What is the best cleaner for a pellet grill?
All-natural degreasers like Traeger All Natural Cleaner, Simple Green BBQ Cleaner, or Pit Boss Degreaser work best. A homemade mix of warm water, dish soap, and vinegar in equal parts is also effective and food-safe.
Do you need to season a pellet grill after cleaning?
Yes. Seasoning after a deep clean protects metal from rust and creates a non-stick surface. Apply canola or avocado oil to grates and the deflector plate, then run the grill at 350°F for 15 to 20 minutes.
Can you clean a pellet grill with water?
Avoid using water inside the fire pot, hopper, or on electrical components. For grates and drip pans, warm soapy water is acceptable. Always dry all parts thoroughly before reassembly to prevent rust.
What happens if you never clean a pellet grill?
Skipping regular cleaning leads to ash-clogged fire pots, temperature swings, grease fires, auger jams, and poor smoke flavor. Over time, buildup can damage components and create serious safety hazards.
Key Takeaways for Cleaning Your Pellet Grill
Learning how to clean a pellet grill comes down to three core habits. First, stick to the 18 to 20 hour cleaning interval and address warning signs like ignition failure or temperature swings immediately. Second, use only approved tools (putty knife, shop vac, nylon brush) and food-safe cleaners to protect your grill’s components and warranty. Third, always finish with proper reassembly and seasoning to lock in protection against rust and sticking.
Your next step is simple: schedule your first deep clean using this guide, gather your tools, and commit to a 10-minute post-cook routine. Consistent small efforts will keep your grill performing like new for years to come.