How to Clean a Char-Broil Grill
Nothing ruins a backyard cookout faster than a dirty grill. Sticky grates, caked-on grease, and stubborn residue can turn your next meal into a smoky, uneven disaster. If you own a Char-Broil grill, learning how to clean a Char-Broil grill properly protects your investment, improves flavor, and prevents dangerous flare-ups. A neglected grill also harbors bacteria and old grease that affect food safety.
This guide covers everything you need to know. You’ll learn which brushes and cleaners are safe for your model, how to deep-clean grates without damaging porcelain coatings, and how to maintain burners and flavor bars for consistent heat. Plus, you’ll get a simple maintenance schedule and troubleshooting tips to keep your grill running like new.
Safety First: Pre-Cleaning Essentials
Before you touch a single grate, you need to set up a safe workspace. Skipping these steps risks burns, gas leaks, or damage to your grill’s finish.
Power Down and Cool Off Completely
Turn off the propane tank and disconnect the fuel source before you begin. Allow the grill to cool for at least 30 to 60 minutes after your last cook. Attempting to clean hot surfaces with nylon brushes will melt the bristles and leave residue behind.
Understand Hot vs. Cool Cleaning Methods
Char-Broil offers two cleaning approaches depending on temperature:
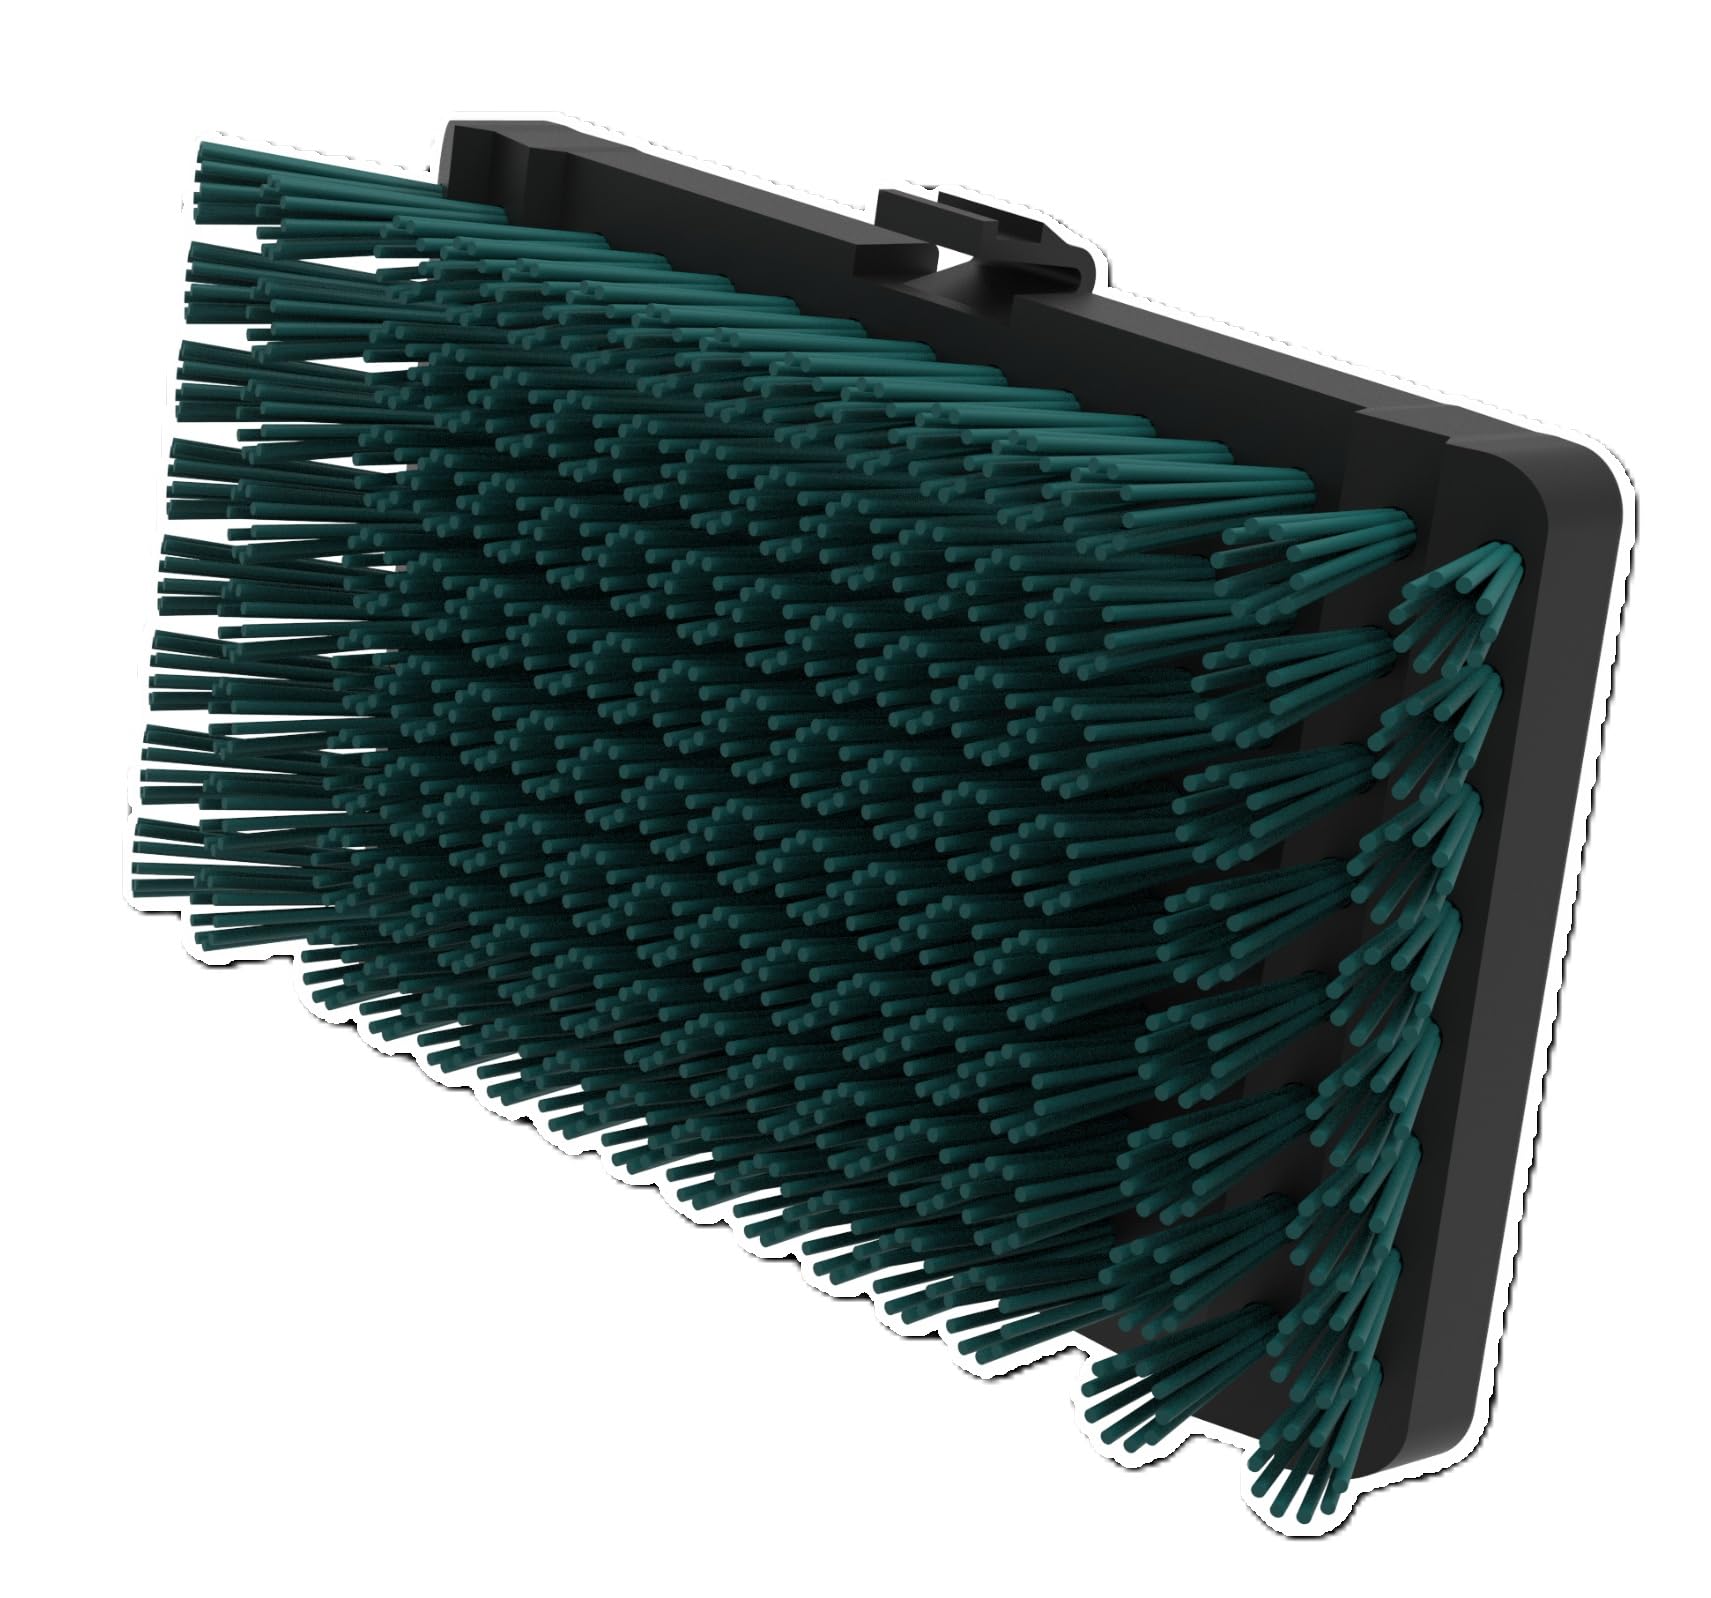
- Cool-Clean™ Technology: Uses grit-infused nylon bristles (emerald or red) designed for cool surfaces only. This method protects porcelain-coated grates and prevents bristle fallout.
- Hot Cleaning: Certain tools, like the stainless steel pad on a dual-sided brush, work on warm grates. Only use these tools when the grill is heated but not scorching.
Test for Gas Leaks After Reassembly
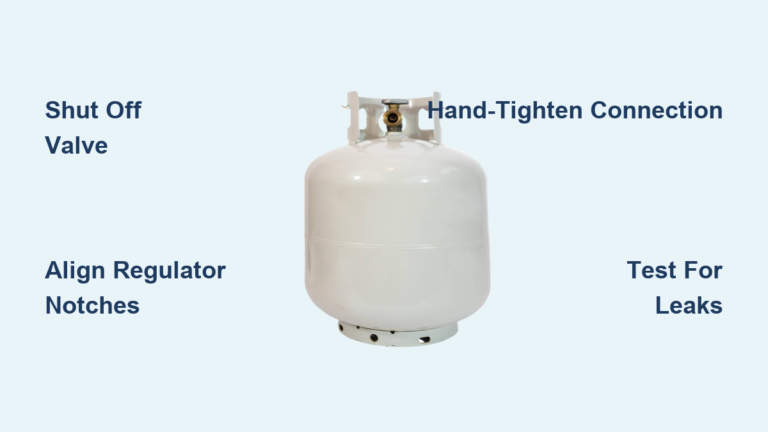
Before firing up your freshly cleaned grill, inspect all gas connections. Mix soap and water, brush it onto the hose fittings, and look for bubbles. If bubbles appear, tighten the fitting or replace the hose before lighting the grill.
Choose the Right Tools for Your Char-Broil Grill
Using the wrong brush or cleaner can scratch grates, strip protective coatings, or void your warranty. Char-Broil designs specialized tools tested to 15,000 cycles with zero bristle fallout.
Recommended Grill Brushes
Skip traditional wire brushes entirely. Loose metal bristles can break off and end up in your food. Instead, choose one of these Char-Broil-approved options:
- Cool-Clean™ Replacement XL Head (CB1250064P8): Features emerald nylon bristles that are 5X thicker for high visibility on cool grates.
- SAFER Hand-Held Grill Brush (CB1250090R6): Includes an ergonomic grip and attached scraper blade for carbon buildup.
- Charbroil® Dual-Sided Safer Brush (1864485R06): Offers red nylon bristles on one side for cool cleaning and a stainless steel pad on the other for hot cleaning.
- SAFER Cool-Clean™ 3×360 Brush (CB1250065): Rotating head design reaches tight spaces and angled grates.
Essential Cleaning Supplies
Stock these products for a complete clean:
- Aerosol Grill Grate Cleaner (1466346R06): Foaming formula that lifts burnt-on residue without harsh fumes.
- Stainless Steel Cleaner/Polish (CB1250117P8): 3-in-1 formula for cleaning, polishing, and protecting exterior surfaces.
- Grate Cleaner (CB1250128P8): Non-toxic foaming solution for stubborn buildup.
- Deluxe Grid Scrub’r Brush (3785022): Abrasive pad with a large handle to protect your knuckles.
Avoid steel wool, metal picks, and abrasive sponges. These damage porcelain coatings and create rust-prone scratches.
Step-by-Step Deep Cleaning Process
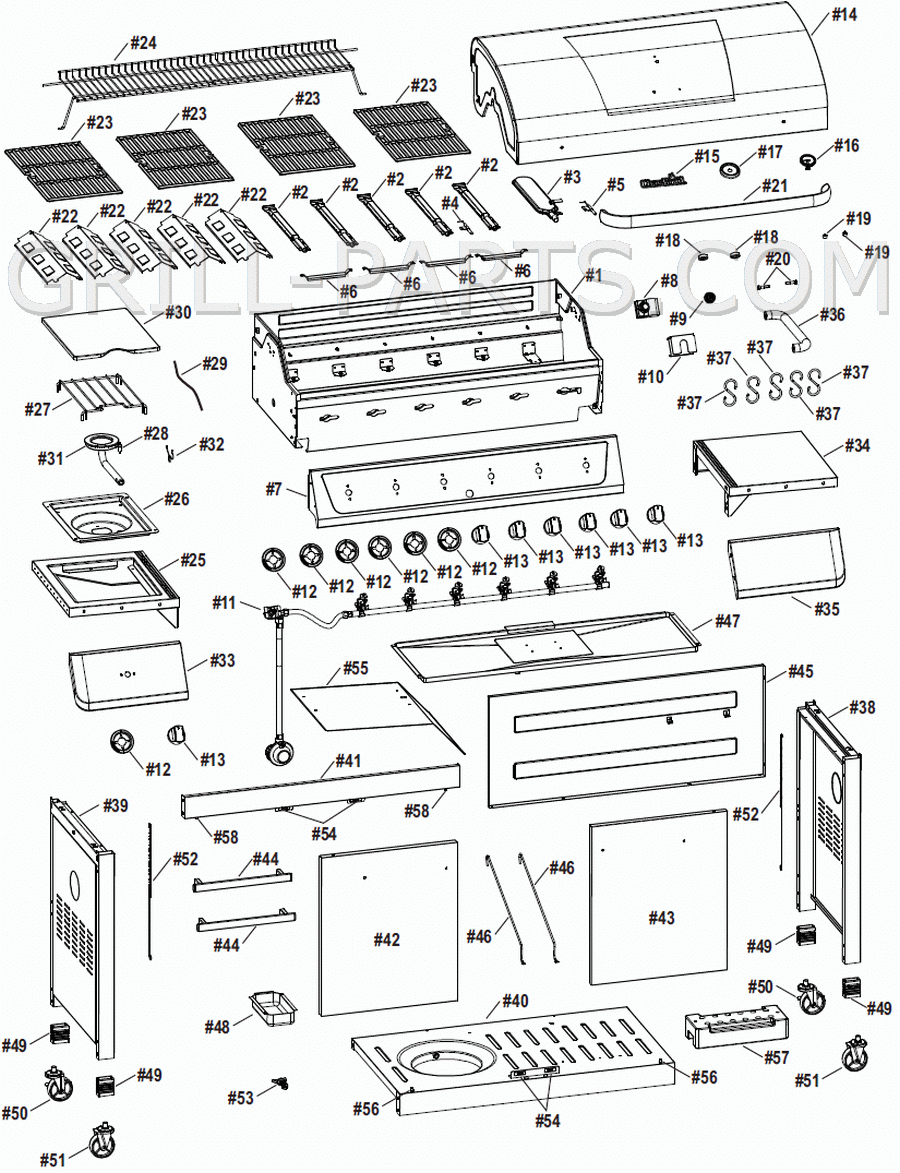
Follow this six-phase method to clean your Char-Broil grill thoroughly and safely.
Phase 1: Disassemble Key Components
Start by removing the parts that collect the most grease:
- Lift out the cooking grates and set them on a protected surface.
- Remove the flavor bars if your model allows. These metal tents sit above the burners.
- Slide out the grease trays and drip management components.
Phase 2: Clean the Cooking Grates
Grates take the most abuse during cooking, so they need extra attention.
Soak for Stubborn Buildup
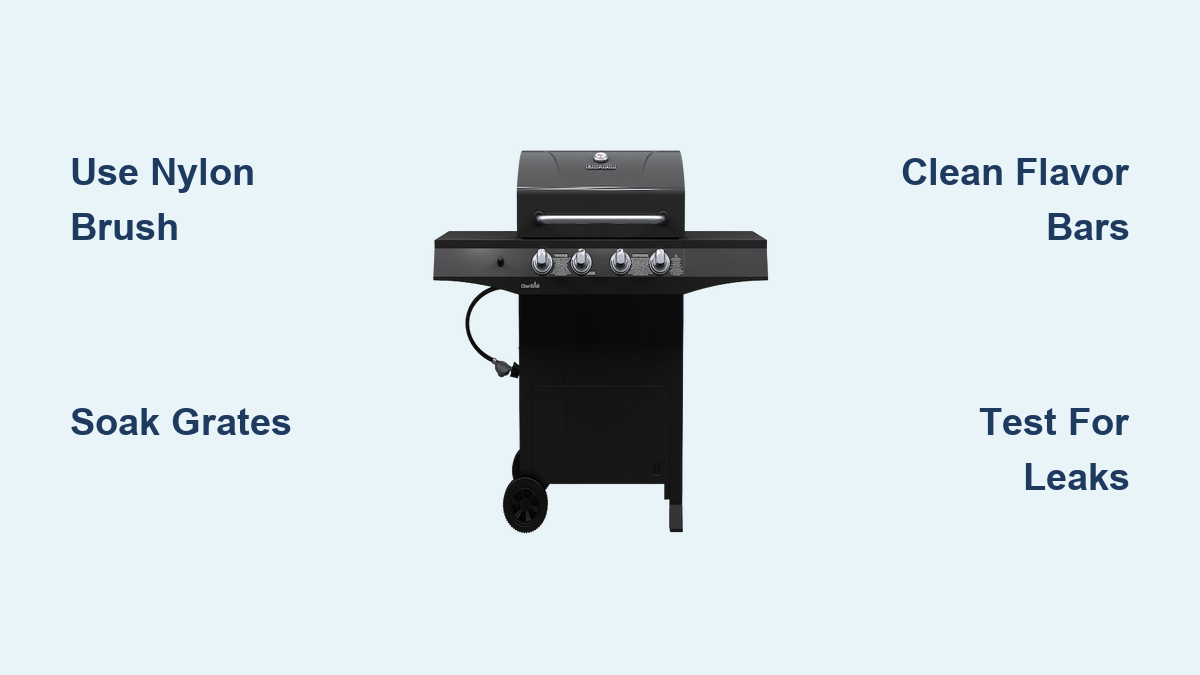
Submerge grates in warm, soapy water for 30 to 60 minutes. For extra cleaning power, add a cap of Grate Cleaner to the soak.
Scrub with the Right Brush
After soaking, scrub with a Cool-Clean™ or SAFER brush using nylon bristles. Work in the direction of the grate grooves. For residue stuck in groove middles, use the internal scraper if your model has one.
Rinse and Dry Completely
Rinse off all soap and loosened debris. Let grates air-dry or towel-dry before reassembly to prevent rust.
Alternative Burn-Off Method
For heavily carbonized grates, heat the grill on high for one hour with grates in place. Turn off the heat and let the grill cool slightly while staying warm. Use the stainless steel side of a dual-sided brush to knock off residue. Never use nylon brushes on hot grates.
Phase 3: Maintain Flavor Bars and Burners
These internal components affect flame consistency and flavor. Neglect leads to uneven heating and flare-ups.
Clean Flavor Bars Safely
Wipe down with a damp cloth or nylon brush. For deep cleaning, wash in warm, soapy water. Avoid harsh chemicals that degrade protective coatings. Replace bars that are cracked, warped, or excessively corroded.
Unclog Burner Tubes
Clogged ports cause weak or uneven flames. Remove the burner tubes and inspect for blockages like spider nests or grease. Use a straightened paperclip or thin wire to gently clear each port. Do not enlarge ports or bend tubes, as this alters gas flow and creates hotspots.
Phase 4: Clean Interior Walls and Grease System
Grease buildup inside the grill chamber increases fire risk and smoke production.
Wipe Down Interior Surfaces
Use a damp cloth or sponge with mild dish soap. For greasy spots, apply a grill-safe degreaser. Avoid overspray near igniters and never use excessive water near electronics or gas lines.
Empty and Wash Grease Trays
Remove the drip tray and pour out accumulated grease. Dispose of grease properly and never pour it down drains. Wash the tray with warm, soapy water and clean the entire grease channel to prevent overflow.
Phase 5: Care for the Exterior Finish
A clean exterior protects your grill from weather and keeps it looking sharp.
General Cleaning for All Models
Wipe down with a soft cloth and mild soap solution. Rinse with a damp cloth and dry immediately.
Stainless Steel Protection
For stainless models, apply Char-Broil Stainless Steel Cleaner/Polish. Wipe with the grain to avoid streaks, then buff with a dry microfiber cloth.
Avoid These Mistakes
Never use abrasive cleaners like Comet or Bar Keepers Friend. Skip steel wool and scouring pads. Pressure washing forces water into gas lines and electronics.
Phase 6: Reassemble and Test the Grill
Proper reassembly ensures safety and performance.
Inspect Before Reinstalling
Check all parts for cracks, warping, misaligned burner tubes, or damaged grease tray seals. Replace worn components immediately.
Reinstall in Correct Order
Place burner tubes back in position, add flavor bars over burners, insert cooking grates, and slide in the clean grease tray. Ensure everything fits snugly.
Run a Burn-Off Test
Close the lid and turn on the grill. Set to high heat for 10 to 15 minutes. Watch for even flames across all burners, no unusual smoke, and proper ignition. This step sanitizes the grates and burns off any residual cleaning agents.
Follow a Smart Maintenance Schedule
Consistent upkeep prevents deep-cleaning emergencies and extends your grill’s life.
- After each cook: Brush grates while warm but not hot using a nylon brush.
- Every 5 to 10 uses: Perform a full disassembly and deep clean.
- Seasonally: Inspect gas lines, clean the ignition system, and check for rust.
Always use a weather-resistant grill cover when the unit is not in use. Inspect your brush monthly for frayed bristles or loose handles, and replace damaged tools immediately.
Troubleshoot Common Cleaning Issues
Residue Stuck in Grate Grooves
Use the internal scraper on select models or a dedicated groove tool. Never use metal picks that damage coatings.
Uneven Flames or Burner Failure
Turn off the gas and let the grill cool. Remove burners and clear ports with a thin wire. Realign tubes and test ignition.
Grease Buildup Despite Regular Cleaning
Empty the tray after every few uses. Switch to a foaming degreaser for tough buildup and clean the entire grease channel monthly.
Streaks on Stainless Exterior
Use dedicated stainless steel polish and wipe in the direction of the grain. Buff with a microfiber cloth for a streak-free shine.
Frequently Asked Questions About Cleaning a Char-Broil Grill
Can I use a wire brush on my Char-Broil grill?
Char-Broil recommends avoiding traditional wire brushes because loose bristles can break off and end up in your food. Use SAFER or Cool-Clean™ nylon brushes instead, which are tested to 15,000 cycles with zero fallout.
How often should I deep clean my Char-Broil grill?
Perform a thorough deep clean after every 5 to 10 uses. Light brushing after each cook helps prevent heavy buildup and makes deep cleaning easier.
What cleaner is safe for porcelain-coated grates?
Use Char-Broil’s Aerosol Grill Grate Cleaner or Grate Cleaner. Both are non-toxic and formulated for porcelain surfaces. Avoid metal scrapers and abrasive pads that scratch the coating.
How do I clean burner tubes without damaging them?
Remove the tubes and inspect for clogs. Use a straightened paperclip or thin wire to gently clear each port. Do not enlarge ports or bend tubes, as this alters gas flow.
Is it safe to pressure wash a Char-Broil grill?
No. Pressure washing forces water into gas lines, electronics, and ignition components, which can cause serious damage and safety hazards. Stick to hand cleaning with mild soap and water.
Key Takeaways for Cleaning Your Char-Broil Grill
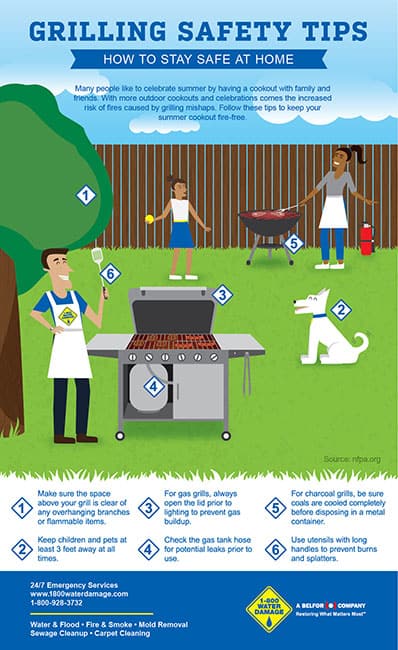
Learning how to clean a Char-Broil grill doesn’t have to feel overwhelming. Focus on three core habits: use only Char-Broil-approved nylon brushes and cleaners, follow the six-phase deep cleaning process after every 5 to 10 uses, and always perform a leak test and burn-off before cooking again. These steps protect your grates, extend the life of your burners, and ensure every meal tastes exactly the way it should.
Start your next post-cook cleanup with a Cool-Clean™ brush and warm, soapy water. Your grill will thank you with better heat, cleaner flavor, and years of reliable service.