How to Season Gas Grill Grates
You just unboxed a brand new gas grill, or maybe your old faithful is starting to stick and show rust spots. Before you fire up another cookout, there’s one game-changing step you can’t afford to skip: seasoning your gas grill grates. This simple process transforms raw metal into a slick, rust-resistant cooking surface that makes grilling easier and food taste better.
The good news is that learning how to season gas grill grates takes less than an hour and pays off every single time you light the burners. In this guide, you’ll discover exactly which oils to use, how to handle cast iron versus stainless steel, and how to keep that protective layer strong for years of flawless grilling.
Why Seasoning Your Gas Grill Grates Matters
Prevents Rust and Corrosion
Unseasoned metal grates are sitting ducks for moisture and oxygen, which leads to rust, especially in humid or rainy climates. Once rust forms, it flakes into your food and weakens the grate structure over time. Seasoning seals the metal with a polymerized oil layer that blocks moisture and stops oxidation in its tracks. This matters most for cast iron, which is naturally porous and rusts fast without protection. Even stainless steel benefits because seasoning helps develop a protective patina that boosts durability.
Creates a Natural Non-Stick Surface
A well-seasoned grate means no more wrestling with stuck chicken skin or caramelized marinades welded to the metal. The polymerized oil fills microscopic pores in the metal, creating a smooth surface that builds into a hard, slick finish similar to a cast iron skillet. Without this layer, especially on new stainless steel, food sticks aggressively, particularly sugary or acidic items like barbecue sauce or grilled peaches.
Enhances Flavor and Extends Grill Life
As you grill repeatedly, the seasoning layer develops a rich patina that adds depth and authenticity to your grilled flavor. A properly maintained grate can extend your grill’s life by 5 to 10 years, saving you from costly replacements. Skipping this step leads to faster wear, more scrubbing, and uneven heat transfer across damaged surfaces.
Choose the Right Oil for Seasoning
Best Oils for High-Heat Seasoning
Not every oil can handle the heat required for proper seasoning. You need an oil with a smoke point above 400°F so it polymerizes instead of simply burning away. Here are the top performers:
- Canola Oil: Smoke point above 400°F, neutral flavor, affordable, and beginner-friendly
- Grapeseed Oil: High smoke point, light texture, excellent polymerization
- Vegetable Oil: A reliable, high-heat standard for first-time seasoning
- Peanut Oil: Smoke point above 400°F, great for hot climates
- Avocado Oil: Up to 500°F smoke point, the best for extreme heat
- Flaxseed Oil: Forms a hard, long-lasting layer but needs careful application
- Shortening (Crisco): High in saturated fats, excellent for cast iron’s first seasoning
Oils to Avoid
Some oils seem tempting but fail under high heat:
- Olive Oil: Smoke point around 375°F, burns quickly, creates smoke and sticky residue
- Butter or Margarine: Burns instantly and gums up the grates
Pro Tip: Use a spray bottle with high-smoke-point oil for even coverage, or stick with a silicone basting brush to avoid leaving fibers behind.
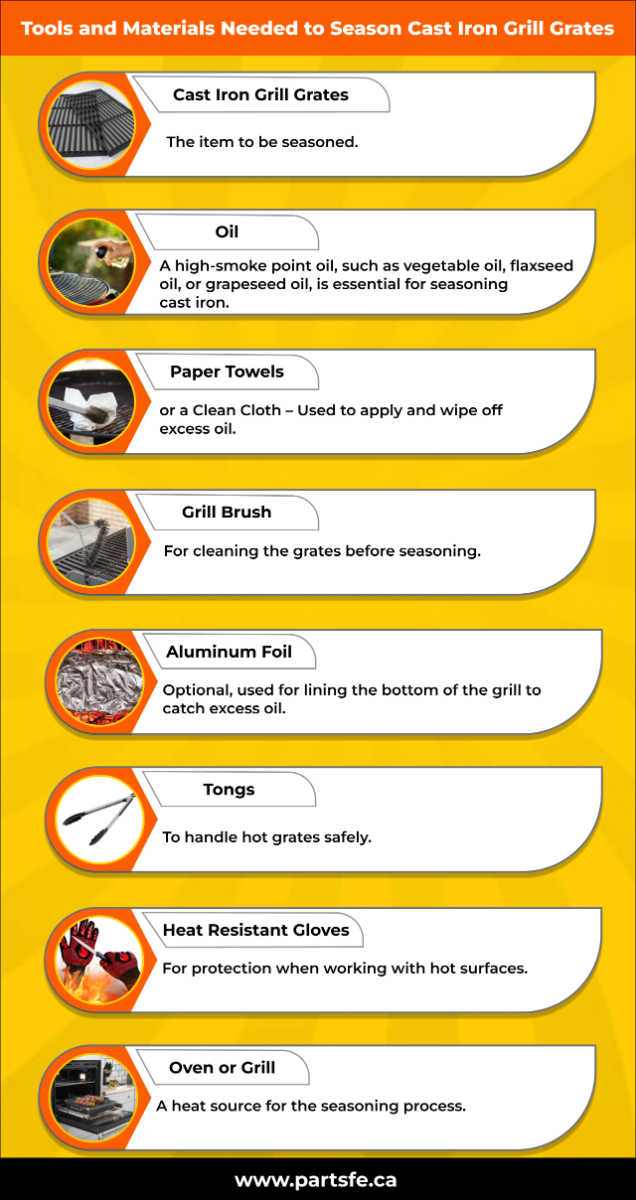
Gather Essential Tools for the Job
Application Tools
- Silicone Basting Brush: The top choice for applying oil because it resists heat and leaves no fibers
- Paper Towels + Tongs: Acceptable for stainless steel only; fold into a small square, dip in oil, and rub safely
- Spray Bottle: Delivers a fine mist for quick, even touch-ups
Cleaning and Prep Tools
- Bristle-Free Grill Brush: Models like Grill Rescue or Napoleon Bristle Free prevent loose wire bristles from contaminating food
- Aluminum Foil: Crumple into a ball and use with tongs to scrub off rust and debris
- Grill Stone: For deep cleaning corroded grates
- Steel Wool: Reserved for cast iron during heavy rust removal
Season New Gas Grill Grates Step by Step
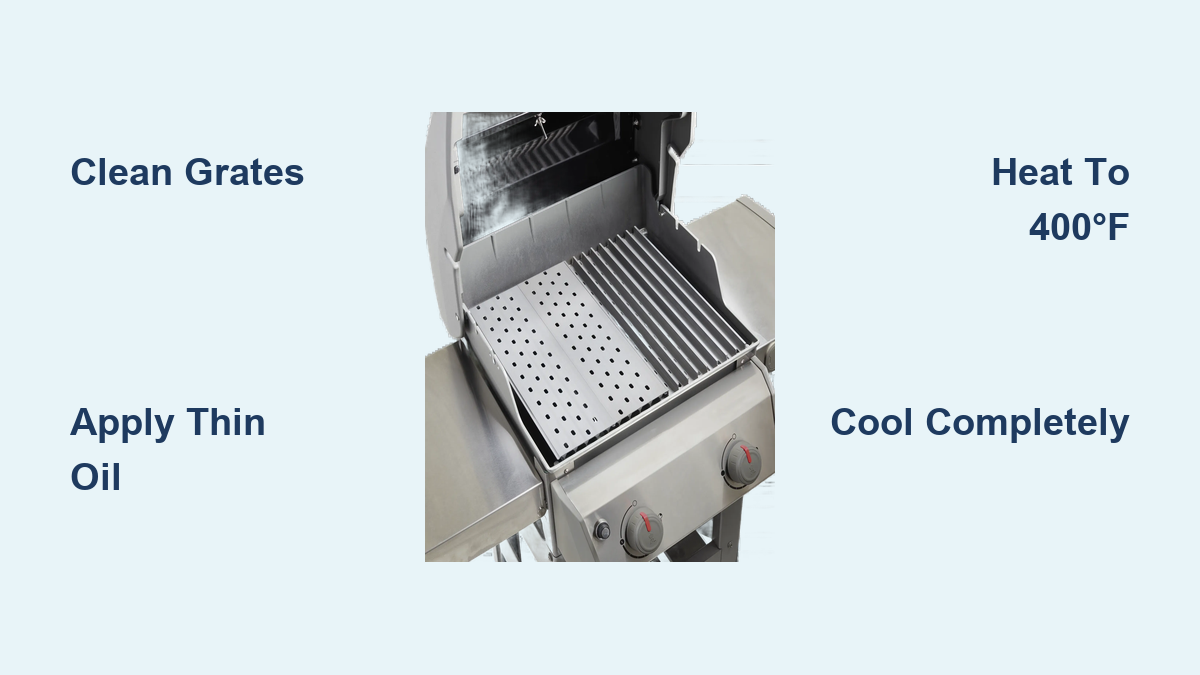
Clean Before First Use
New grates arrive coated in protective factory oils and residues that should never touch your food.
- Remove the grates from the grill
- Wash with warm, soapy water and a soft scrub brush
- Rinse thoroughly because soap residue interferes with oil bonding
- Dry completely with a towel or by heating briefly on the grill, since any moisture causes immediate rust
Apply a Thin Oil Layer
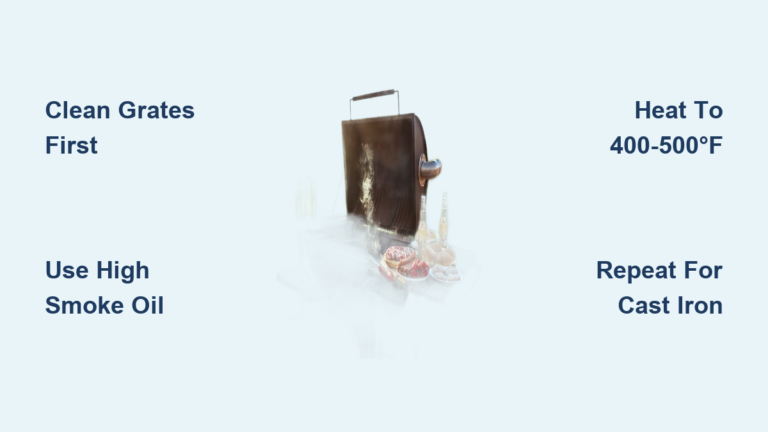
- Use canola, vegetable, or grapeseed oil
- With a silicone brush, apply a thin, even coat to all surfaces, including top, bottom, and sides
- Do not pour or drip oil into the burner area where it can cause flare-ups
Warning: Too much oil creates sticky, gummy residue. Less is more here.
Heat to Polymerize the Oil
- Reinstall the grates and close the lid
- Turn all burners to High
- Heat to 400–500°F (use a grill thermometer to verify)
- Maintain this temperature for 30–60 minutes. Smoke is normal because this is the oil bonding and factory residue burning off
- The grates will darken, confirming the seasoning is forming
Cool Completely
- Turn off the grill
- Let it cool with the lid closed for 1–2 hours
- Don’t rush this step because cooling allows the oil to fully bond with the metal
Repeat for the Best Results
For cast iron, repeat the oil-and-heat cycle 2–3 times to build a robust non-stick foundation. Stainless steel usually needs only one round.
Re-Season Old or Worn Grates
Know When to Re-Season
Look for these warning signs:
- Food starts sticking during cooking
- Grates look dull or patchy
- Rust spots appear on the surface
- You just finished deep cleaning or winter storage
Frequency: Every 3–4 months, or at the start and end of grilling season.
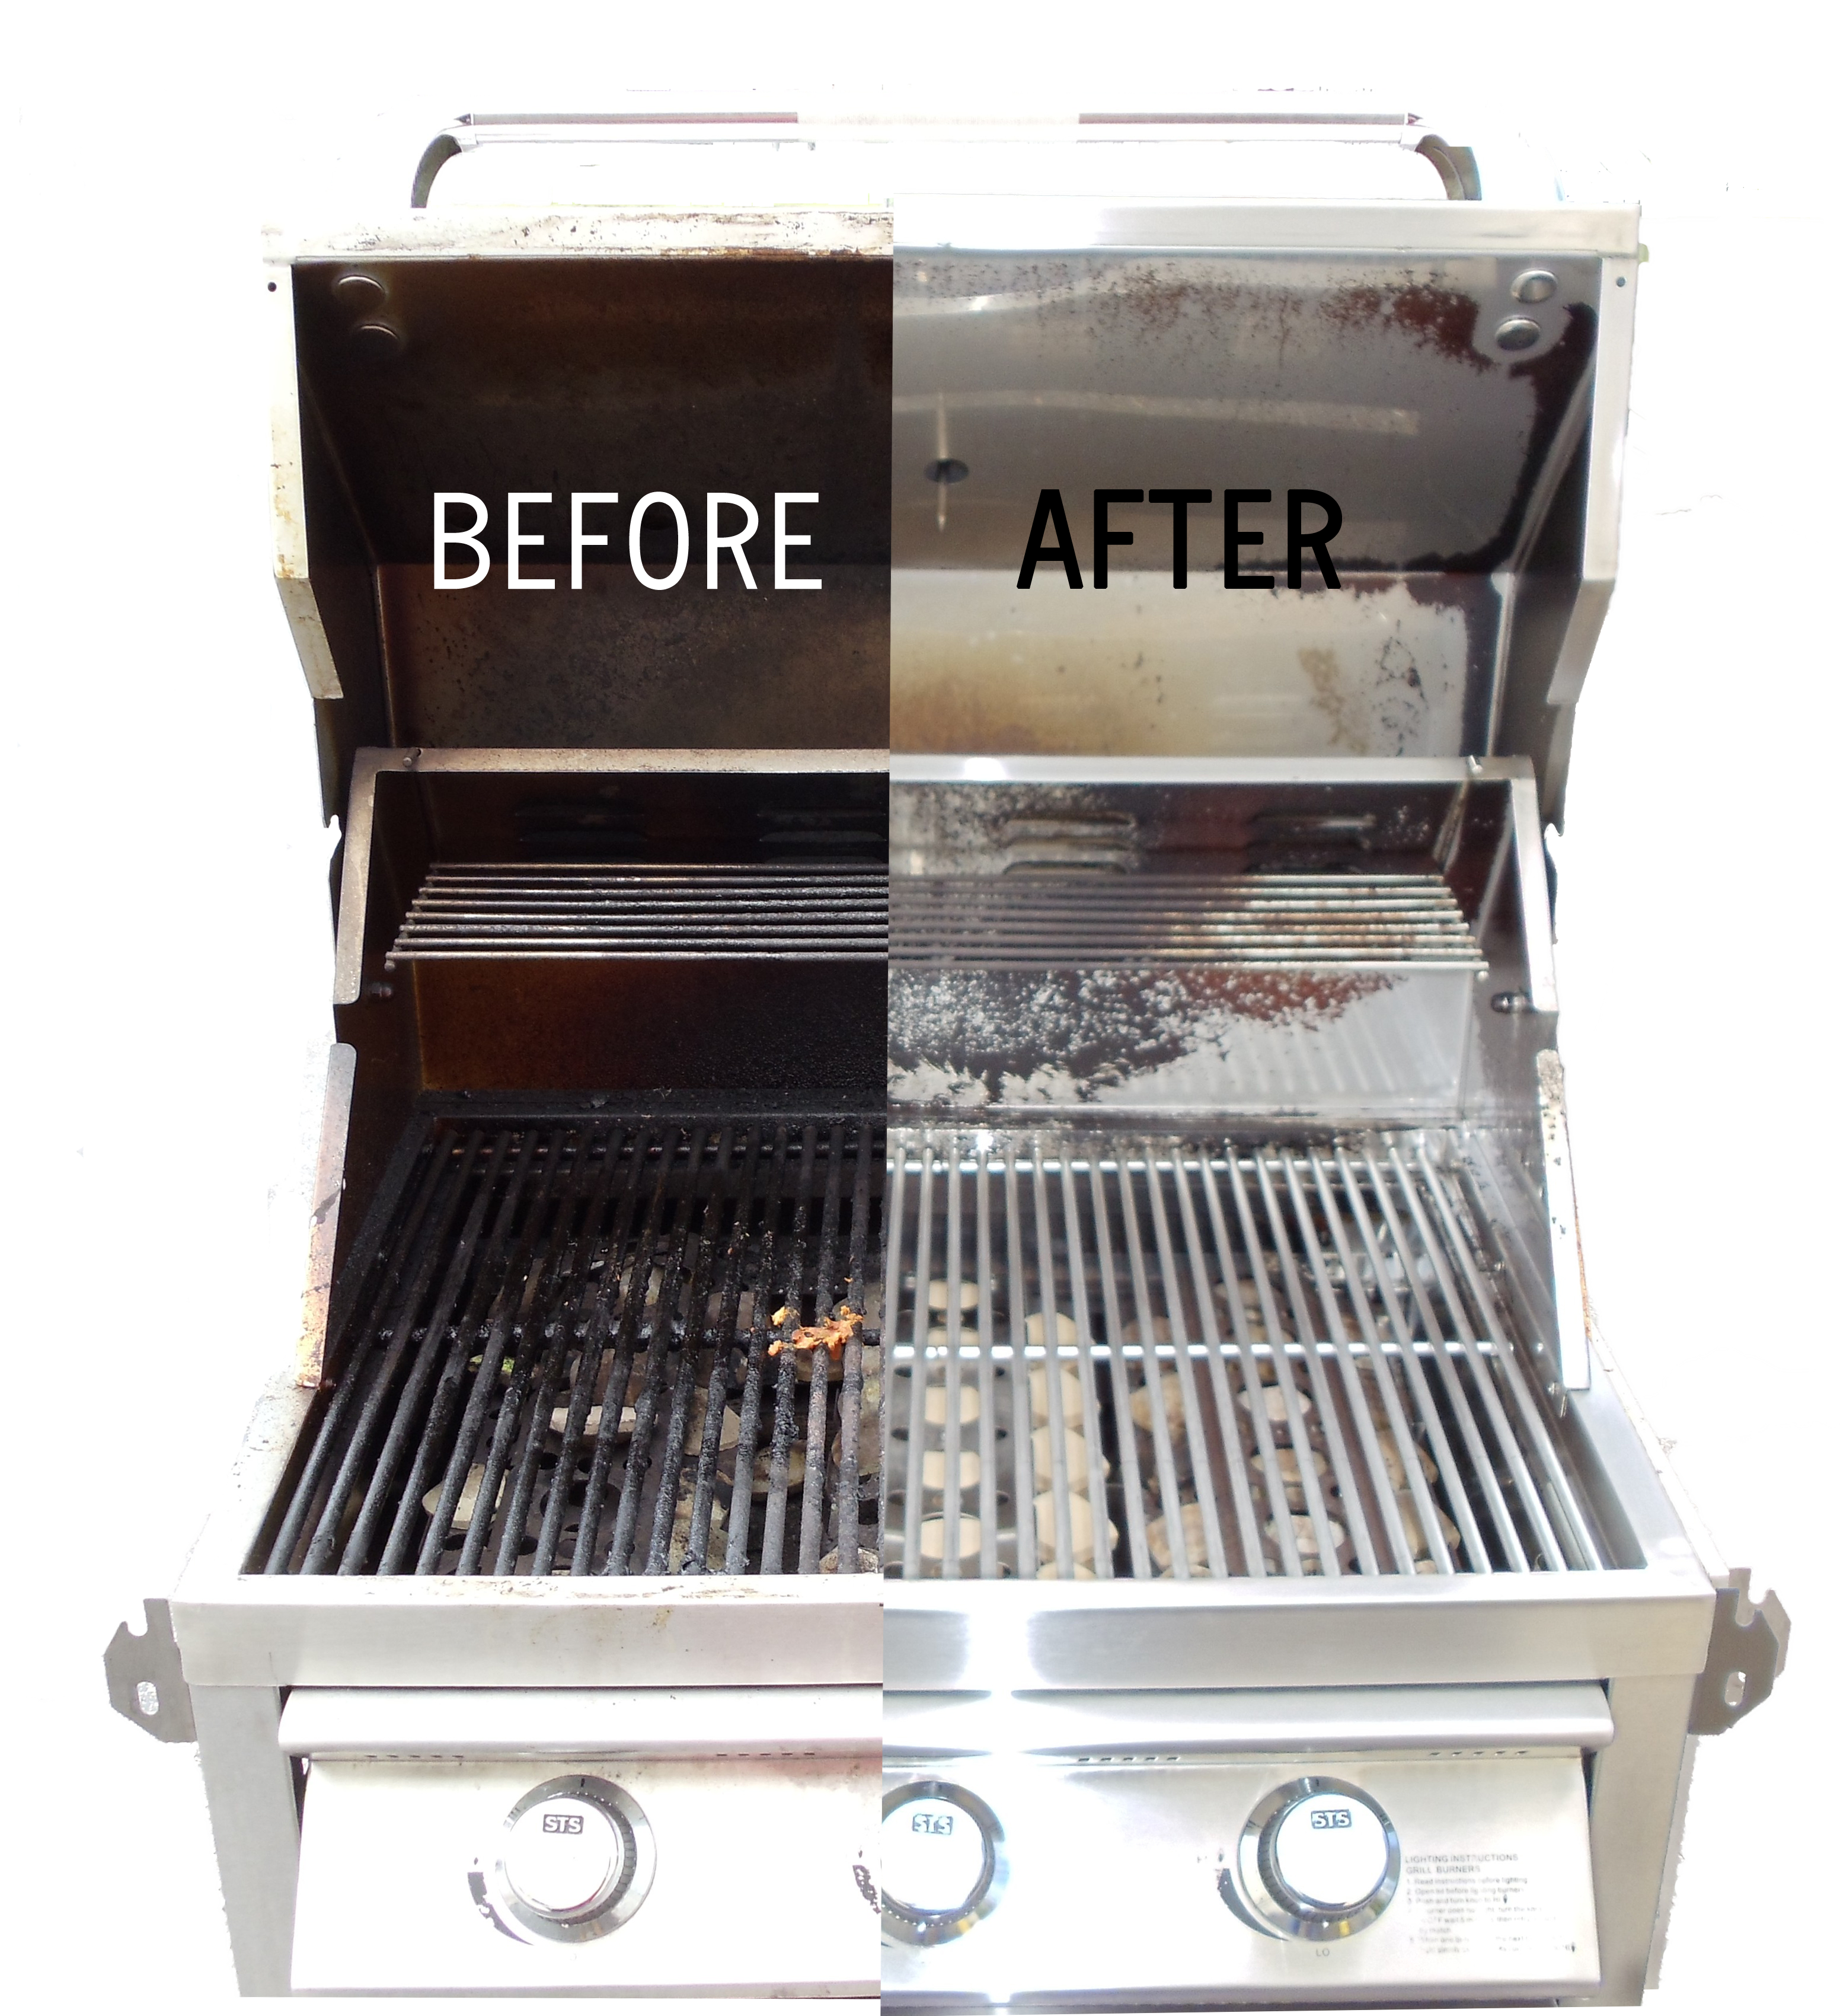
Remove Rust and Built-Up Debris
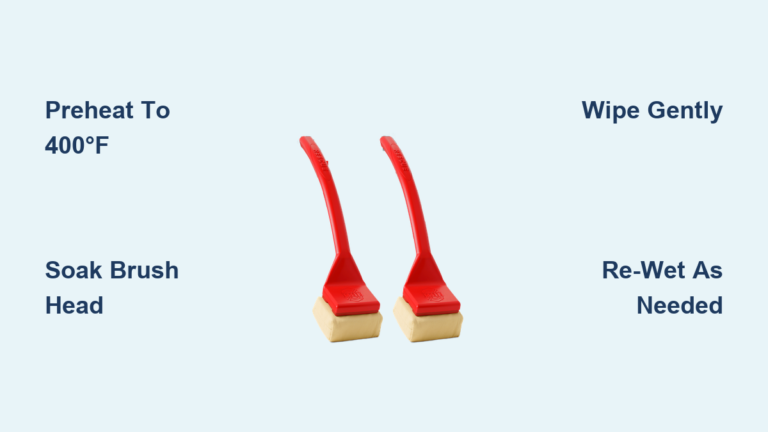
- Preheat the grill to High for 15–20 minutes to loosen gunk
- Scrub with a bristle-free brush or balled-up aluminum foil
- For stubborn rust, use steel wool (cast iron only) or a grill stone, or soak in 2 parts baking soda + 1 part vinegar for 1–2 hours, then scrub
- Wash with soapy water, rinse, and dry completely
Re-Oil and Heat Again
- Apply a thin layer of high-heat oil with a silicone brush
- Heat the grill to 350–450°F
- Maintain for 30–60 minutes
- Turn off and cool completely with the lid closed
Maintain Seasoning Between Cookouts
Pre-Grill Routine Every Time
Keep your seasoning strong with this quick ritual before each cook:
- Preheat: Turn the grill to high for 10–15 minutes
- Scrub: Use a bristle-free brush to clear leftover debris
- Oil: Apply a light coat of high-heat oil with a silicone brush
Post-Grill Care
- While grates are still warm (not scorching), give them a quick brush
- For cast iron, lightly oil the grates before closing the lid to preserve the layer
- Always cover the grill once it’s cool
Storage Tips
- Use a weatherproof grill cover
- Store in a dry area away from moisture
- Inspect grates monthly for early signs of rust or wear
Troubleshoot Common Seasoning Problems
Food Keeps Sticking
Cause: Worn seasoning or insufficient oil.
Fix: Re-season immediately, make sure the oil layer is thin, and preheat fully before cooking.
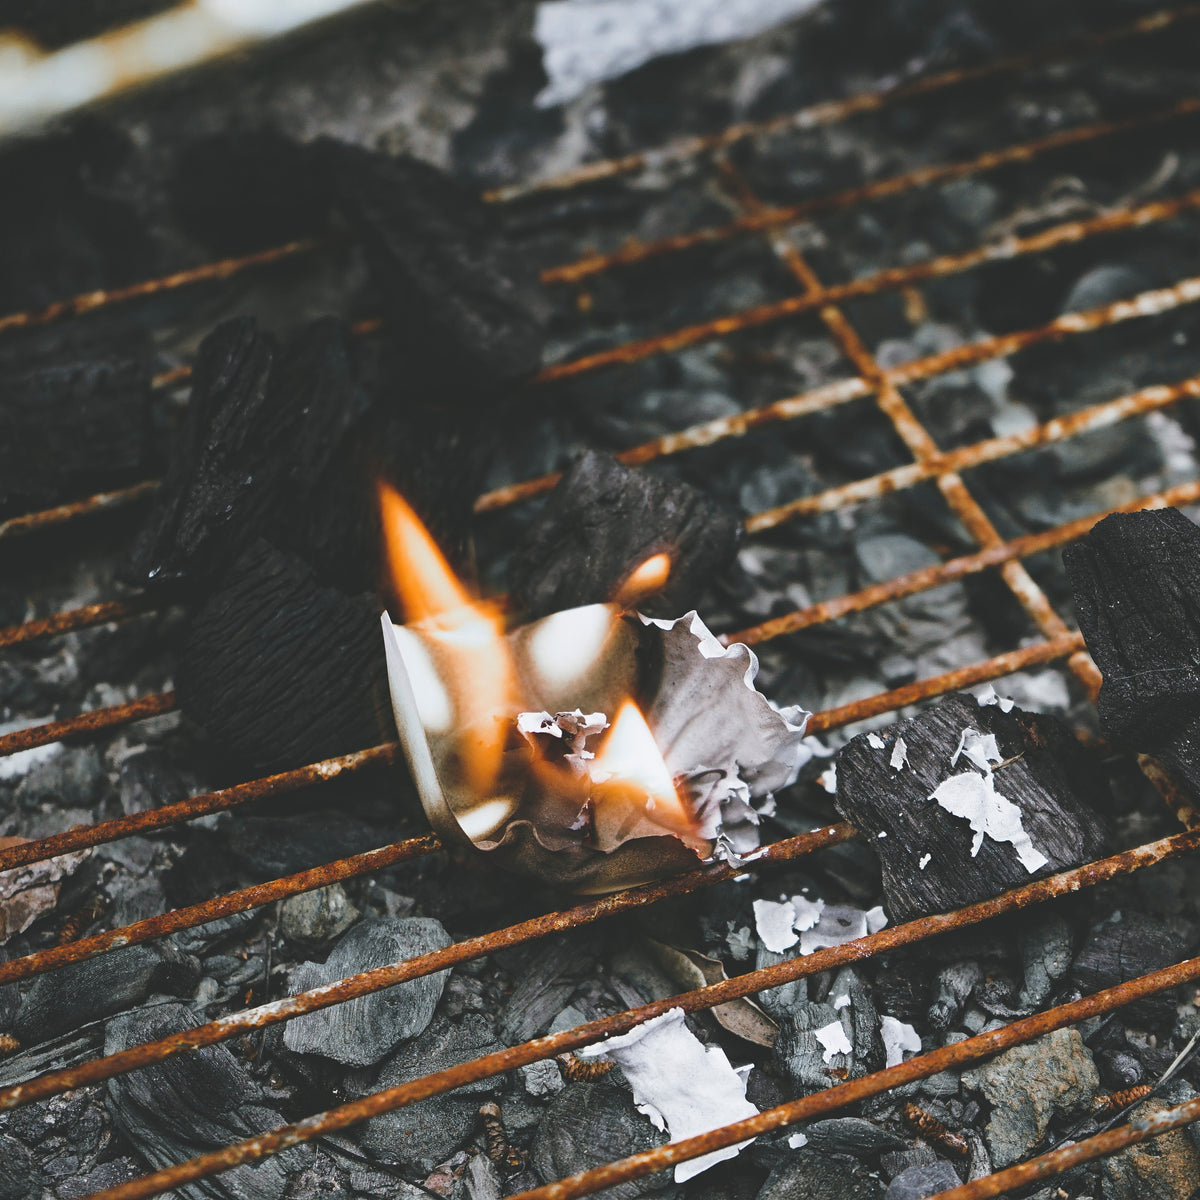
Rust Spots Appear
Cause: Moisture exposure or damaged seasoning.
Fix: Scrub rust with foil or steel wool, clean, dry, and re-season the entire grate, then keep the grill covered.
Sticky Residue on Grates
Cause: Too much oil that burnt instead of polymerizing.
Fix: Heat the grill to high to burn off excess, scrub off gummy bits, then reapply a thinner oil layer and heat again.
Excessive Smoke During Seasoning
Cause: Oil dripping onto burners or using low-smoke-point oil.
Fix: Switch to avocado or canola oil, wipe excess from the bottom of grates, and apply a thinner, more even coat.
Yellow or Black Discoloration
Cause: Natural patina forming on stainless steel.
Good or Bad? Good. This is normal and protective. No action needed beyond regular maintenance.
Flare-Ups During Seasoning
Cause: Oil pooling and dripping into the firebox.
Fix: Apply less oil, wipe the underside of grates after coating, and avoid heavy spray oil use.
Know Your Grill Grate Type
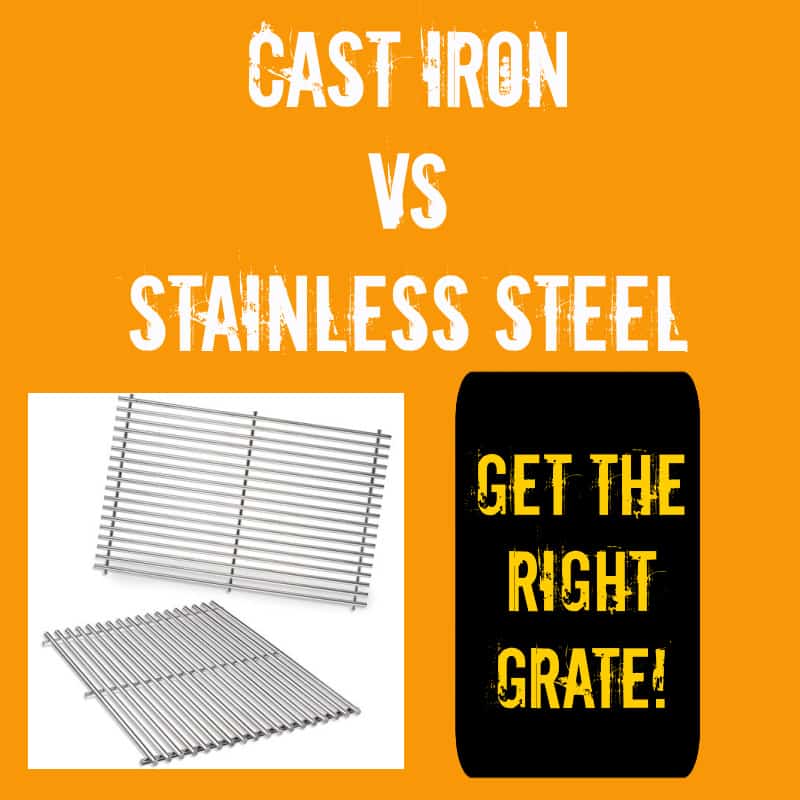
Cast Iron Grates
- Must be seasoned frequently
- Porous and rust-prone without protection
- Develops the best non-stick surface over time
- Never use paper towels because fibers can ignite; use only a silicone brush
- Re-season every 3–4 months or after deep cleaning
Stainless Steel Grates
- Benefits from seasoning but needs less maintenance
- Develops a natural yellow-to-black patina that prevents sticking
- Paper towels (with tongs) are safe for oiling
- Season new grates and re-season 2–3 times per year
Porcelain-Enameled Grates
- Often pre-seasoned or coated from the factory
- Check manufacturer instructions because Weber and Traeger note seasoning may not be needed
- Do not use wire brushes since they scratch the enamel
- Light oiling is fine, but avoid aggressive seasoning
Aluminum or Portable Non-Stick Grills
- Typically do not require seasoning
- Coated surfaces can degrade with oil buildup
- Clean gently and skip high-heat oil treatments
Follow This Seasoning Checklist
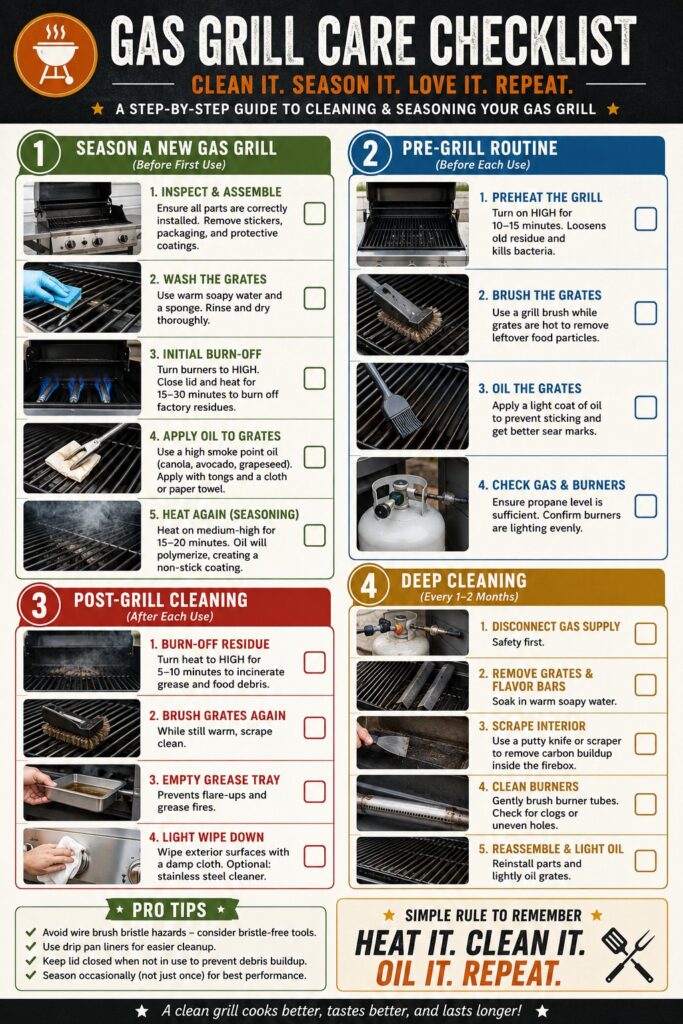
Preparation
- Choose high-heat oil (canola, grapeseed, avocado)
- Grab a silicone basting brush
- Have grill brush and cleaning tools ready
- Work in a well-ventilated area
- Check propane level or gas supply
Execution
- Remove grates and clean with soapy water
- Rinse and dry completely
- Apply a thin oil layer to all surfaces
- Reinstall grates
- Turn all burners to High
- Heat to 400–500°F for 30–60 minutes
- Turn off and cool completely with lid closed
- Repeat 1–2 times for cast iron
Ongoing Maintenance
- Brush grates before every use
- Lightly oil before cooking
- Re-season deeply every 3–4 months
- Cover the grill when not in use
- Inspect for rust monthly
Frequently Asked Questions About Seasoning Gas Grill Grates
How often should you season gas grill grates?
Season new grates 2–3 times initially, then re-season every 3–4 months or whenever food starts sticking. Light oiling before each cook keeps the layer strong between deep sessions.
What is the best oil for seasoning grill grates?
Canola, grapeseed, vegetable, peanut, and avocado oil all work well because they have smoke points above 400°F. Avoid olive oil and butter, which burn too easily and leave sticky residue.
Can you season porcelain-coated grill grates?
Most porcelain grates come pre-treated, and manufacturers like Weber and Traeger often say seasoning is unnecessary. Check your owner’s manual first, and never use wire brushes that can scratch the enamel coating.
Why does my grill still stick after seasoning?
Sticking usually means the seasoning layer is worn, too thin, or the oil didn’t fully polymerize. Strip the grates, clean thoroughly, dry completely, apply a thinner oil coat, and heat to 400–500°F for a full hour.
Is it normal for grates to smoke during seasoning?
Yes, smoke is expected during the heating phase because the oil is bonding and factory residues are burning off. Work in a ventilated area and keep the lid closed to maintain proper temperature.
Should I oil grill grates before or after cooking?
Oil them both before and after cooking. A light coat before each cook prevents sticking, and a quick oiling after cooking (while still warm) preserves the seasoning layer, especially on cast iron.
Key Takeaways for Seasoning Gas Grill Grates Like a Pro
Seasoning your gas grill grates isn’t an optional extra; it’s the foundation of great grilling. The process boils down to three essentials: pick a high-smoke-point oil, apply it thin, and heat it hot enough to polymerize. Done correctly, this 60-minute investment prevents rust, creates a natural non-stick surface, and can extend your grill’s life by years.
Your next step is simple: grab a silicone brush and your favorite high-heat oil, give your grates a thorough clean, and run your first seasoning cycle this weekend. Stick to the routine before and after every cook, and your grill will reward you with perfect sear marks, effortless food release, and reliable performance for many seasons to come.