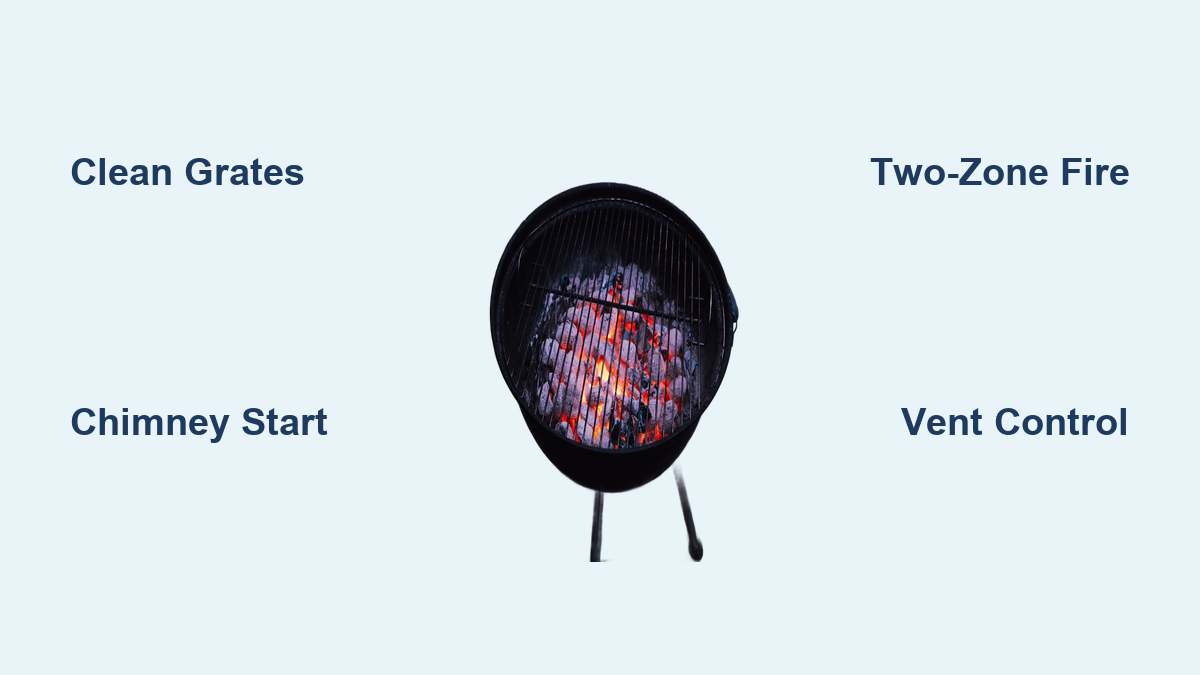
How to Prepare a Charcoal Grill
Nothing beats the smoky, charred flavor of food cooked over real charcoal. Whether you’re firing up a quick weeknight dinner or planning an all-day brisket smoke, success starts before any food hits the grates. Learning how to prepare a charcoal grill properly gives you reliable heat, clean flavor, and full control over every cook. This guide walks you through every essential step, from choosing fuel to mastering airflow, so you can grill with confidence.
Gather Essential Tools and Fuel
The right equipment makes grilling safer, easier, and tastier. Before you light anything, make sure your gear is ready.
Choose the Right Charcoal
Two main fuel types dominate charcoal grilling, each with distinct strengths.
- Lump charcoal burns hotter and faster with minimal ash, making it ideal for searing steaks, burgers, and vegetables. It produces a clean, wood-fired taste.
- Charcoal briquettes burn steadily and predictably, making them perfect for low-and-slow cooks like ribs, brisket, and whole poultry. They produce more ash and last longer.
Pro Tip: Avoid match-light briquettes and lighter fluid. They leave chemical residues that ruin flavor. Stock both types so you can match fuel to your cook.
Equip for Safe Ignition
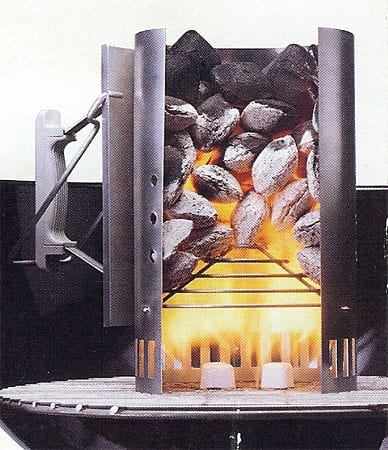
A charcoal chimney starter is the single best tool for lighting coals. It uses no chemicals, lights coals evenly, and gets them ready in 20 to 25 minutes. Pair it with safe starters like wax cubes or crumpled newspaper.
Lighter fluid is unnecessary, unsafe, and outdated. Skip it entirely.
Prepare Handling and Safety Gear
You will need the following basics:
- Long-handled tongs (keep two sets: one for raw, one for cooked)
- Heat-resistant gloves rated to at least 932°F
- Stiff wire brush or no-bristle alternative
- Instant-read thermometer
- Fire extinguisher within reach
- Cooking oil and paper towels for grates
Optional but helpful: a multi-probe thermometer for long cooks, a sharp knife, drip pans, and a sturdy spatula.
Clean the Grill Before Use
A dirty grill causes uneven heat, flare-ups, and bitter off-flavors. Clean before you cook, not just after.
Remove Old Ash First
If ash remains from a previous session, confirm it is completely cool. Sweep it into the bottom and empty it into a trash bag.
Why bother? Ash blocks airflow, traps moisture, and causes rust. Do a full ash dump every 3 to 4 cooks, with light sweeps after each use.
Preheat and Scrub the Grates
- Light the coals and place the grates on.
- Close the lid and heat for 10 minutes.
- Scrub with a wire brush or a ball of aluminum foil held with tongs.
Heat loosens stuck-on debris so it scrubs away easily. Old grease and carbon create acrid smoke that ruins food, so this step protects flavor.
Oil the Grates for Non-Stick Cooking
Right after scrubbing, fold a paper towel, soak it in oil, and wipe it across the hot grates using tongs. This creates a slick barrier so food releases cleanly and sears without sticking.
Apply only a thin, even coat. Too much oil causes flare-ups.
Light the Coals Safely and Efficiently
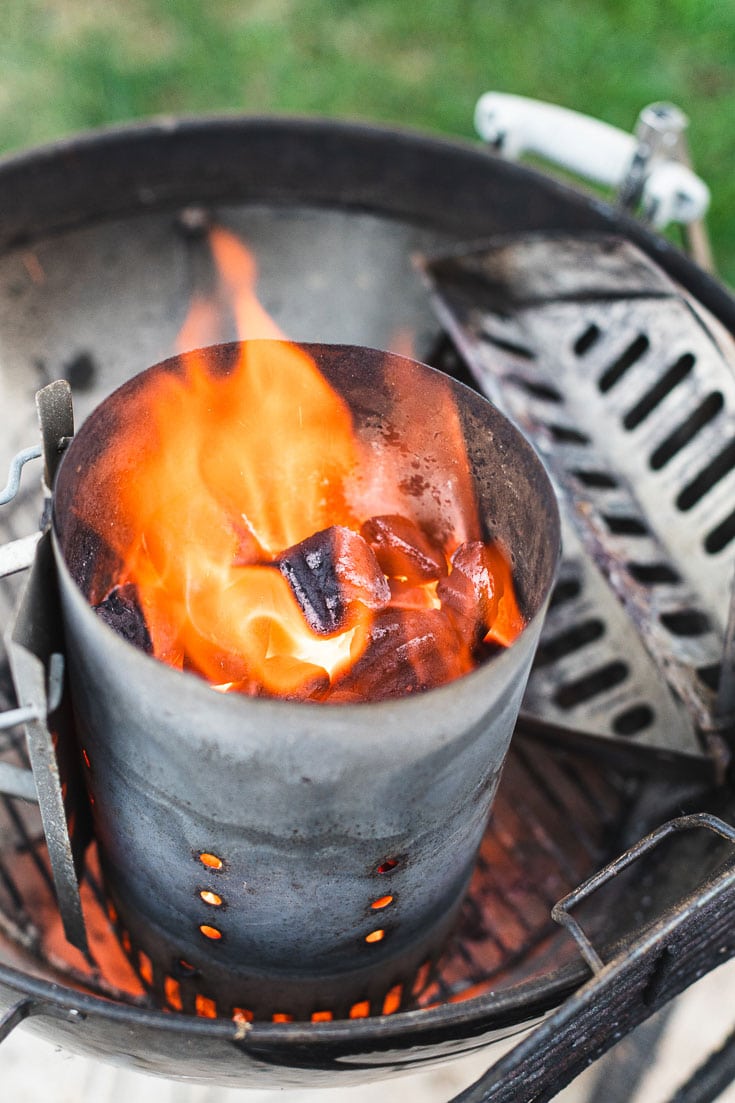
Your lighting method directly affects flavor, heat, and safety. Follow this proven approach.
Use a Chimney Starter
- Place a wax cube or crumpled paper in the bottom.
- Fill the chimney with charcoal.
- Set it on the grill base over the starter.
- Light the material underneath.
Wait 20 to 25 minutes. Coals are ready when covered in light grey ash and glowing red at the cracks. Never use lighter fluid; it is unsafe and taints food.
Know When Coals Are Ready
Look for these visual cues:
- Uniform grey ash coating
- No black spots
- Strong, steady heat (you cannot hold your hand above the grate for more than 2 seconds)
Avoid rushing. Green coals cause uneven cooking and bad smoke.
Set Up Heat Zones for Control

The secret to pro-level grilling is zoning. It gives you control over searing, finishing, and flare-ups.
Build a Two-Zone Fire
The most versatile setup:
- Pour all lit coals to one side of the grill.
- Leave the other side empty.
Now you have:
- Direct zone (hot side): For searing steaks, burgers, and chops.
- Indirect zone (cool side): For slow-cooking large items or escaping flare-ups.
This setup prevents burnt exteriors with raw interiors.
Try Advanced Fire Arrangements
For specialized cooks, consider these methods:
- Snake method: Arrange unlit briquettes in a C-shape along the perimeter. Light one end. Burns slowly for 15+ hour brisket cooks.
- Minion method: Fill a basket with unlit coals and top with a few lit ones. Provides gradual, consistent heat for long sessions.
- Full coverage: Spread coals evenly for high-heat grilling of multiple items.
Control Temperature with Vents
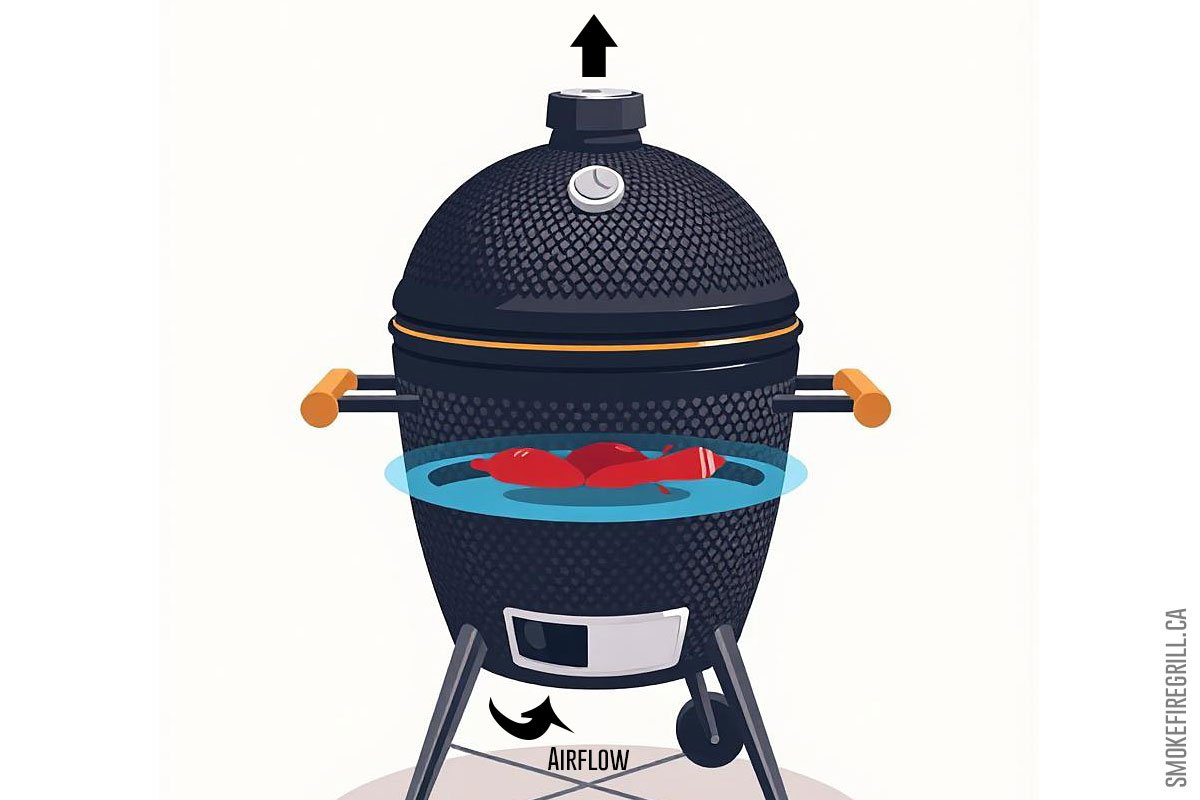
Charcoal grills function as ovens. Heat is managed by airflow, not fuel volume.
Understand Vent Mechanics
- Bottom vents (intake): Pull in oxygen.
- Top vent (exhaust): Lets hot air escape, creating suction.
Rule: More open equals hotter. More closed equals cooler.
Pro Tip: Mark your favorite vent positions with a permanent marker for repeatable results.
Adjust Heat as Needed
To increase heat:
- Open both vents fully.
- Add more lit coals from a chimney.
- Prop the lid open slightly (¼ inch) for a burst of air.
To decrease heat:
- Close the bottom vent first (primary control).
- Partially close the top vent if needed.
- Never fully close both. The fire may go out, and carbon monoxide risk increases.
Target Cooking Temperatures
- Low and slow: 225°F to 275°F (brisket, ribs)
- Medium: 300°F to 350°F (chicken, sausages)
- High heat: 400°F+ (steaks, burgers)
Use a grill thermometer at grate level. Lid thermometers are often inaccurate.
Prevent and Handle Flare-Ups
Flare-ups happen when fat drips onto hot coals. They char food and create acrid smoke.
Stop Flare-Ups Fast
- Move food to the indirect zone.
- Close the lid to cut off oxygen.
Never spray water. It spreads ash, cools the grill, and ruins texture.
Prevent Future Flare-Ups
- Trim excess fat from meat.
- Use a drip pan under indirect food.
- Keep a two-zone setup ready.
- Avoid overcrowding the grill.
Cook with Precision and Flavor
With your grill prepped, apply the right technique for your food.
Sear Over Direct Heat
Best for steaks, burgers, chicken breasts, and vegetables.
- Place food over hot coals.
- Sear 2 to 3 minutes per side for crust formation.
- Flip only once or as needed.
Let food develop a natural release. Do not force it off the grate.
Roast Indirectly Like an Oven
For large or thick items like whole chicken, pork shoulder, or roasts:
- Place food on the cool side.
- Close the lid.
- Cook until internal temperature is reached.
Example: Chicken thighs reach 165°F in 70 to 90 minutes.
Add Smoke for Depth
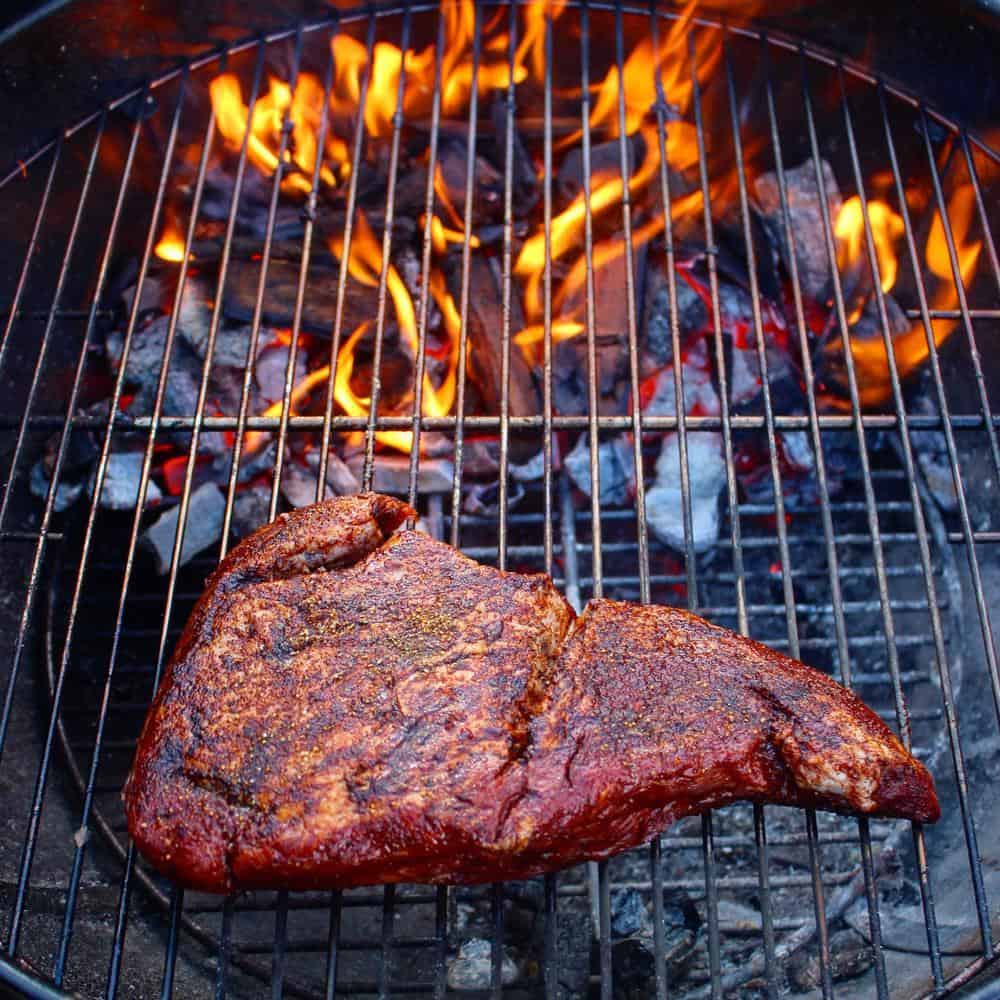
Use wood chunks (not soaked) for low-and-slow cooking:
- Fruit woods (apple, cherry): Mild and sweet, great for poultry and pork.
- Hickory, oak: Strong and bold, ideal for beef and ribs.
- Mesquite: Intense, so use sparingly.
Never soak wood. Wet wood creates thick, white smoke that tastes bitter. Dry wood burns clean and produces thin, blue smoke, which is the hallmark of good BBQ.
Rest Meat and Check Doneness
Cooking does not end when food leaves the grill.
Let Meat Rest
Resting allows juices to redistribute and temperatures to even out.
- Steaks and chops: 3 to 5 minutes
- Whole chicken: 10 to 15 minutes
- Brisket: 30+ minutes
Large smoked meats need less rest because fibers are already broken down.
Check Internal Temperatures
Use an instant-read thermometer for accuracy.
| Food | Target Temp |
|---|---|
| Steak (medium-rare) | 129°F to 135°F |
| Pork chops | 145°F |
| Chicken | 165°F |
| Fish | 145°F |
| Sausages | 160°F |
Reuse Coals and Maintain Your Grill
Proper care extends the life of your grill.
Save Partially Burned Coals
- Close all vents at the end of cooking to cut off oxygen.
- Let coals cool completely.
- Next time, shake off ash and mix with fresh coals in the chimney.
This saves money and reduces waste.
Protect Against Rust
- Cover the grill when not in use. Rain is the number one enemy.
- Leave a light grease layer on grates after cleaning. Bare metal rusts faster.
- Clean interior walls occasionally with a plastic scraper.
Replace Tools Safely
Wire brushes can shed bristles. Inspect them before each use or switch to no-bristle brushes or foil-ball cleaning.
Final Tips for Grill Mastery
Plan for Different Cooks
- Weeknight dinner: Lump charcoal, two-zone fire, sear in 20 minutes.
- Weekend brisket: Briquettes, snake method, 15-hour smoke.
- Delicate fish: Cedar plank on indirect heat with apple wood.
Maximize Flavor
- Dry brine meats 12 to 24 hours ahead for deep seasoning.
- Apply rubs generously to form a flavorful bark.
- Use cold meat so it absorbs more smoke.
Know the Smoke Colors
- Good smoke: Thin, blue, almost invisible, meaning clean combustion.
- Bad smoke: Thick, white, billowing, meaning incomplete burn or wet wood.
Frequently Asked Questions About Preparing a Charcoal Grill
How long does it take for charcoal to be ready?
Charcoal typically takes 20 to 25 minutes in a chimney starter. Coals are ready when covered in a fine layer of light grey ash and glowing red at the cracks.
Should I use lighter fluid to start charcoal?
No. Lighter fluid is unnecessary and unsafe. It leaves chemical residues that taint food flavor. A chimney starter with wax cubes or crumpled newspaper works better and cleaner.
What is the best charcoal for grilling?
Lump charcoal is best for high-heat searing because it burns hot and fast. Charcoal briquettes are best for low-and-slow cooking because they burn steadily and predictably. Many grillers keep both on hand.
How do I control temperature on a charcoal grill?
Control temperature by adjusting the vents. Opening vents increases airflow and heat. Closing vents reduces airflow and cools the fire. The bottom vent is the primary control for lowering heat.
How do I stop flare-ups while grilling?
Move food to the indirect (cool) zone and close the lid to cut off oxygen. Never spray water on flare-ups, as it spreads ash and drops grill temperature significantly.
Can I reuse charcoal from a previous cook?
Yes. Close all vents at the end of cooking to smother the fire. Once cool, shake off ash and mix the remaining coals with fresh charcoal in a chimney starter for the next cook.
Key Takeaways for Mastering Charcoal Grill Preparation
Preparing a charcoal grill is about building a complete cooking system, not just lighting coals. Start with the right fuel and tools, clean the grates thoroughly, and master airflow through your vents. Set up heat zones so you can sear, roast, and smoke with precision. Control flare-ups with smart placement, not water. With these fundamentals in place, you will grill with confidence and produce restaurant-quality results at home. Fire up your grill this weekend and put these techniques into practice.