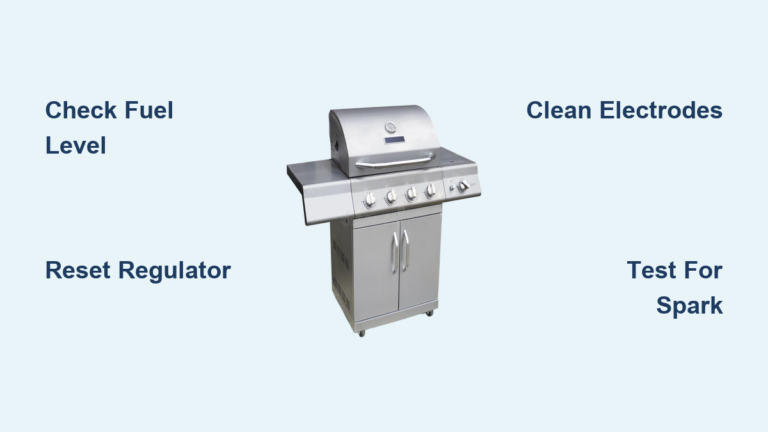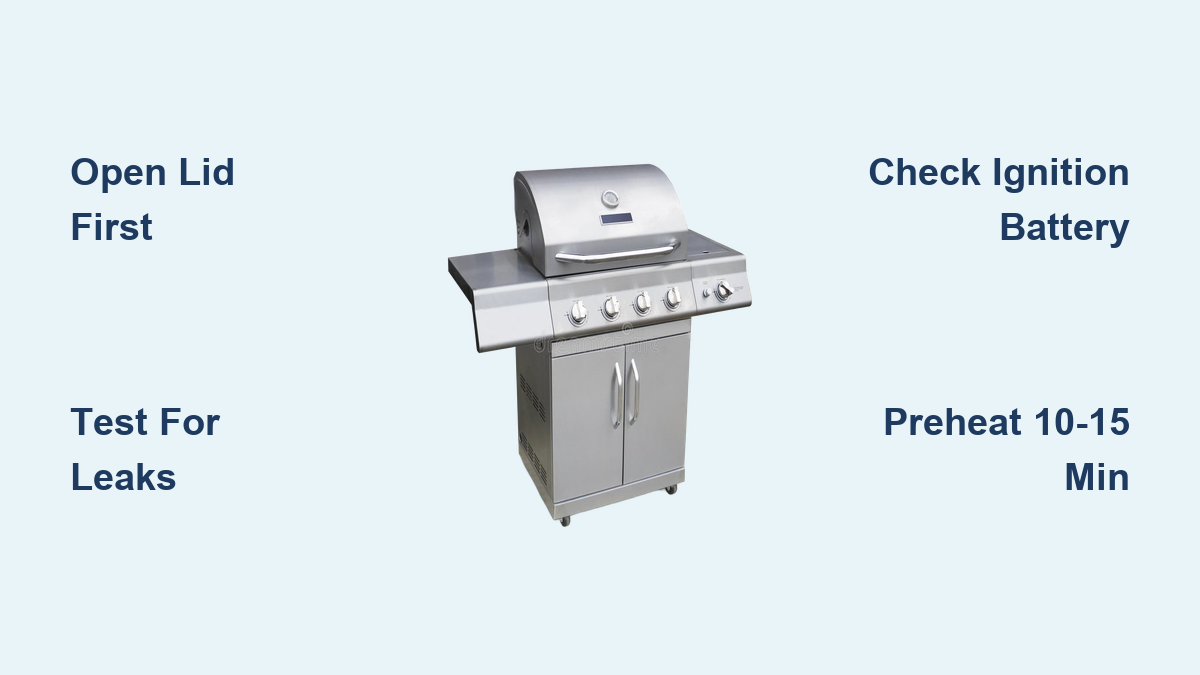
How to Start a Gas Grill: Quick Steps
Fumbling with knobs while hungry guests wait is stressful, especially when smoke refuses to appear. Knowing how to start a gas grill correctly eliminates guesswork, prevents dangerous flare-ups, and delivers consistent searing every time. The process looks simple but hides critical safety steps that many grillers skip. Whether you use propane or natural gas, the right sequence protects your home, your food, and your grill’s lifespan. This guide covers everything from leak checks to ignition methods, preheating, and troubleshooting. You’ll learn professional techniques to avoid gas buildup, master heat zones, and keep your grill running flawlessly for years.
Pre-Start Safety and Setup
Smart grilling begins before any flame appears. A few minutes of preparation prevents accidents and ensures smooth ignition.
Choose a Safe Grilling Location
Position your grill on a flat, non-flammable surface like concrete, tile, or stone. Avoid grass, wooden decks, or areas near fences and overhangs. Maintain at least 10 feet of clearance from structures, railings, and play zones. A heat-resistant floor mat adds protection against grease splatter and radiant heat. Choose a wind-sheltered spot because strong gusts destabilize flames and scatter heat unevenly. Wear heat-resistant gloves and an apron to shield your hands and clothing from burns.
Connect the Propane Tank Safely
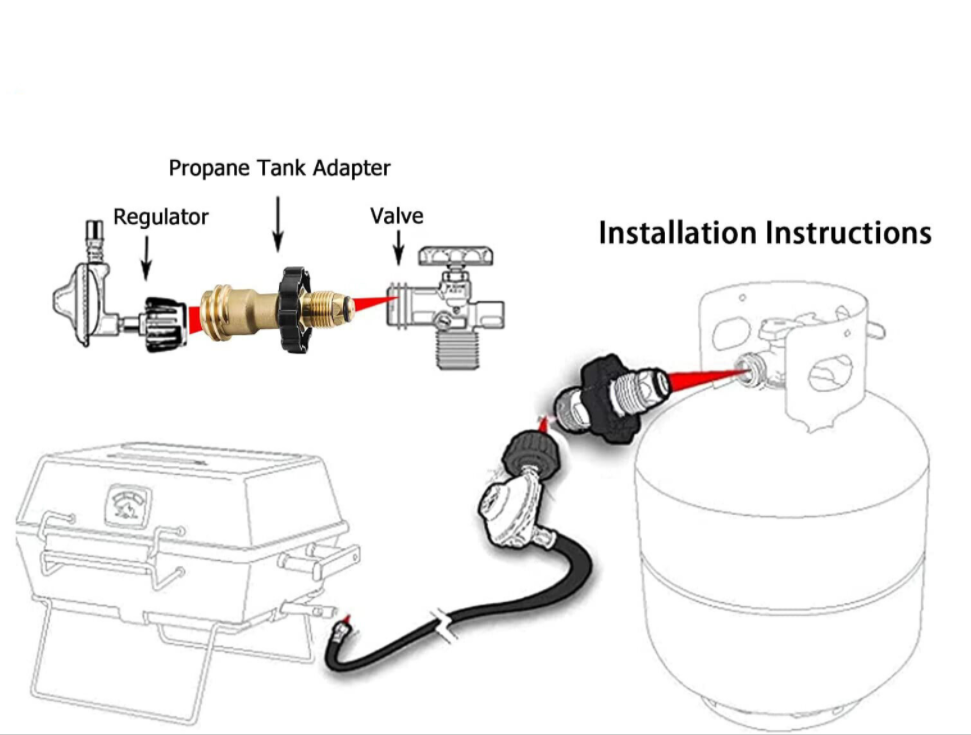
Most portable grills run on a standard 20-lb propane tank. Follow this connection sequence:
- Confirm the grill’s control knob is set to OFF.
- Remove the safety cap from the tank valve by pulling the tab.
- Align the regulator hose with the tank valve and push until it clicks.
- Turn the handwheel clockwise as far as possible to tighten securely.
Verify that your regulator matches your grill model. Mismatched regulators create pressure issues or leaks that compromise safety.
Test for Gas Leaks Every Time
A gas leak is the most serious pre-ignition hazard. Always test before lighting.
Soapy Water Leak Test:
– Mix dish soap and water in a spray bottle.
– Spray the solution on the tank valve, hose connection, and regulator.
– Turn the gas on without igniting.
– Watch for growing bubbles that signal a leak.
If a leak appears:
– Shut off the gas supply immediately.
– Tighten connections or replace the damaged hose or regulator.
– Re-test before attempting ignition.
Never rely solely on smell. Some people cannot detect the rotten-egg odorant added to propane. Listen for hissing sounds during your inspection as well.
Inspect Key Components
Quickly examine these parts before lighting:
– Burners: Check for blockages from spider webs, grease, or food debris.
– Ignition system: Confirm the battery is charged and electrodes are clean.
– Hoses and connections: Look for cracks, wear, or kinks.
Clean or replace any damaged components before use.
Igniting the Grill: Electronic vs Manual

The ignition method depends on your grill’s design, but the safety sequence stays the same.
Always Open the Lid First
This rule cannot be overstated. Never start a gas grill with the lid closed. Gas accumulates in the chamber and explodes upon ignition. Open the lid completely before turning on any gas valve. This single habit prevents the most catastrophic grilling accidents.
Turn On the Gas Supply
Rotate the propane tank valve counter-clockwise until fully open. You may hear a brief hiss as gas enters the line. Wait 3–5 seconds for pressure to equalize before attempting ignition. This pause stabilizes gas flow and improves ignition success.
Using Electronic Ignition (Push Button)
Most modern grills include a built-in electric starter for convenience.
Press and Hold the Ignition Button
- Turn the burner knob closest to the igniter (often leftmost) to HIGH or IGNITE.
- Press and hold the ignition button.
- Listen for clicking and watch for sparks near the burner.
A successful ignition produces a “whoosh” sound and a steady blue flame. Once the first burner lights, turn on adjacent burners to the HIGH setting.
What to Do If It Doesn’t Light
- Release the button and wait 30 seconds for gas to dissipate.
- Try again.
- After 2–3 failed attempts, turn off the burner knob and gas supply.
- Wait 5 minutes before retrying to clear any accumulated gas.
Persistent failure usually points to a dead battery, dirty electrode, or blocked burner.
Replace a Dead Ignition Battery
The ignition module typically uses a AA or 9V battery.
- Locate the battery compartment behind the control panel.
- Remove the old battery.
- Insert a fresh one with correct polarity.
- Test the spark before reconnecting the gas.
Wipe away any corrosion with a dry cloth before installing the new battery.
Lighting Manually With a Lighter

When the electronic igniter fails, a long-reach lighter or match saves the day.
Use a Long-Handle Lighter Safely
- Turn the burner knob to HIGH.
- Insert the flame through the side access hole next to the burner tube.
- Once lit, turn on adjacent burners—the flame often jumps across automatically.
Never hold a match with your bare hand. Use tongs or a clip to secure a match if your grill lacks an access hole.
Light All Burners in Sequence
After the first burner ignites:
– Turn the next burner knob to HIGH.
– The flame should transfer, or light it manually.
– Repeat until all desired burners operate.
Preheat the Grill Properly

Preheating sanitizes grates, prevents sticking, and creates the perfect sear.
Close the Lid and Heat for 10–15 Minutes
Set all burners to HIGH and close the lid. Heat for:
– 10–15 minutes for routine cooking.
– 15–20 minutes for a brand-new grill to burn off manufacturing oils.
Internal temperatures should reach 500–550°F for effective searing.
Why Preheating Matters
- Sanitizes grates: Kills bacteria and burns off old residue.
- Prevents sticking: Hot metal forms a natural non-stick surface.
- Improves sear: Guarantees immediate crust formation on meats.
Clean and Prep the Grates
A hot grill is the easiest grill to clean because residue lifts away effortlessly.
Scrub With a Grill Brush
Use a stainless steel wire brush to scrub grates side-to-side. Focus on stuck-on debris. Replace worn brushes frequently to avoid loose bristles contaminating food.
Oil the Grates (Optional)
For extra non-stick protection:
1. Fold a paper towel into a small pad.
2. Dip it in vegetable oil.
3. Hold with tongs and wipe across the grates.
Avoid aerosol cooking sprays. Flammable propellants cause dangerous flare-ups.
Adjust Heat for Cooking

Once preheated, set up heat zones for maximum cooking control.
Set Burners to Desired Heat Level
- High (450–600°F): Searing steaks, burgers, or quick char.
- Medium (350–450°F): Chicken, sausages, vegetables.
- Low (250–350°F): Fish, delicate items, or warming.
Use direct heat (food over flame) for searing and indirect heat (burner off or low) for slow cooking.
Create Two-Zone Cooking Setup
Turn off one side of the burners. Sear food over high heat, then move it to the cooler side to finish without burning. This setup works perfectly for thick steaks, roasts, or whole chickens.
Handle Flare-Ups Correctly
Grease dripping onto flames causes flare-ups, but they are manageable with the right response.
Minor Flare-Ups: Move or Reduce Heat
- Shift food to a cooler zone.
- Turn down the affected burner slightly.
- Close the lid briefly to reduce oxygen.
Major Flare-Ups: Close the Lid
If flames surge out of control:
– Close the lid immediately. This cuts off oxygen and smothers the fire.
– Do not open the lid to check the fire—it will flare again.
Never use water on a grease fire. Water causes explosive splattering. Keep baking soda or a Class B fire extinguisher within reach.
Shut Down the Grill Safely
Proper shutdown prevents gas leaks and extends your grill’s lifespan.
Turn Off Burners First
Rotate all burner knobs to OFF. Wait a few seconds for flames to die completely.
Close the Propane Tank Valve
Turn the tank valve clockwise until fully closed. This stops gas flow and prevents pressure buildup in the hose.
Let the Grill Cool
Leave the lid open for 5–10 minutes to release trapped heat. Close it once cool to keep out debris and pests.
Cover When Cool
After 30–60 minutes, the grill should be completely cool. Cover it with a weather-resistant cover to protect against rust, moisture, and insects.
Clean and Maintain Regularly
Routine cleaning prevents clogs, uneven flames, and fire hazards.
Clean Grates After Every Use
Scrub while warm but not scorching. Debris hardens on cold grates and becomes nearly impossible to remove.
Empty the Grease Tray Weekly
A full grease tray causes smoking and increases fire risk. Empty it into a disposable container and wash with soapy water.
Inspect and Clean Burners Monthly
Remove burner tubes and check for:
– Spider nests
– Grease buildup
– Corrosion or cracks
Clear ports with a pipe cleaner or compressed air. Wipe with a damp cloth and never submerge burners in water.
Troubleshoot Common Starting Problems
Most ignition issues have simple fixes you can handle in minutes.
Grill Won’t Light? Check These
Empty Propane Tank
– Signs: No gas flow, weak flame, or sudden shutdown.
– Fix: Weigh the tank. A full 20-lb tank weighs about 38 lbs (18.5 lbs empty). Refill or replace.
Dead Ignition Battery
– Signs: No clicking, no spark.
– Fix: Replace the battery and test the spark.
Blocked Burner Tubes
– Signs: Uneven flames, yellow tips, or burner won’t light.
– Fix: Remove and clean with a brush or compressed air.
Moisture in Ignition System
– Signs: Intermittent sparking after rain or cleaning.
– Fix: Dry the electrode and module with a cloth. Allow complete air drying.
Flame Is Yellow or Orange?
A healthy flame burns blue with light blue inner cones. Yellow or orange flames indicate:
– Dirty burners: Clean ports and tubes.
– Blocked air shutters: Restore proper air-gas mix.
– Gas leak: Perform the soapy water test immediately.
Low Flame? Check Pressure and Flow
- Partially closed valve: Open the tank fully.
- Faulty regulator: Replace if hissing or inconsistent pressure occurs.
- Kinked hose: Straighten or replace.
Prevent Costly Mistakes
Avoid these common errors that damage grills or cause injuries.
Never Light With Lid Closed
This remains the leading cause of grill explosions. Gas builds up and ignites all at once. Always open the lid first.
Don’t Skip Leak Tests
Even a small leak creates serious danger. Perform the soapy water test before every use.
Avoid Overloading the Grill
Too much food drops internal temperature, preventing searing and causing steaming instead of grilling.
Never Use Water on Grease Fires
Water transforms hot grease into explosive steam. Use baking soda, salt, or a Class B fire extinguisher.
Clean Burners Regularly
Neglect causes clogs, uneven heating, and dangerous flame patterns. Inspect burners every few weeks.
Maintenance Schedule for Longevity
Keep your grill performing like new with consistent care.
Before Each Use
- Check for gas leaks.
- Inspect hoses and connections.
- Clean grates thoroughly.
Every 6–12 Months
- Deep clean interior and burners.
- Inspect ignition system.
- Test regulator function.
- Replace worn parts.
Before Winter Storage
- Clean thoroughly.
- Remove and store propane tank outdoors in an upright position.
- Cover with a durable, breathable cover.
- Protect burner ports from nesting insects.
Frequently Asked Questions About Starting a Gas Grill
How long should I preheat a gas grill before cooking?
Preheat for 10–15 minutes on high heat with the lid closed. For a brand-new grill, extend to 15–20 minutes to burn off manufacturing residues. The grates should reach 500–550°F for optimal searing.
What should I do if my gas grill won’t light?
First, confirm the propane tank valve is fully open. Check for an empty tank by weighing it (subtract 18.5 lbs from total weight). Replace the ignition battery if there’s no clicking sound. Clean blocked burner ports and wait 5 minutes after failed attempts to let gas dissipate before retrying.
Is it safe to use a gas grill on a wooden deck?
Wooden decks pose fire risks from radiant heat and grease. Place the grill on a non-flammable surface like concrete, or use a specialized fire-resistant deck protector mat. Maintain at least 10 feet of clearance from structures and overhangs.
Why is my gas grill flame yellow instead of blue?
Yellow or orange flames signal incomplete combustion, usually from dirty burners, blocked air shutters, or a gas leak. Clean the burner ports thoroughly and perform a soapy water leak test. Persistent yellow flames require professional inspection.
Can I use water to put out a grease fire on a gas grill?
Never use water on a grease fire. Water causes hot grease to splatter and spread flames explosively. Close the lid to cut off oxygen, then use baking soda or a Class B fire extinguisher to smother the fire safely.
How often should I clean my gas grill burners?
Inspect burners monthly for spider webs, grease, and debris. Clean them with a brush or compressed air every 6–12 months, or whenever you notice uneven flames or yellow tips. Regular cleaning prevents clogs and extends burner life.
Key Takeaways for Mastering Gas Grill Ignition
Starting a gas grill safely comes down to following the correct sequence every single time. Open the lid first, test for leaks with soapy water, connect the propane tank securely, and ignite using either the electronic starter or a long-handle lighter. Preheat for 10–15 minutes to sanitize grates and create the perfect sear, then adjust burners to match your cooking method. Master two-zone cooking for thick cuts and always close the lid to smother major flare-ups instead of using water. Shut down by turning off burners first, closing the tank valve, and covering the grill only after it cools completely. Schedule monthly burner inspections and deep cleanings every 6–12 months to prevent clogs and uneven heating. Put these habits into practice at your next cookout, and you’ll enjoy safer, more flavorful grilling from the very first flame.