How to Light a Weber Grill
Nothing ruins a backyard cookout faster than a grill that won’t light. Whether you’re firing up a classic charcoal kettle, a propane Genesis, or a plug-in electric model, knowing how to light a Weber grill the right way keeps you safe and your food tasting great. Each fuel type has its own startup process, and skipping key steps can lead to uneven heat, flare-ups, or even dangerous gas buildup. This guide walks you through lighting charcoal, gas, and electric Weber grills with confidence, plus what to do when your igniter stops working.
Charcoal: Use a Chimney Starter for Clean, Even Coals
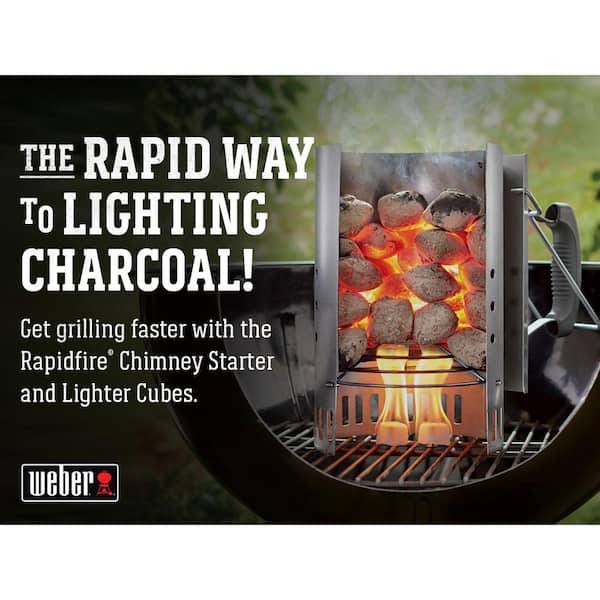
Lighting a Weber charcoal grill doesn’t require lighter fluid or guesswork. The chimney starter method is the safest, cleanest, and most reliable way to get glowing coals without chemical aftertaste.
Measure Charcoal with the Included Scoop
Use the briquette scoop that came with your grill to portion the right amount of charcoal. Overloading slows ignition and wastes fuel, while too little won’t sustain cooking heat. Pour the measured charcoal into the chimney starter, filling it no more than three-quarters full for best results. A full chimney typically feeds a 22-inch kettle for 45 to 60 minutes of grilling.
Light Three Lighter Cubes on the Grate
Place three Weber lighter cubes directly on the coal grate. Light them with a match or lighter until they catch flame. Then set the chimney starter on top, aligning it with the burning cubes. The rising heat draws oxygen through the bottom, accelerating ignition from below. Never use gasoline, alcohol, or other flammable liquids because they create extreme fire hazards.
Wait for Flames to Crest the Top
In about 10 to 15 minutes, flames will rise above the chimney and coals will glow bright red. This visual cue means the charcoal is fully ignited and ready to use. Avoid blowing into the chimney or shaking it prematurely, as this can extinguish the fire or send dangerous sparks flying.
Pour and Position Coals Safely
Wearing heat-resistant gloves, carefully lift the chimney and shake the glowing coals into the grill. Spread them evenly for direct heat, or pile them on one side for two-zone cooking. Place the lid on the grill and let it preheat for 2 to 3 minutes before adding food. Keep the lid closed during cooking to maintain steady temperature.
Pro Tip: Never dump unlit charcoal into a hot batch. It cools the grill and delays cooking. Start fresh if needed.
Gas Grill: Follow the Ignition Sequence Exactly
Weber gas grills use an electronic ignition system for quick, reliable starts. But even with automation, skipping steps can cause gas buildup or failed ignition.
Open the Lid First
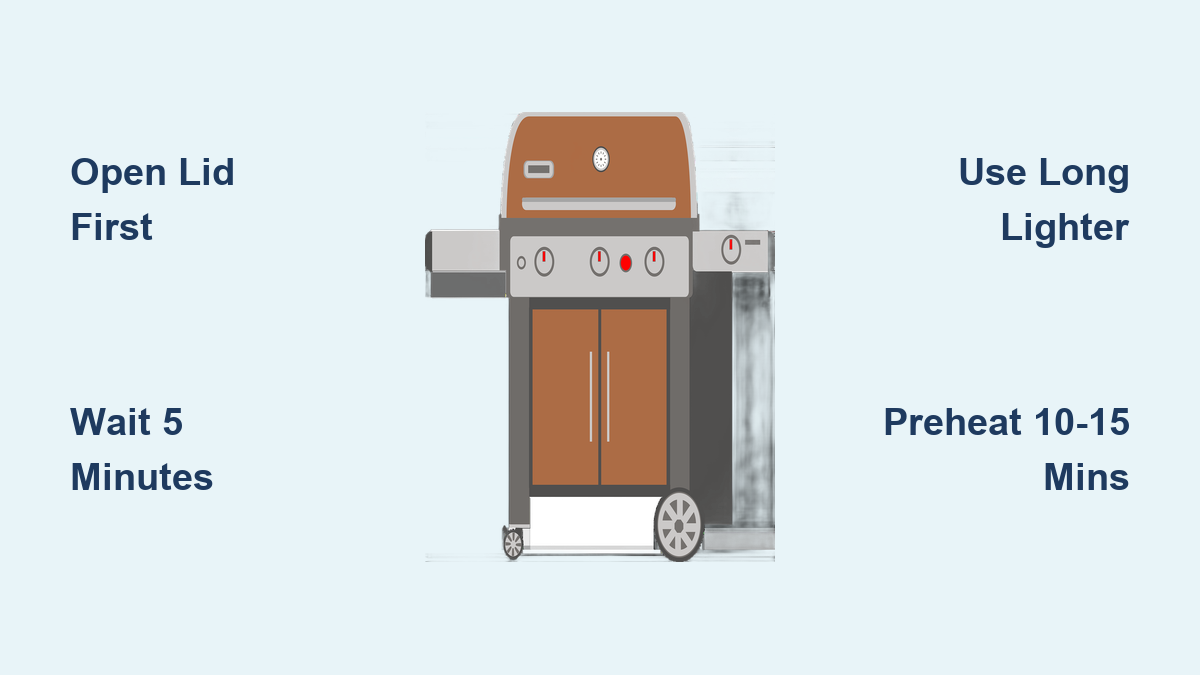
Always open the lid before turning on the gas. A closed lid traps gas and creates an explosion risk. This is the single most important safety rule for gas grills.
Turn On the Gas Supply
For propane models, slowly open the valve on the tank. For natural gas, confirm the home supply line is fully open. Sudden gas surges can destabilize pressure regulators, so open valves gradually.
Ignite the First Burner
Turn the front control knob to “High” and wait 2 to 3 seconds for gas to flow into the burner tube. Then press the igniter button. You should hear a click and see a flame ignite beneath the burner. Most Weber igniters light within 1 to 2 button presses.
If the burner doesn’t light, turn the knob to “Off” and wait 5 minutes for gas to dissipate before retrying.
Light the Remaining Burners
Once the first burner is lit, turn the other control knobs to “High” one at a time. They’ll ignite through crossover without needing the igniter button again. This saves time and ensures even heat distribution across the cooking surface.
Preheat for 10 to 15 Minutes
Close the lid and let the grill heat up. For searing, aim for 500°F or higher. For indirect cooking, reduce to medium after preheating. Use the built-in lid thermometer to monitor temperature.
Warning: Never lean over the grill during ignition. A delayed ignition could cause a sudden flash fire.
Manual Lighting: When the Igniter Fails

Even the best igniters fail over time. When your push-button doesn’t spark, manual lighting is the safe backup method. You only need a long-reach lighter to get started.
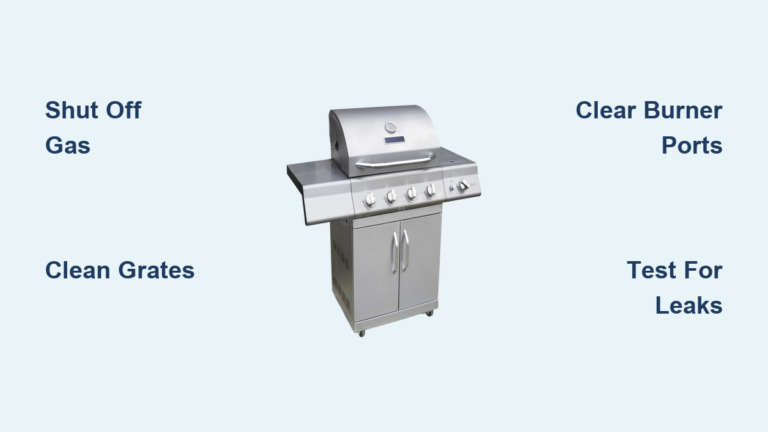
Shut Off Gas and Wait 5 Minutes
Turn all burner knobs to “Off” and close the propane tank valve. Wait exactly 5 minutes to let any accumulated gas disperse. Skipping this step risks a dangerous flare-up when you attempt to light the burner.
Use a Long Grill Lighter
Open the lid and turn one burner knob to “IGNITION” or “Low.” Hold a long-reach butane lighter near the burner’s ignition port, usually located near the front of the burner tube. You’ll see small gas ports along the tube where the flame should catch. Press the igniter port gently with the flame tip until the burner lights, then adjust to your desired heat level.
Light Additional Burners
Repeat the process for other burners, or light them after the first is running by turning their knobs to “High.” The flame will jump across to ignite them automatically.
Pro Tip: Keep a dedicated grill lighter in your outdoor tool kit. Matches burn too fast and put your hand too close to the flame.
Electric Grill: Plug In and Preheat
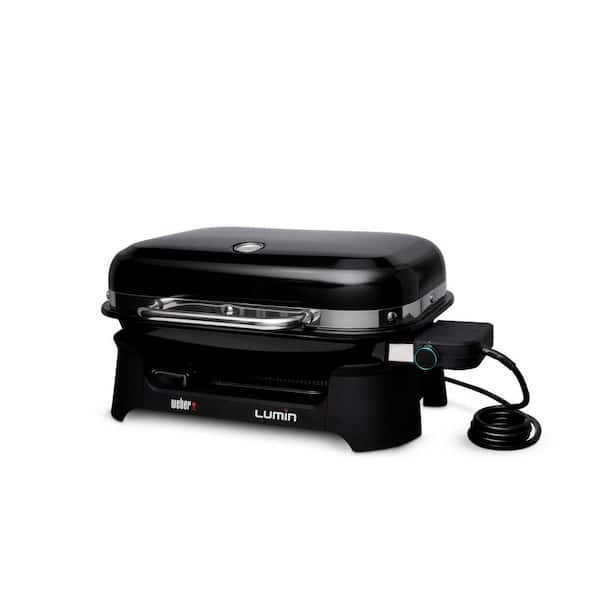
Weber electric grills offer the simplest startup with no fuel tanks, no charcoal, and no open flame. They’re ideal for patios, balconies, or areas where flames are restricted.
Plug Into a Grounded Outlet
Place the grill on a dry, stable surface and plug the power cord into a grounded 120V outlet. Never use an extension cord because it can overheat and create a fire hazard.
Set to High and Wait 25 Minutes
Turn the control dial to “High” and close the lid. Wait 25 minutes for the grill to reach optimal cooking temperature. Unlike gas or charcoal, electric models need the full warm-up time to sear properly.
Start Cooking
After 25 minutes, the cooking surface will be hot enough for steaks, burgers, or vegetables. Adjust the dial as needed throughout cooking. Temperature stabilizes quickly, so no constant monitoring is required.
Note: Electric grills perform best in temperatures above 40°F. Cold weather increases preheat time.
Verify Temperature Before Cooking
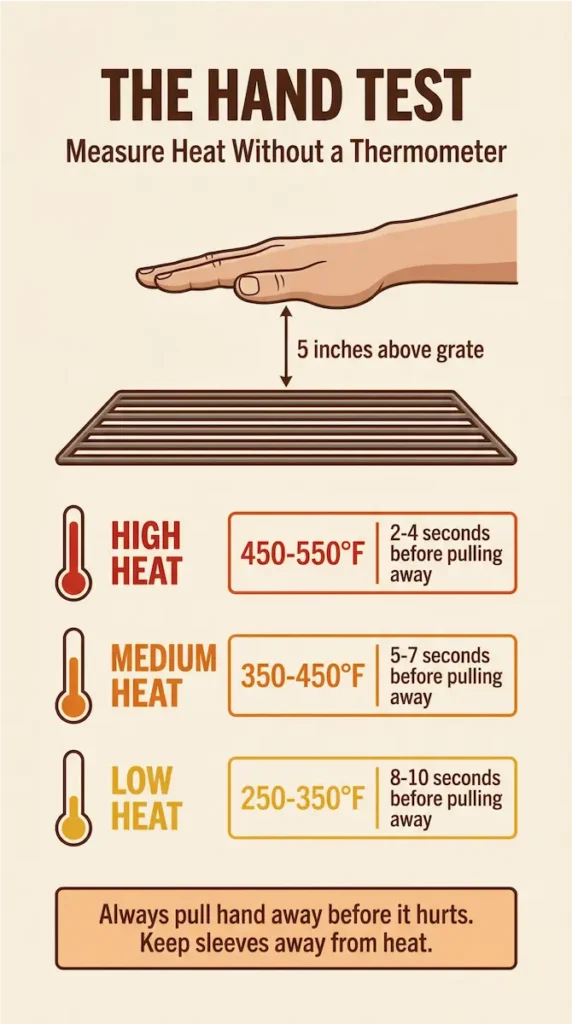
No matter the fuel type, don’t guess whether your grill is ready. A properly heated grill ensures good searing, prevents sticking, and cooks food safely.
Use a Reliable Thermometer
Weber grills have built-in lid thermometers, but they only measure ambient air temperature. For accuracy, use a meat thermometer to check internal food temps:
- Steak (Medium Rare): 130 to 135°F
- Chicken: 165°F
- Pork Chops: 145°F
For grill surface heat, hold your hand 3 inches above the grate:
- 2 seconds: High (450 to 550°F)
- 3 to 4 seconds: Medium (350 to 400°F)
- 5+ seconds: Low (250 to 300°F)
Avoid Common Lighting Mistakes
Even experienced grillers make errors that compromise safety or performance.
Using Lighter Fluid on Charcoal
Never douse charcoal with lighter fluid after lighting. It creates toxic fumes and can cause explosive flare-ups. The chimney starter eliminates this risk entirely.
Igniting with the Lid Closed
This is the leading cause of gas grill explosions. Always open the lid before turning on the gas so accumulated gas can vent and you can see the flame ignite.
Skipping the 5-Minute Wait
After a failed ignition, wait 5 minutes before trying again. Gas builds up quickly and can ignite violently if reignited too soon.
Overloading the Chimney
Too much charcoal leads to excessive heat and wasted fuel. Fill the chimney starter no more than three-quarters full. For smaller meals, use half a load.
Maintain Your Grill for Reliable Starts
A clean grill lights easier and lasts longer. Build these maintenance steps into your routine.
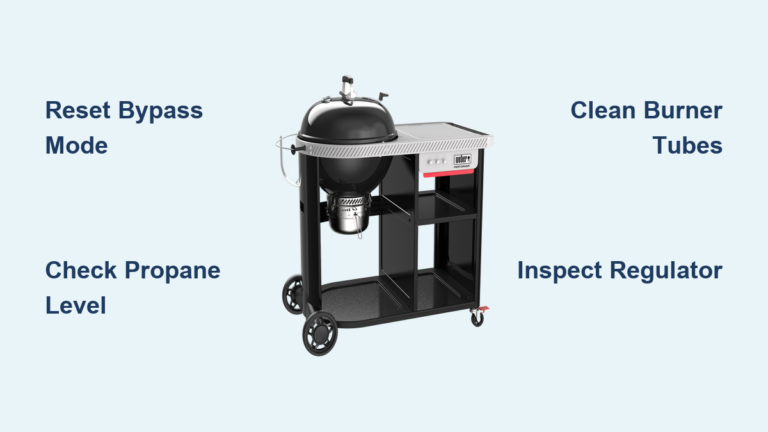
Clean Burner Tubes Monthly
Clogged tubes prevent gas flow and cause uneven flames. Remove the grates and flavorizer bars, then use a pipe cleaner or Weber-approved tool to clear debris from burner ports.
Check Igniter Function
Test the igniter monthly. If it clicks but doesn’t spark, the electrode may be dirty or misaligned. Clean it with a dry cloth and ensure a quarter-inch gap between the electrode and burner.
Store Charcoal Properly
Keep charcoal in a dry, sealed container. Moisture makes it hard to light and produces excess smoke during cooking.
Quick Reference: Lighting Checklist by Fuel Type
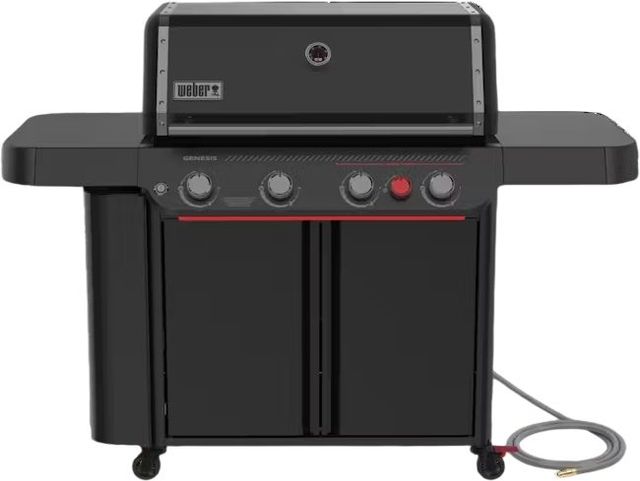
| Fuel Type | Key Steps | Preheat Time | Tools Needed |
|---|---|---|---|
| Charcoal | Chimney starter + lighter cubes | 10 to 15 mins | Chimney, gloves, scoop |
| Propane | Open lid, gas on, ignite | 10 to 15 mins | Grill lighter (backup) |
| Natural Gas | Confirm supply, ignite burners | 10 to 15 mins | Grill lighter (backup) |
| Electric | Plug in, set to high | 25 mins | Grounded outlet |
Frequently Asked Questions About Lighting a Weber Grill
How long does it take to light a Weber charcoal grill?
It takes about 10 to 15 minutes for charcoal to fully ignite using the chimney starter method. You’ll know the coals are ready when flames crest the top of the chimney and the coals glow bright red.
Can you light a Weber gas grill without the igniter?
Yes. Turn all knobs to “Off,” close the propane valve, and wait 5 minutes. Then open the lid, turn one knob to “IGNITION” or “Low,” and hold a long-reach lighter near the burner port until it catches flame.
Why won’t my Weber grill light?
Common causes include a closed propane valve, a depleted gas tank, clogged burner ports, or a faulty igniter electrode. Check the gas supply first, then inspect burner tubes for blockages. If the igniter clicks but doesn’t spark, try manual lighting as a backup.
Is it safe to use lighter fluid on a Weber charcoal grill?
Weber recommends against using lighter fluid because it creates toxic fumes and increases the risk of flare-ups. The chimney starter with lighter cubes is the safer, cleaner alternative.
How long should you preheat a Weber gas grill?
Preheat for 10 to 15 minutes with the lid closed after lighting. This allows the grill to reach cooking temperature and ensures consistent heat across the grates.
Do electric Weber grills need preheating?
Yes. Electric models require a full 25-minute preheat on “High” with the lid closed to reach optimal cooking temperature.
Key Takeaways for Lighting Your Weber Grill Safely
Mastering how to light a Weber grill comes down to following the right sequence for your fuel type. Always open the lid before turning on gas, wait 5 minutes after a failed ignition, and never use lighter fluid on charcoal. Keep a long-reach lighter in your grill kit as a backup, and verify temperature with a reliable thermometer before placing food on the grates. With these methods locked in, you can fire up your Weber with confidence and enjoy perfectly grilled meals every time.