How to Clean a Gas Grill
Grease fires, uneven heating, and stubborn stuck-on food—these problems usually trace back to one fix: a proper gas grill cleaning. If your grill isn’t performing like it used to, or you skipped deep maintenance last season, it’s time to restore it. Knowing how to clean a gas grill correctly isn’t just about looks. It’s essential for safety, flavor, and getting more years out of your equipment. A neglected grill builds up grease that causes flare-ups, and clogged burner ports can ruin an entire cookout.
This guide breaks down every step, tool, and material you need to deep clean your gas grill safely. Whether you have stainless steel, porcelain, or cast iron grates, you’ll learn the right technique for each component. From burner tubes to grease trays, expect to spend 45 minutes to a few hours. Do this twice a year—start and end of grilling season—and your grill will deliver better sear, cleaner flavor, and safer operation for years.
Essential Safety and Setup Before You Start
Shut Off Gas and Let the Grill Cool Completely
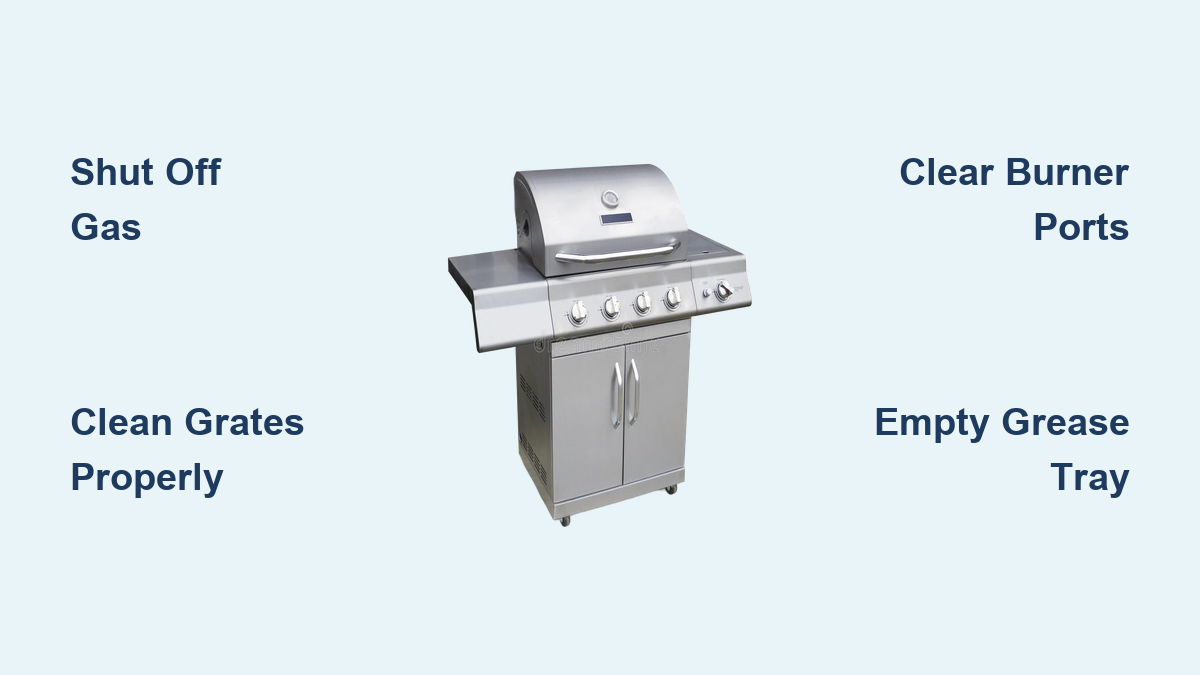
Before touching anything, shut off the gas. For propane grills, close the valve on the tank. For natural gas models, turn off both the grill knob and the main gas line. Never clean a hot grill. Wait until every component is fully cool to avoid burns and prevent warping. A cool surface also lets cleaning agents work properly without evaporating too fast.
Set Up Your Work Area
Pick a warm, flat spot like a patio or driveway. Lay down a tarp or opened trash bags to catch grease drips. Set up a two-bin cleaning station:
- Bin 1: Warm water mixed with dish soap or degreaser
- Bin 2: Clean rinse water
Use clear plastic storage bins large enough to submerge your cooking grates diagonally. Standard buckets are usually too small. If you clean indoors, line a bathtub or utility sink with towels to prevent scratches.
Gather Tools and Supplies
Have everything ready before you begin:
- Cleaning agents: Dish soap, degreaser (Zep or grill-specific), baking soda, white vinegar, vegetable oil
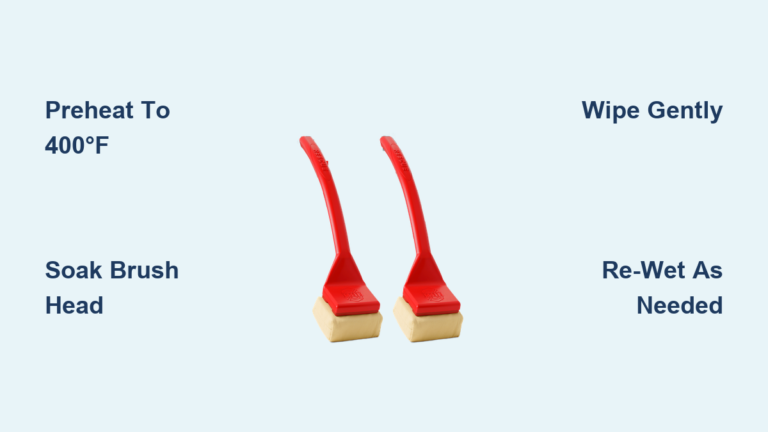
- Brushes and scrapers: Wire brush (stainless steel only), nylon brush, plastic scraper, stainless-steel wool, crumpled aluminum foil
- Other tools: Shop vac, microfiber cloths, heavy-duty gloves, two large bins
Skip abrasive tools on porcelain or enamel grates. Steel wool and wire brushes will scratch the coating. For cast iron, keep oil nearby for post-clean seasoning.
Clean Cooking Grates by Material Type
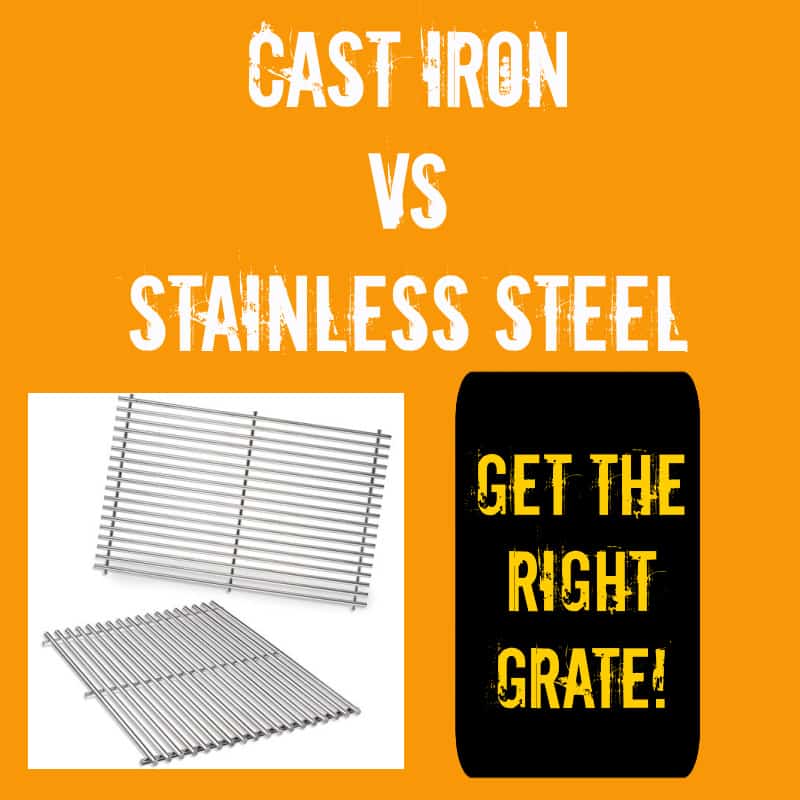
Stainless Steel Grates: Soak and Scrub
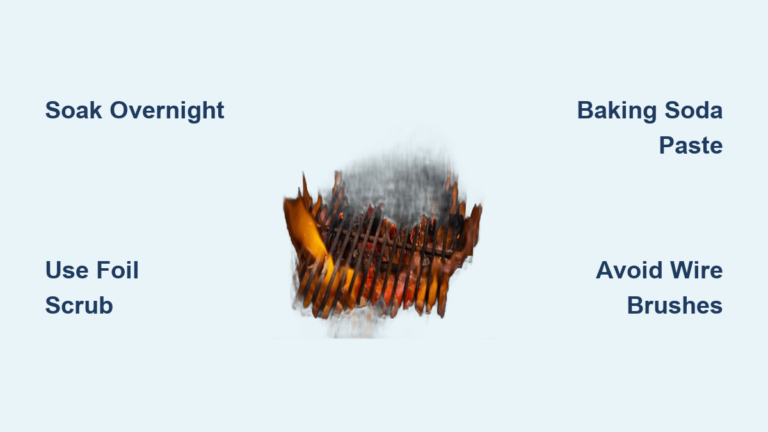
Heat the grill on high for 10–15 minutes to loosen debris (optional). Once cool, scrape both sides with a wire brush and plastic scraper. Soak grates in hot, soapy water mixed with degreaser for 15–20 minutes. For heavy buildup, scrub with stainless-steel wool or a nylon brush.
For stubborn grime, try the baking soda paste method: Mix 1.5 cups baking soda with ½ cup water. Apply to grates, wait 5 minutes, then scrub with a crumpled ball of aluminum foil. Rinse thoroughly and dry before reassembly.
Porcelain or Enamel Grates: Gentle Cleaning Only
Never use wire brushes, steel wool, or foil. These will damage the coating and expose metal to rust. Instead, make a paste from 1.5 cups baking soda and enough water to thicken. Apply with a sponge, let sit 5–10 minutes, then gently scrub with a non-abrasive scouring pad or nylon brush. Rinse well and dry completely. Deep scratches mean the grate should be replaced to prevent rust.
Cast Iron Grates: Clean In Place, No Soaking
Don’t submerge cast iron. Water causes rust. Mix 1.5 cups baking soda, ¼ cup dish soap, and ¼ cup white vinegar into a frothy paste. Apply directly to grates and let sit 15–20 minutes. Gently scrub with a nylon brush, wipe clean with a damp cloth, then dry immediately.
After cleaning, apply a light coat of vegetable oil and heat the grill on high for 10 minutes to season the surface. This creates a non-stick barrier and prevents oxidation. Always oil after every deep clean.
Clean Flavorizer Bars and Heat Shields
Remove and Soak Metal Flavorizer Bars
These triangular bars sit above the burners and trap grease drippings. Remove them if possible. Scrape off heavy buildup with a wire brush or grill floss. Soak in warm, soapy water or degreaser for 20 minutes, then scrub with stainless-steel wool. Rinse and dry fully before reinstalling. If they’re cracked or warped, replace them. Damaged bars reduce heat distribution and increase flare-ups.
Maintain Ceramic Briquettes Without Water
Do not soak ceramic briquettes. Instead, flip them upside down and turn the grill on high for 15 minutes to burn off residue. Turn off and let cool completely, then lightly brush off ash with a nylon brush. Replace any that are crumbling or heavily cracked. Clean briquettes distribute heat evenly and protect burners.
Clean Burners and Interior Cookbox
Wipe Down Cookbox Walls and Lid
Start from the top: spray the inside of the lid and cookbox walls with oven cleaner or degreaser. Let it sit 30 seconds to break down grease. Wipe with a microfiber cloth, then go over with a damp rag to remove residue. Pay attention to corners and crevices where grease hides. Avoid overspray on ignition components.
Clear Burner Tubes and Ports
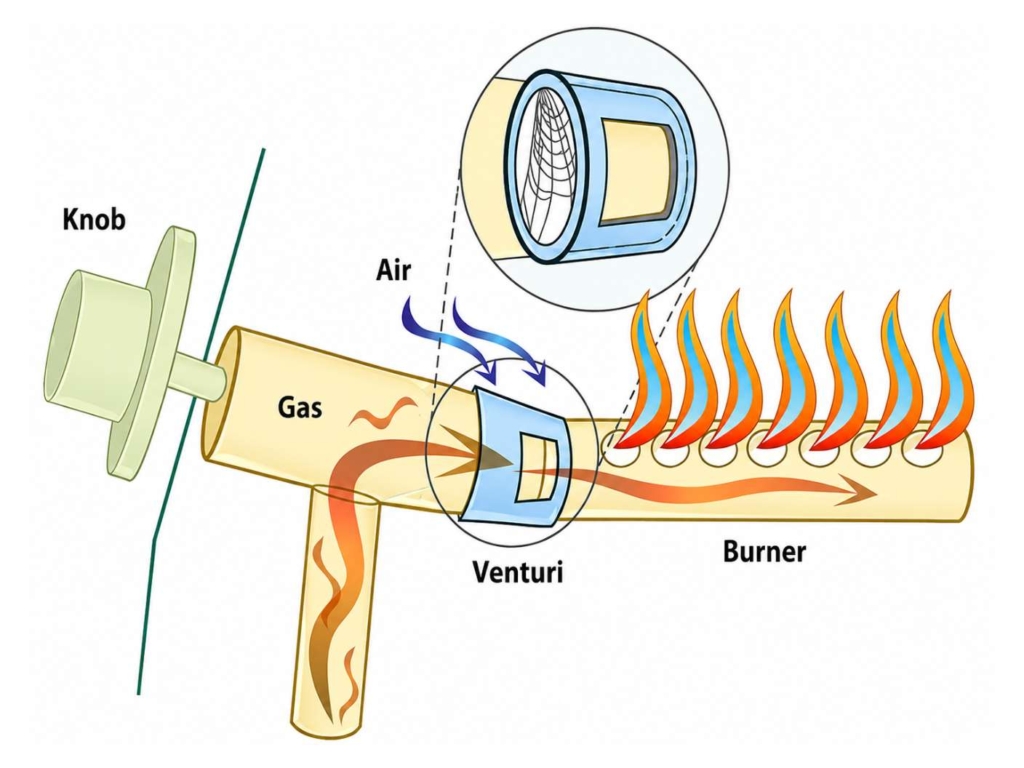
Leave tubes in place. Lightly scrape off surface gunk with a plastic scraper. Use a nylon brush or steel wool for stuck debris. Check the small flame ports along the tube. Clogs cause uneven heating or weak flames. Clear them with a wire brush, toothpick, or dedicated port cleaner. Ensure the igniter is dry and free of grease so it sparks properly.
Vacuum Debris from the Bottom
After scraping, use a shop vac to remove loose ash, grease chunks, and dust from the cookbox floor. If you don’t have a vacuum, scrape debris toward the grease tray channel and remove manually. A clean base prevents flare-ups and makes future cleaning easier.
Manage the Grease System Properly

Replace Disposable Drip Pans
If your grill uses aluminum drip pans, toss them after every deep clean. Scoop out sludge first, then slide out the old pan. Seal it in a trash bag immediately. Old grease attracts pests and smells. Install a fresh pan before reassembling.
Wash Reusable Grease Trays
For metal trays, slide out carefully to avoid spills. Scrape thick grease into the trash, then soak in soapy water. Scrub with a brush, rinse in clean water, and dry. Clean every few uses and deep clean during biannual maintenance. A clogged tray is a fire hazard.
Wipe Down Exterior and Cabinet
Clean Control Panel and Housing
Mix hot soapy water and wipe down the grill’s exterior, including control knobs, side shelves, and cabinet doors. Use a microfiber cloth to avoid scratches. For stainless steel, wipe with the grain to prevent streaks. Dust out cobwebs inside cabinet doors.
Dry all surfaces completely. Moisture leads to rust, especially on steel frames. If your grill has a storage compartment, check for rodent nests or insect activity, especially after winter.
Reassemble and Season Grates
Dry All Parts Completely
This step is non-negotiable. Any moisture left on cast iron or steel parts will cause rust. Air-dry components in the sun or wipe with dry cloths. Never reassemble damp parts.
Reassemble in Correct Order
- Reinstall burner tubes (if removed) and align ports properly
- Place flavorizer bars or heat shields over burners
- Add ceramic briquettes (if used)
- Set cooking grates in place
- Insert clean grease tray with fresh drip pan
- Close cabinet doors
Double-check that nothing is misaligned, especially ignition wires.
Season Grates for Non-Stick Performance
Apply a light coat of vegetable or cooking oil to stainless steel and cast iron grates. Turn the grill on high for 10–15 minutes to burn off residue and lock in the seasoning. This creates a protective layer that prevents rust and food sticking.
Set a Cleaning Schedule That Works
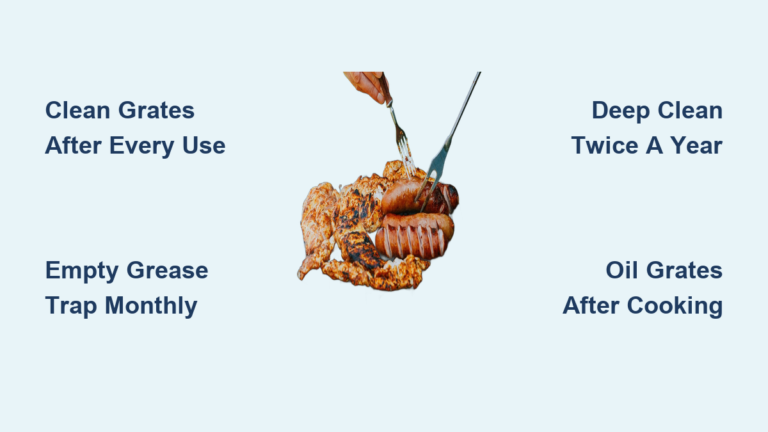
Deep Clean Twice a Year
Plan major cleanings:
- Early spring: Before grilling season starts
- Late fall: After last cook, before winter storage
Heavy users may need a third cleaning. A biannual deep clean prevents grease fires, ensures even heating, and extends your grill’s lifespan.
Maintain Between Deep Cleans
- After every use: Scrape grates while hot
- Every few cooks: Empty grease tray
- Monthly: Check burner ports and igniter
- Always: Cover the grill when not in use
A cover keeps out rain, leaves, and pests. This is critical for long-term protection.
Troubleshoot Common Grill Problems
Fix Flare-Ups Fast
Cause: Grease buildup in drip pan or on flavorizer bars.
Solution: Deep clean the grease system. Empty drip pans regularly. Scrape flavorizer bars monthly.
Stop Uneven Heating
Cause: Clogged burner ports.
Solution: Inspect tubes and clear blocked ports with a wire or toothpick. Check gas flow and regulator function.
Prevent Rust on Grates
Cause: Moisture plus lack of oil.
Solution: Dry thoroughly after cleaning. Always season with oil. Store covered.
Ignition Won’t Spark
Cause: Grease, moisture, or misalignment.
Solution: Wipe igniter clean. Ensure it’s dry and properly positioned near the burner.
Handle a Grease Fire Safely
If flames erupt:
- Turn off gas immediately
- Close the lid to cut off oxygen
- Use a fire extinguisher only if flames escape
Never use water. Grease fires spread rapidly with water.
Frequently Asked Questions About Cleaning a Gas Grill
How often should I deep clean my gas grill?
Deep clean your gas grill twice a year: once in early spring before grilling season and once in late fall before winter storage. Heavy users may need a third cleaning. Between deep cleans, scrape grates after every use and empty the grease tray every few cooks.
Can I use a wire brush on porcelain grates?
No. Wire brushes, steel wool, and aluminum foil will scratch and damage porcelain or enamel coatings. Use a baking soda paste with a non-abrasive scouring pad or nylon brush instead. Scratched porcelain leads to rust and requires grate replacement.
What’s the best way to clean cast iron grates without ruining them?
Clean cast iron grates in place without soaking. Mix 1.5 cups baking soda, ¼ cup dish soap, and ¼ cup white vinegar into a paste. Apply, let sit 15–20 minutes, then scrub gently with a nylon brush. Dry immediately and coat with vegetable oil to season.
How do I remove rust from grill grates?
For stainless steel, use a baking soda paste (1.5 cups baking soda, ½ cup water) and scrub with crumpled aluminum foil. For cast iron, use the baking soda, dish soap, and vinegar paste. After cleaning, dry thoroughly and apply a coat of oil to prevent future rust.
Is it safe to use oven cleaner on a gas grill?
Yes, oven cleaner works on cookbox walls and the lid interior. Spray it on, let it sit for 30 seconds, then wipe with a microfiber cloth. Avoid overspray on ignition components and burner tubes. Follow up with a damp rag to remove chemical residue.
What should I do if my grill has a grease fire?
Turn off the gas immediately and close the lid to cut off oxygen. If flames escape the grill, use a fire extinguisher. Never use water on a grease fire. Water causes grease to splatter and spread flames rapidly.
Key Takeaways for a Clean, Safe Gas Grill
Cleaning a gas grill takes effort, but the payoff is worth it. Focus on safety first: shut off gas, let the grill cool, and match your cleaning method to your grate material. No wire brushes on porcelain. No soaking cast iron. Dry every component before reassembly, then season with oil for a non-stick surface.
A biannual deep clean prevents dangerous flare-ups, improves heat distribution, and extends your grill’s life. Between deep cleans, scrape grates after each use, empty the grease tray regularly, and cover the grill when not in use. Now that you know how to clean a gas grill properly, schedule your next deep clean this weekend. Your next cookout will taste better, cook more evenly, and be safer for everyone.