How to Season a New Grill
You just unboxed your brand-new grill and you’re ready to fire it up for the first time. Before you toss on those burgers, there’s one critical step you can’t skip: seasoning your new grill. This essential process creates a durable, non-stick surface that prevents rust, improves cooking performance, and burns off chemical residues left from manufacturing. Skipping this step can lead to food sticking, premature corrosion, and even off-flavors in your meals.
In this guide, you’ll learn exactly how to season a new grill the right way, step by step. We’ll cover oil selection, proper heating techniques, and model-specific tips so your grill lasts longer and cooks better from day one. Whether you have cast iron, stainless steel, or porcelain-coated grates, this guide gives you everything you need to build a strong foundation for years of great grilling.
Clean Before You Season
Wipe Off Factory Residue
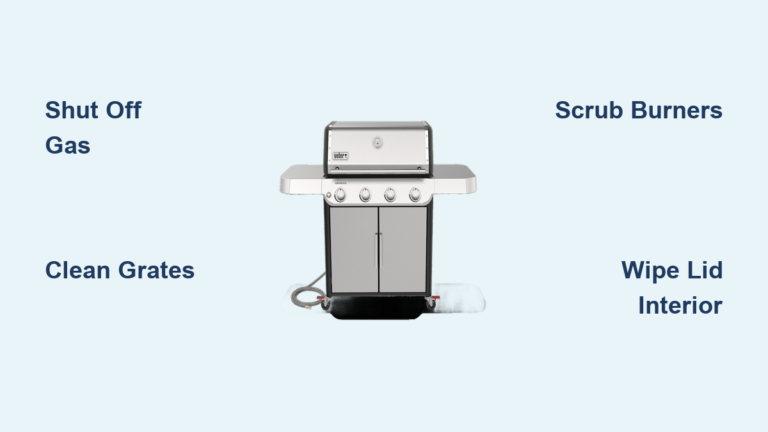
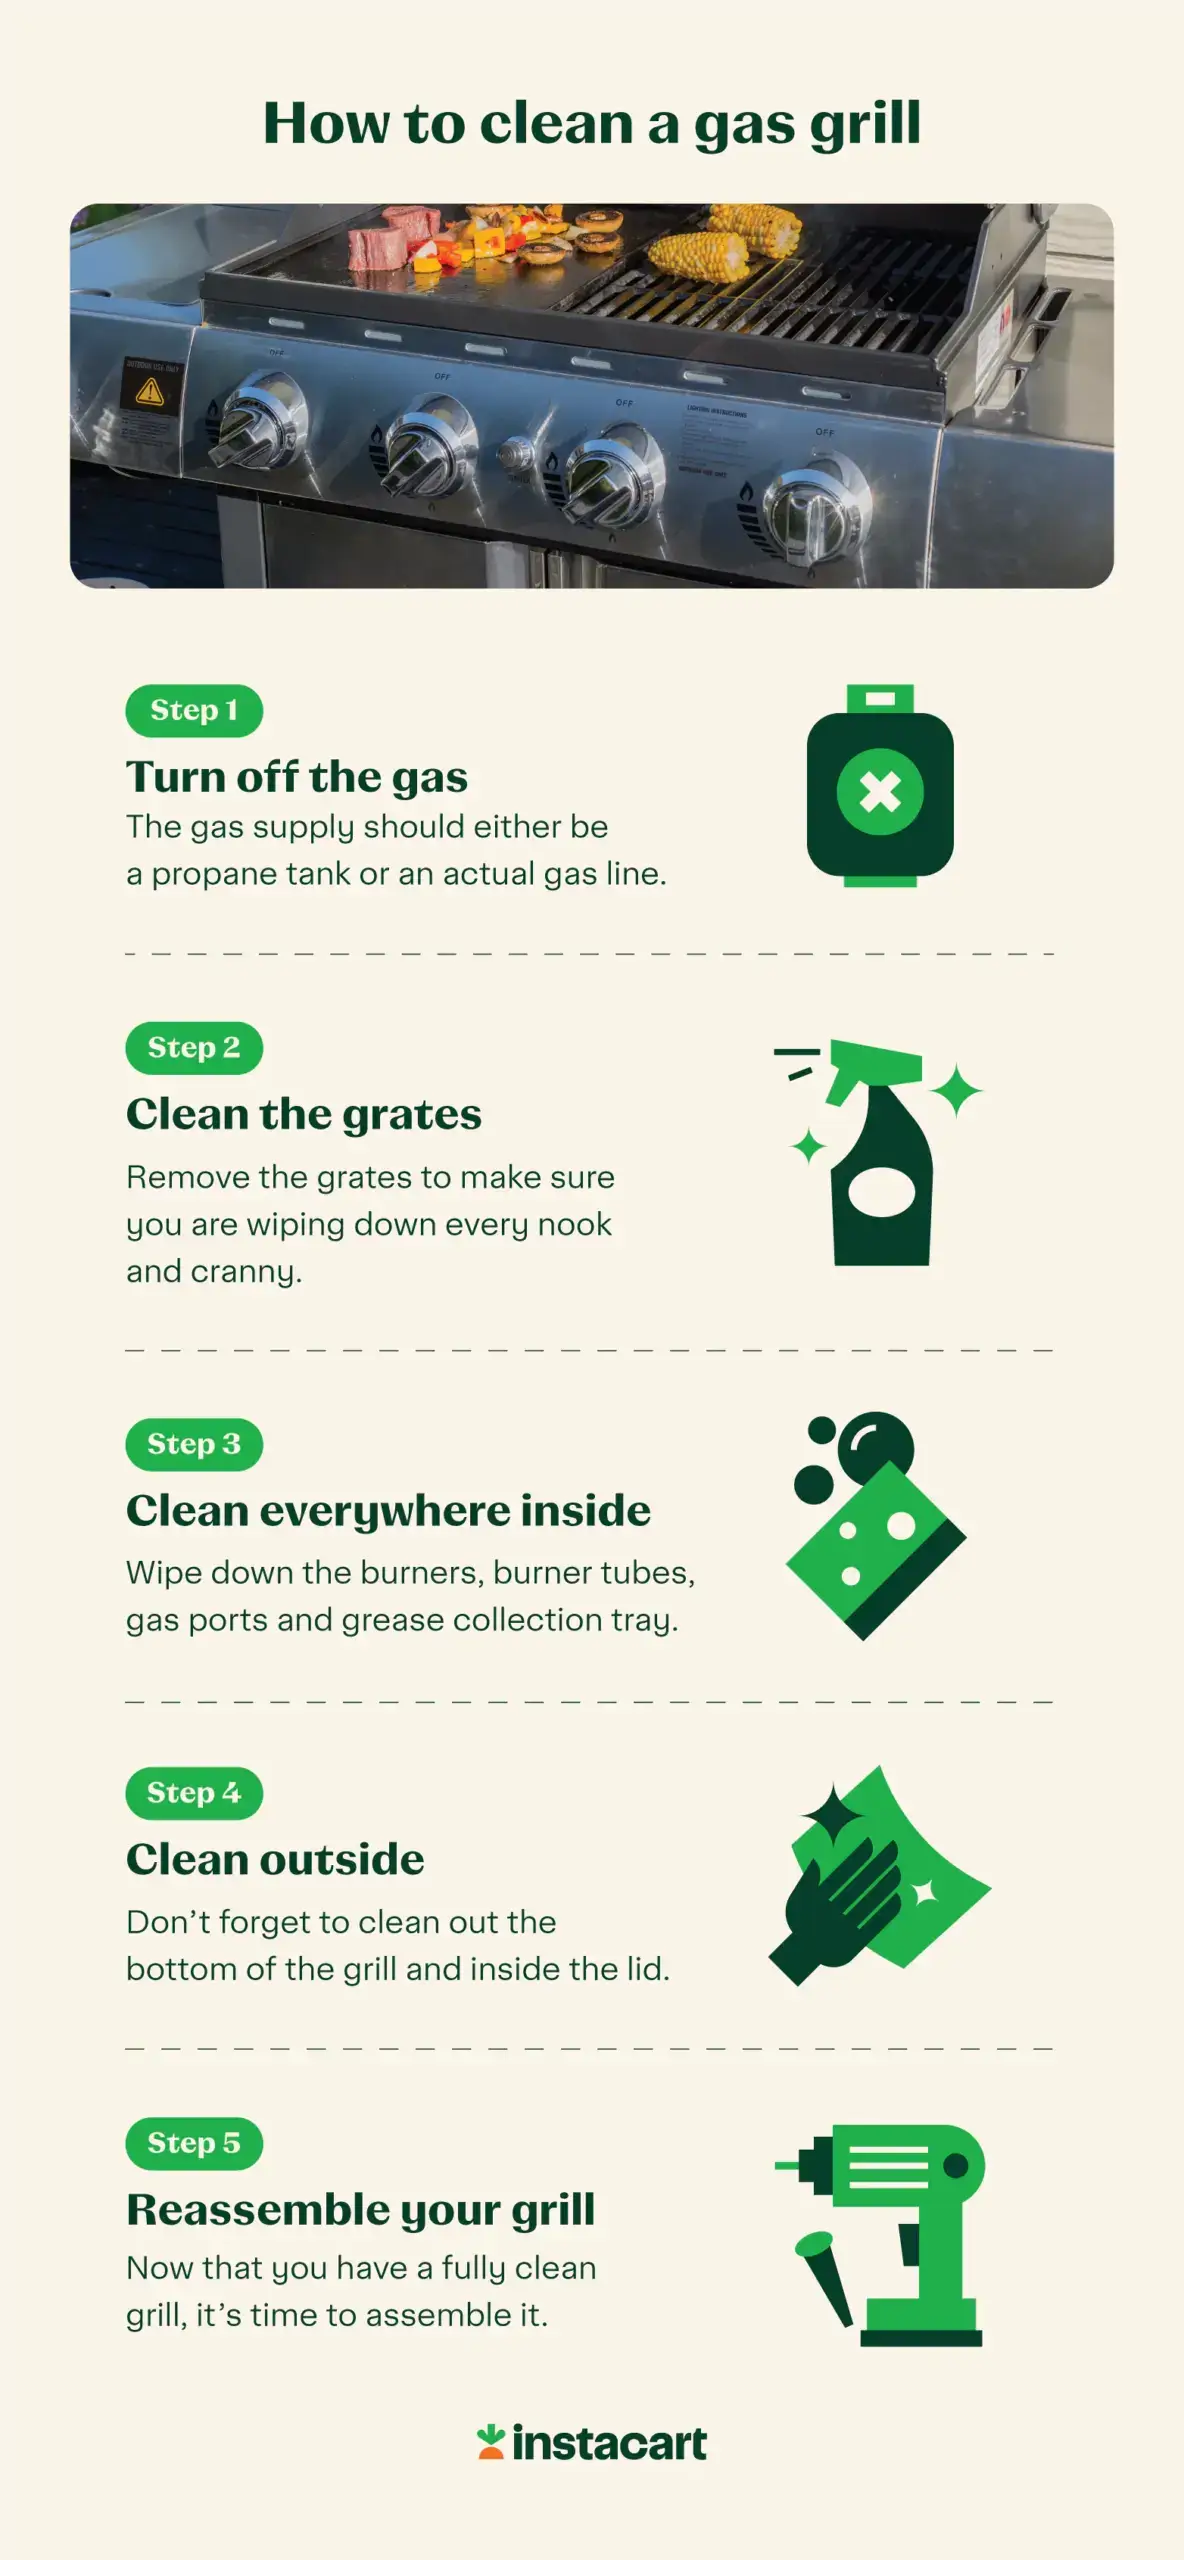
All new grills come coated with protective oils, waxes, and metal dust from manufacturing. These must be removed before seasoning begins. Start by wiping down the entire grill interior and lid with a damp cloth to clear loose debris and shipping materials.
Remove and Wash Grates
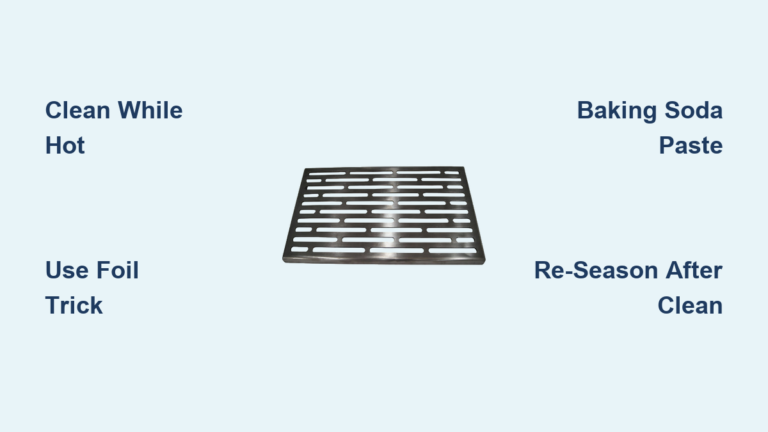
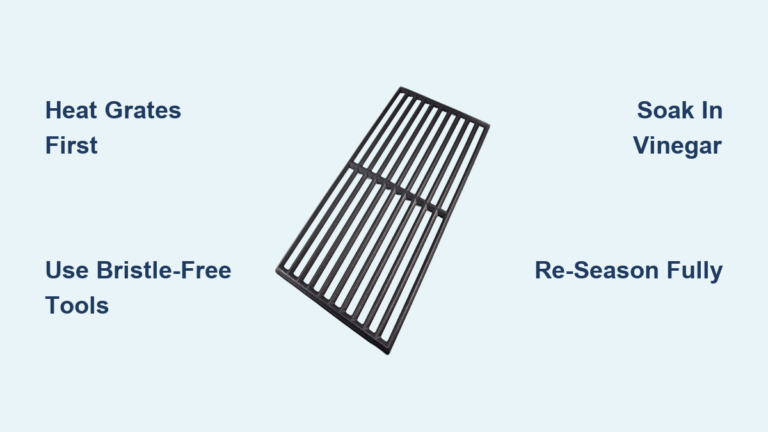
Take out the cooking grates and wash them in hot, soapy water using mild dish soap. Use a soft sponge or grill brick, and never use steel wool on coated surfaces. Scrub every side, including edges and corners where residue tends to hide.
Rinse thoroughly to remove all soap, then dry immediately with a towel. Never air-dry cast iron or painted steel grates, as they will rust within minutes if left wet. For porcelain enamel grates, avoid soaking or aggressive scrubbing to prevent chipping the factory glaze.
Clean the Firebox and Burners
Wipe the inside of the firebox and burner tubes with a damp cloth. Check for any shipping foam, labels, or metal shavings stuck in corners. For gas grills, ensure burner ports are clear so flames distribute evenly during the seasoning process.
Choose the Right Oil
Pick High Smoke-Point Oils
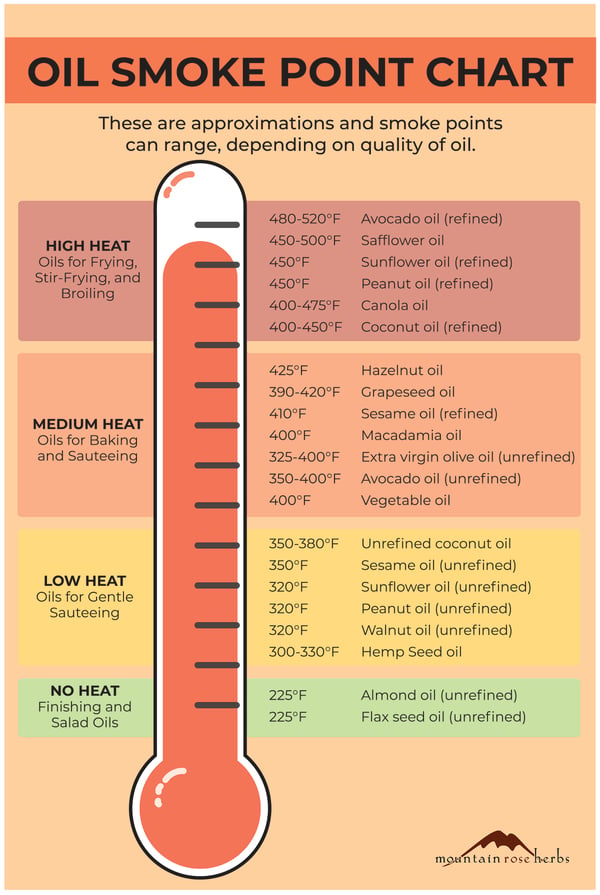
The key to successful seasoning is using an oil that can withstand high heat without burning. Look for oils with a smoke point above 400°F. Recommended options include:
- Canola oil
- Vegetable oil
- Grapeseed oil
- Avocado oil
- Peanut oil
These oils polymerize well, forming a hard, slick layer on the metal that protects against rust and sticking.
Avoid Low Smoke-Point Fats
Never use olive oil, butter, or coconut oil. They burn too quickly, leaving behind a sticky, gummy mess that’s hard to remove. Save those for cooking, not seasoning.
Consider Specialty Products
Brands like Blackstone offer specific seasoning sprays or greases designed for flat-top grills. While not required, these products can enhance bonding and durability, especially on griddles where a strong patina matters most.
Apply Oil Evenly
Use Tongs and Paper Towels
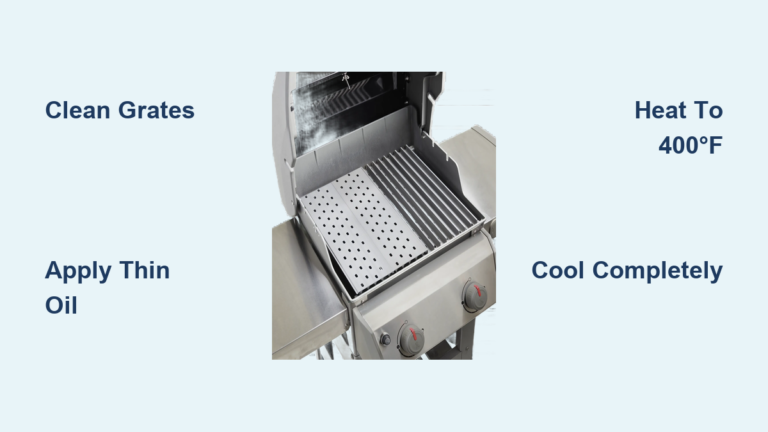
Pour about 1 to 2 tablespoons of oil onto a paper towel. Hold it with long-handled tongs and rub the oil over the entire surface of the grates, including top, bottom, sides, and ends. This ensures full coverage and protects all exposed metal.
Spray and Wipe Method
For even distribution, spray oil lightly across the grates, then use a dry paper towel to spread it into a thin, uniform layer. Excess oil causes flare-ups and sticky buildup. You want the metal to look slightly glossy, not soaked.
Target All Metal Surfaces
Don’t forget flavorizer bars, heat tents, or any other removable metal parts that may benefit from protection. These components also trap grease and moisture, so a light coat helps prevent corrosion over time.
Heat for Polymerization

Set Temperature to 400 to 500°F
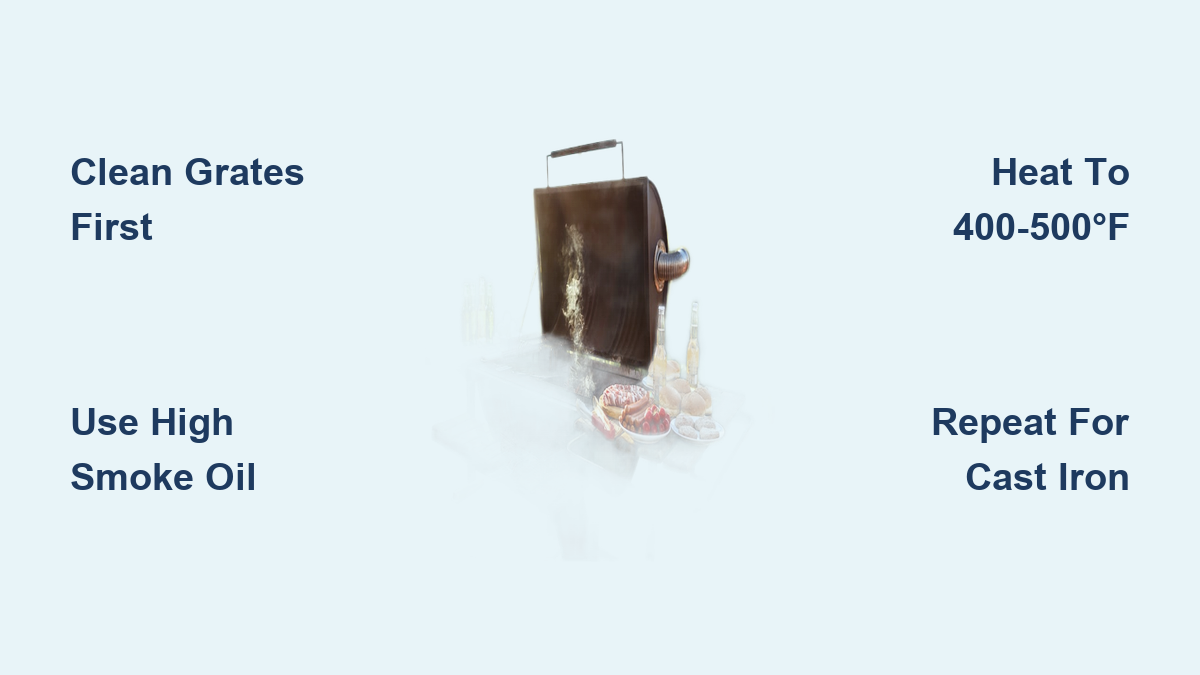
Turn all burners on high for gas grills, or build a full charcoal fire, and close the lid. Let the grill heat for 10 to 15 minutes until it reaches 400 to 500°F. This range is critical because it’s hot enough to burn off residue and trigger oil polymerization.
If your grill lacks a built-in thermometer, estimate temperature by observing the flame. A medium-high flame with steady heat equals roughly 400°F, while a full roar with visible shimmer indicates about 500°F.
Maintain Heat for 30 to 60 Minutes
Keep the grill at target temperature for at least 30 minutes, and up to 60 minutes for best results. Smoke will pour out initially as factory coatings burn off and oil begins to bond. This is completely normal.
The process is complete when smoke significantly reduces and the grates darken. A blackened finish indicates a solid protective layer has formed on the metal.
Repeat for Cast Iron Grates
For maximum durability, especially with cast iron, repeat the oil-and-heat cycle 4 to 5 times. Each layer builds a stronger, more non-stick surface. Some grillers cook sliced onions between cycles because the moisture and sugars help cure the metal further.
Cool and Inspect
Let Grill Cool Naturally
After heating, turn off the grill and let it cool completely with the lid closed. Never hose it down or submerge hot grates, because thermal shock can warp metal and cause permanent damage.
Once cool, inspect the grates. They should be dark gray to black, with a smooth, slightly slick feel. Light spots are cool zones where heat was uneven, and they’ll darken over time with continued use.
Skip Oil on Porcelain Grates
If your grill has porcelain enamel-coated grates, do not oil them. These are factory-glazed and don’t require traditional seasoning. Just preheat for 15 to 20 minutes to burn off dust, then brush clean before first use.
Maintain the Seasoning
Burn Off After Each Use
After grilling, heat the empty grill on high for 5 to 10 minutes to char leftover food particles. This keeps the surface clean and reinforces the seasoning layer with each cook.
Brush While Warm
Once cooled slightly but still warm, scrub grates with a nylon or brass bristle brush. Avoid wire brushes that can leave harmful bristles behind in your food. A folded aluminum foil ball works well as an alternative.
Lightly Oil After Cleaning
After brushing, apply a very light coat of oil to protect the surface. Wipe it on with a paper towel and tongs, then let the grill cool. This prevents moisture exposure and maintains the non-stick layer between cooks.
Re-Season When Needed
Spot Rust or Sticking Food?
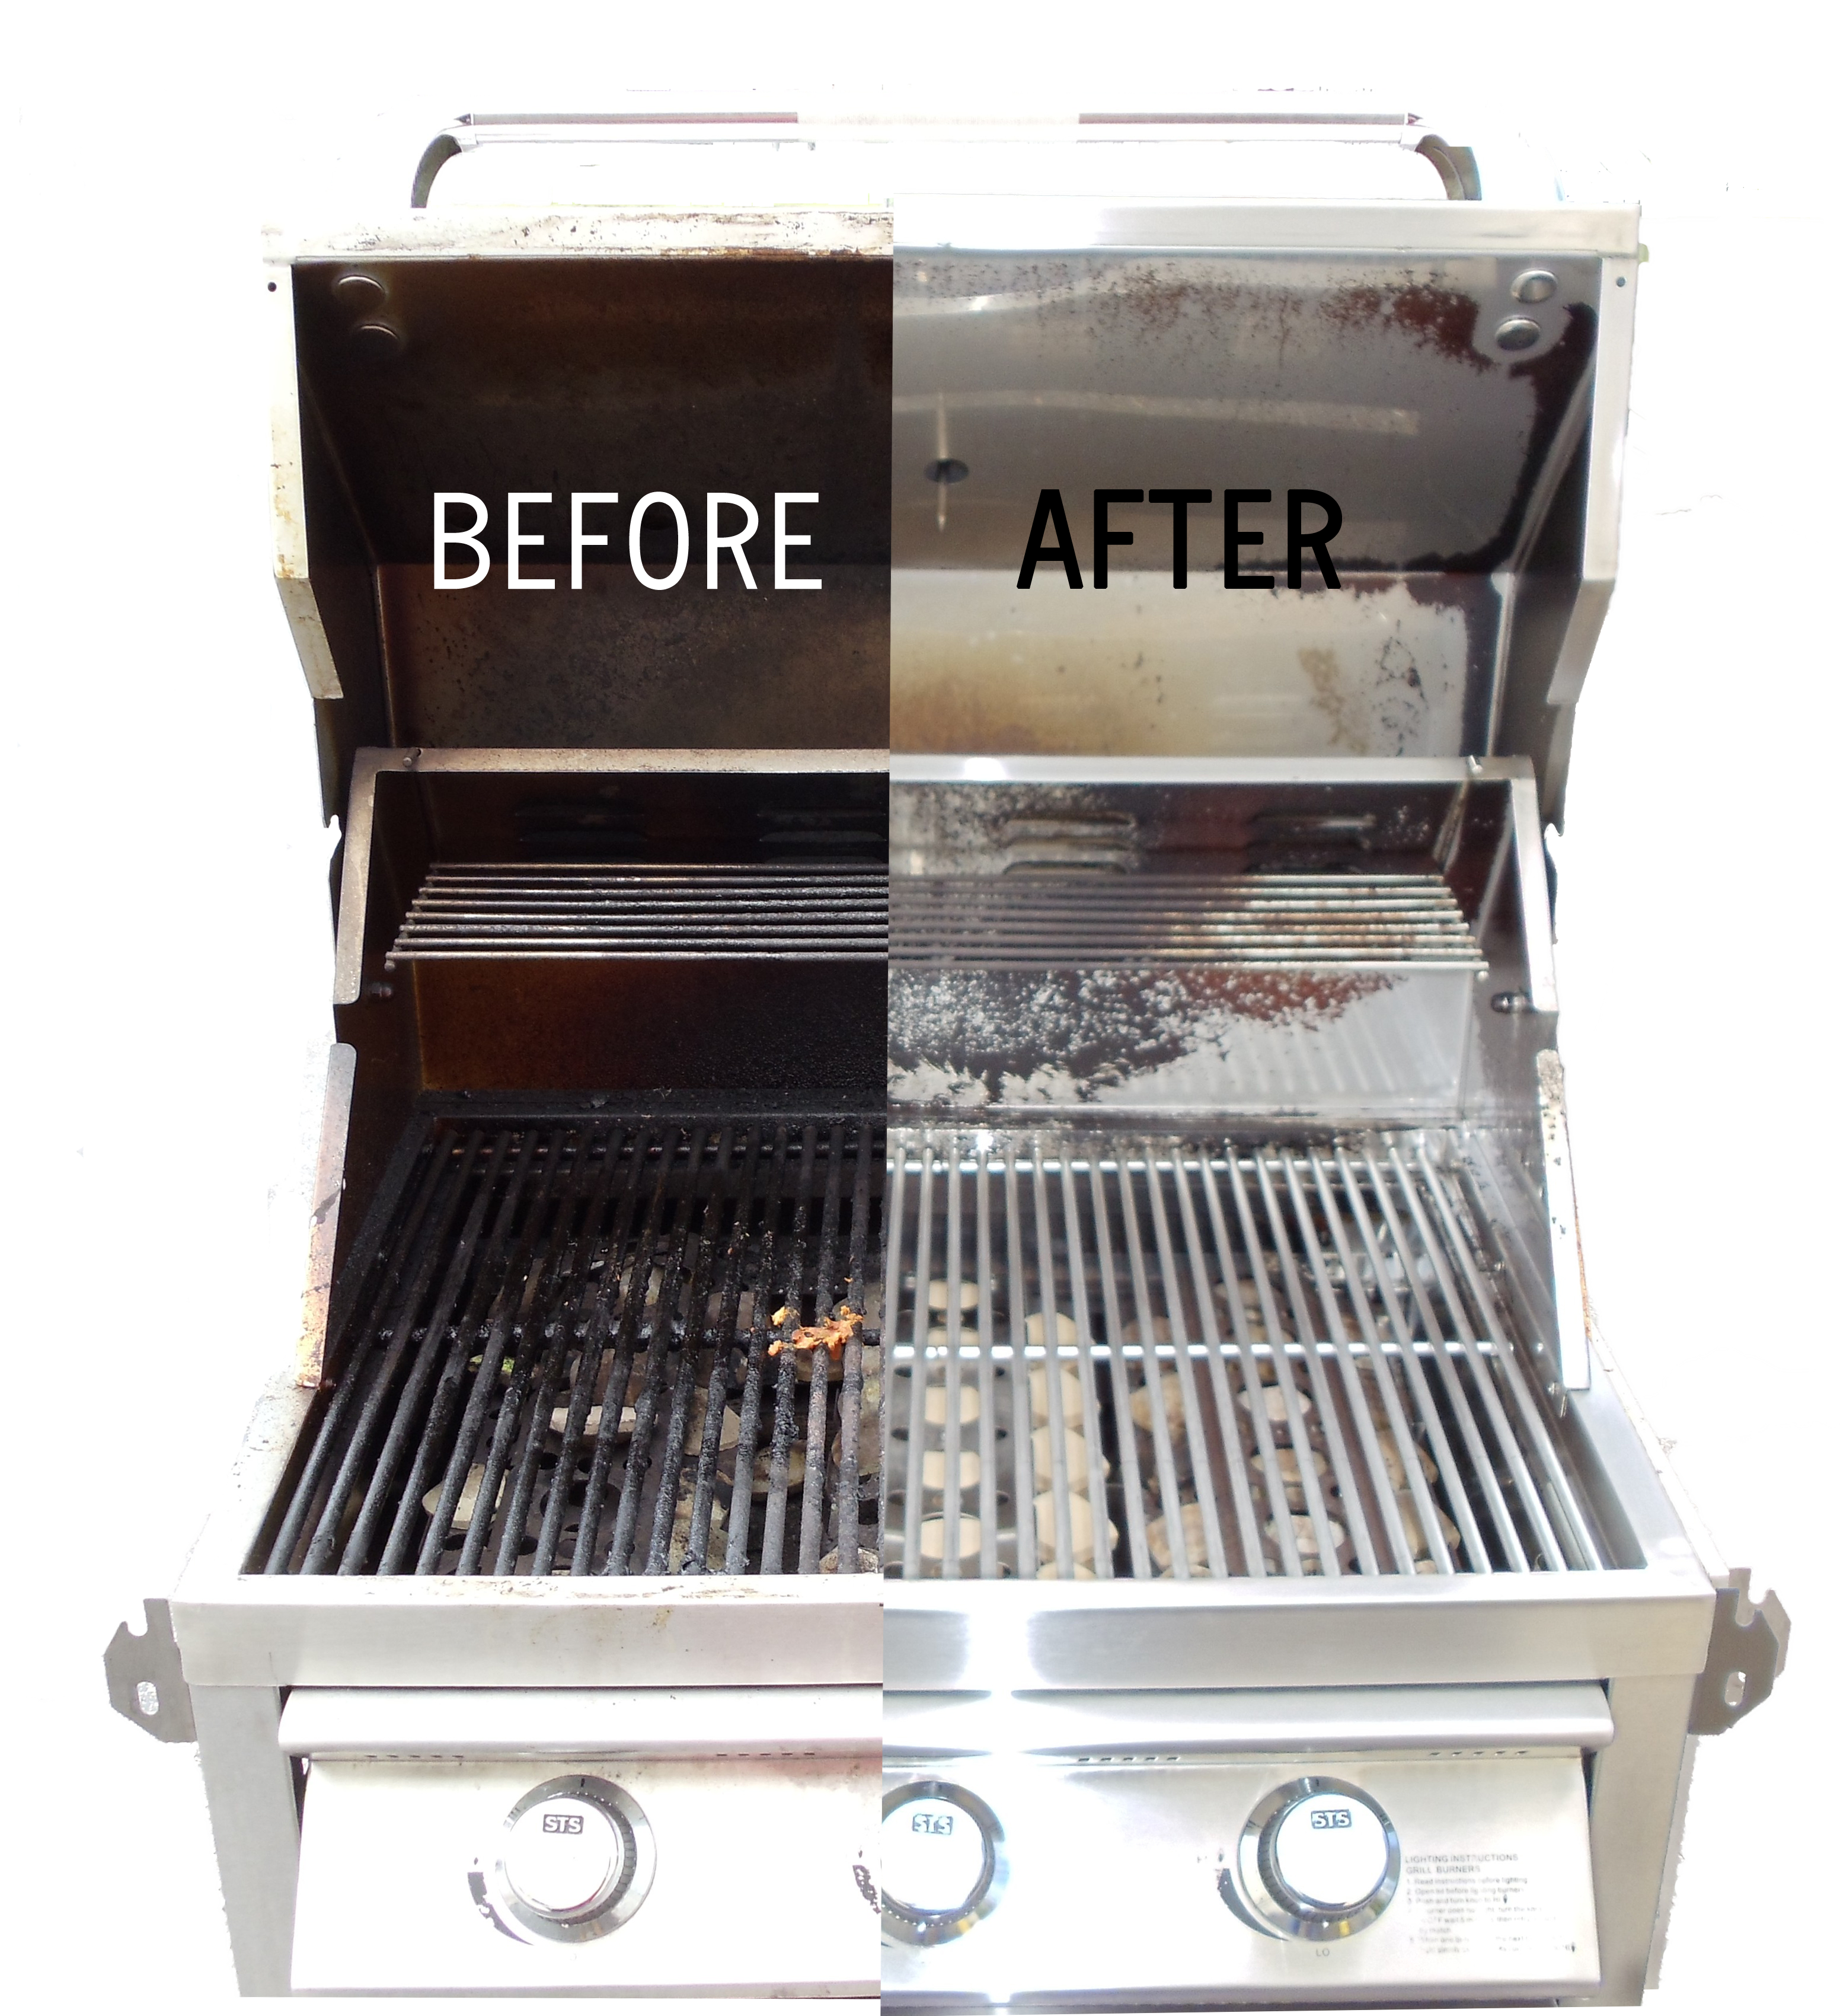
Re-season your grill if you notice rust spots, food sticking more than usual, grates looking pale or dry, or after a deep clean that may have stripped the existing seasoning.
Restore Rusted Grates
- Scrub rust with a grill stone or ball of aluminum foil.
- For stubborn rust, soak in vinegar and baking soda for 30 minutes, then scrub again.
- Rinse, dry completely, and re-season using the full 400 to 500°F process.
Avoid steel wool on coated grates because it scratches the surface and invites more rust to form.
Grill-Type Specific Tips

Gas Grills: Check for Leaks First
Before lighting, test gas connections with soapy water. Bubbles mean a leak, so tighten or replace parts before proceeding. Always open the lid before igniting to prevent gas buildup in the firebox.
Once seasoned, check burners periodically for clogs. Clean ports with a toothpick or wire if flames appear uneven during future cooks.
Charcoal Grills: Use a Chimney Starter
Fill a chimney starter with lump charcoal or briquettes. Light it, wait until coals are ash-covered, then spread evenly across the bottom grate. Maintain 400 to 500°F for 30 to 60 minutes by adjusting bottom and top vents as needed.
After use, close vents fully to extinguish coals and reduce ash buildup during cleanup.
Electric Grills: No Flames, But Still Need Oil
Even without open flames, electric grates need seasoning. Apply oil, then heat to maximum temperature for 30 minutes. There are no burners to worry about, so just plug in and follow the same oil-and-heat process.
Clean regularly to avoid grease accumulation on heating elements, which can affect performance and create smoke.
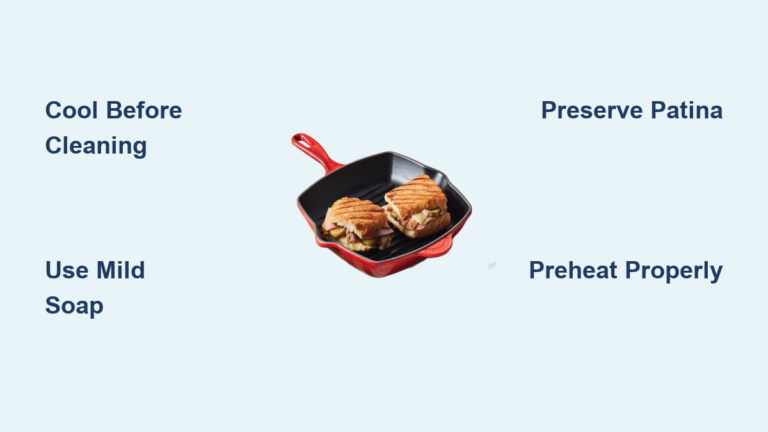
Griddles: Treat Like Cast Iron
Flat-top grills require aggressive seasoning similar to cast iron skillets. Use flaxseed oil for its hardening properties. Apply thin layers, heat until smoking, wipe, and repeat 4 to 5 times.
After each cook, scrape clean, apply a fresh oil coat, and let cool. This builds a black patina that rivals a trusted cast iron skillet over time.
Avoid Common Mistakes
Too Much Oil Causes Flare-Ups
Pooling oil drips onto burners or coals and ignites unexpectedly. Always wipe off excess before heating. A thin, even coat is far better than a drenched grate.
Wrong Oil Leaves Sticky Residue
Using olive oil or butter creates a gummy mess that’s difficult to remove. If this happens, run the grill on high for 30 minutes to burn it off, scrub clean, then re-season with high-smoke-point oil.
Skipping Post-Cook Care
Failing to brush and lightly oil after use breaks down the seasoning over time. Make it part of your routine, just like cleaning a cast iron pan after dinner.
Store With Protection
Cover in Dry Conditions
Always use a water-resistant grill cover when not in use. But never cover a wet grill, because trapped moisture causes rust. Let it dry completely first.
Long-Term Storage Prep
If storing for months during winter, clean grates thoroughly, apply a light oil coat, wipe with a paper towel to remove pools, and cover. This shields against humidity and condensation that can damage metal surfaces.
For cast iron grates, consider storing them indoors in a dry place for maximum protection against moisture.
Frequently Asked Questions About Seasoning a New Grill
Do all new grills need to be seasoned?
No, not all grills require traditional oil seasoning. Cast iron and stainless steel grates benefit greatly from seasoning, while porcelain enamel-coated grates are factory-glazed and only need a preheat burn-off to remove dust. Always check your manufacturer’s guidelines for your specific model.
What is the best oil to season a new grill?
The best oils have a smoke point above 400°F. Canola, vegetable, grapeseed, avocado, and peanut oil all work well. For griddles, flaxseed oil is highly recommended because it creates an exceptionally hard, durable patina when polymerized.
How long should I season a new grill?
Maintain a temperature of 400 to 500°F for 30 to 60 minutes during the initial seasoning. For cast iron grates, repeat the oil-and-heat cycle 4 to 5 times to build a strong, non-stick layer that lasts through many cooks.
Can I use olive oil to season my grill?
No, avoid olive oil for seasoning. It has a low smoke point and burns at seasoning temperatures, leaving behind a sticky, gummy residue that’s difficult to remove. Stick to high-smoke-point oils for proper polymerization.
Why does my grill smoke so much during seasoning?
Smoke is normal and expected during the first seasoning. It comes from factory oils, protective coatings, and the seasoning oil bonding to the metal. The smoke will significantly reduce once the process is complete and the grates have darkened.
How do I know when my grill is properly seasoned?
Properly seasoned grates appear dark gray to black with a smooth, slightly slick feel. Light spots indicate areas where the oil didn’t bond fully, but these will darken naturally with continued use and additional light oiling over time.
Key Takeaways for Seasoning Your New Grill the Right Way
Seasoning your new grill is the foundation of great cooking and long-term durability. Start by thoroughly cleaning factory residues, then apply a thin coat of high-smoke-point oil to all metal surfaces. Heat the grill to 400 to 500°F for 30 to 60 minutes to trigger polymerization, and repeat the process 4 to 5 times for cast iron grates.
After every cook, burn off residue, brush while warm, and apply a light oil coat to maintain the protective layer. Store your grill dry and covered to prevent moisture damage. Your next step is simple: gather your oil, tongs, and paper towels, then give your new grill the start it deserves before that first cookout.