How to Season Cast Iron Grill Grates
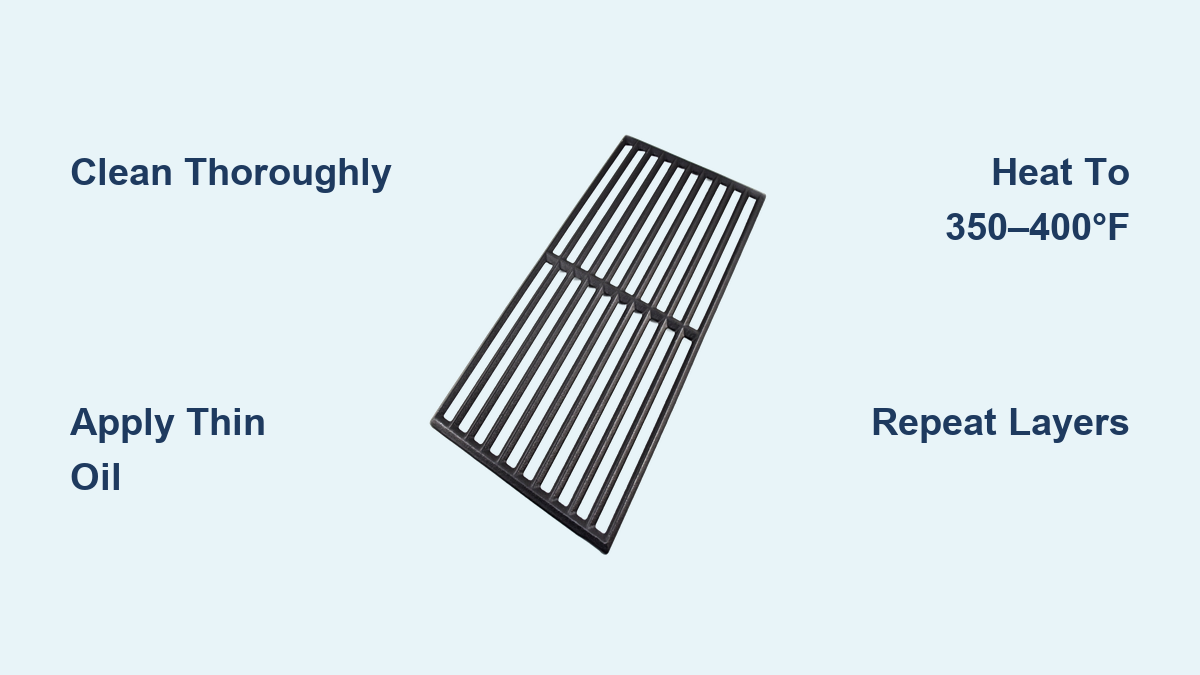
Nothing beats the deep sear and rich flavor from a well-maintained cast iron grill grate. But to unlock that performance, you need to master one essential skill: how to season cast iron grill grates. Without proper seasoning, your grates will rust, food will stick, and cleanup becomes a nightmare. The good news? With the right technique, you can build a naturally non-stick, rust-resistant cooking surface that improves with every use.
Seasoning is not just a one-time task. It is a process of polymerizing oil into a hard, protective layer that bonds to the iron. This creates the prized black patina that turns raw cast iron into a culinary powerhouse. Whether you are seasoning new grates, restoring rusty ones, or maintaining a well-used set, this guide walks you through every step with clear, actionable advice. You will learn oil choices, heat techniques, cleaning routines, and storage tips, all based on proven methods and material science.
Initial Cleaning: Prepare for Seasoning
Before any oil touches your grates, they must be clean. Factory coatings, shipping oils, and debris prevent proper bonding during seasoning. This step is crucial, even if your grates look brand new.
Wash With Mild Soap
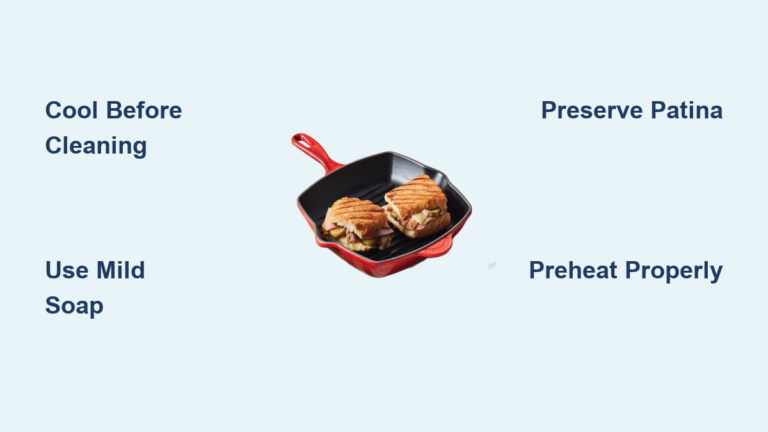
Contrary to popular belief, using mild dish soap on new cast iron is safe and recommended. It removes manufacturing residues that can interfere with polymerization. Skip this step, and your seasoning may flake or fail.
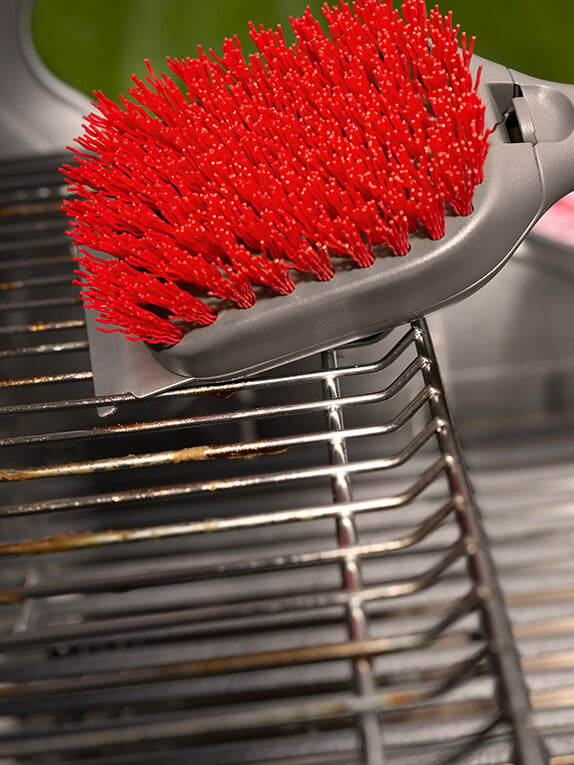
Fill a sink with warm water and a few drops of dish soap. Use a nylon scrub brush or soft cloth to scrub all surfaces, including the top, bottom, and sides. Avoid steel wool unless dealing with stubborn residue. Rinse thoroughly to remove all soap traces.
Dry Completely
Water is the enemy of bare iron. After rinsing, dry the grates immediately with a towel. Then place them on the grill or in a warm oven at 200°F for 10 to 15 minutes to ensure zero moisture. Any remaining water will cause rust before you even start.
Pro Tip: If storing indoors before seasoning, wrap grates in a dry towel and keep them in a warm, dry place until ready.
Apply the First Oil Layer

Now that your grates are clean and dry, it is time to apply oil. This is not just lubrication. It is the raw material for your non-stick surface.
Choose the Right Oil
Not all oils work for seasoning. You need one with a high smoke point and clean polymerization. Top picks include:
- Grapeseed oil (smoke point ~420°F): neutral, durable, resists rancidity
- Vegetable oil: affordable, widely available
- Canola oil: high smoke point, consistent results
- Flaxseed oil: forms a hard finish but lower smoke point (~225°F); use carefully
- Bacon grease: flavorful, effective for maintenance
Avoid: Spray oils like PAM, butter, olive oil, or anything with additives. These leave sticky residues.
Apply a Thin, Even Coat
Use a silicone brush or clean cloth to spread a micro-thin layer of oil over every surface. The goal is invisible coverage. If it looks shiny or oily, you have used too much.
Wipe off excess with a dry paper towel. Excess oil will not polymerize and will turn gummy, ruining the finish. Think “dry to the touch” after wiping.
Warning: Paper towels can leave lint. If using them, press gently and avoid dragging.
Season on the Grill (Best Method)
The most effective way to season cast iron is directly on your grill. It is efficient, heats evenly, and burns off impurities.
Heat to 350–400°F
Place oiled grates on the grill. Turn all burners to medium for gas grills or build a medium charcoal fire. Close the lid and let the temperature stabilize between 350°F and 400°F.
Use a grill thermometer for accuracy. Too low and the oil will not polymerize. Too high and the oil burns off, leaving bare spots.
Hold for 30–60 Minutes
Let the grates heat for at least 30 minutes, but ideally 60 minutes. You will see smoke, which is the oil curing. The surface will darken slightly.
Do not open the lid frequently. Heat loss slows the process.
Cool and Repeat
Turn off the grill and let grates cool completely with the lid closed. This slow cooldown helps the oil bond.
Repeat the oil-and-heat cycle 3 to 4 times. Each layer builds durability. After the final round, your grates should be jet black and slightly glossy.
Pro Tip: For commercial-grade results, do this before first use and at the start of each grilling season.
Oven Seasoning (Alternative Method)
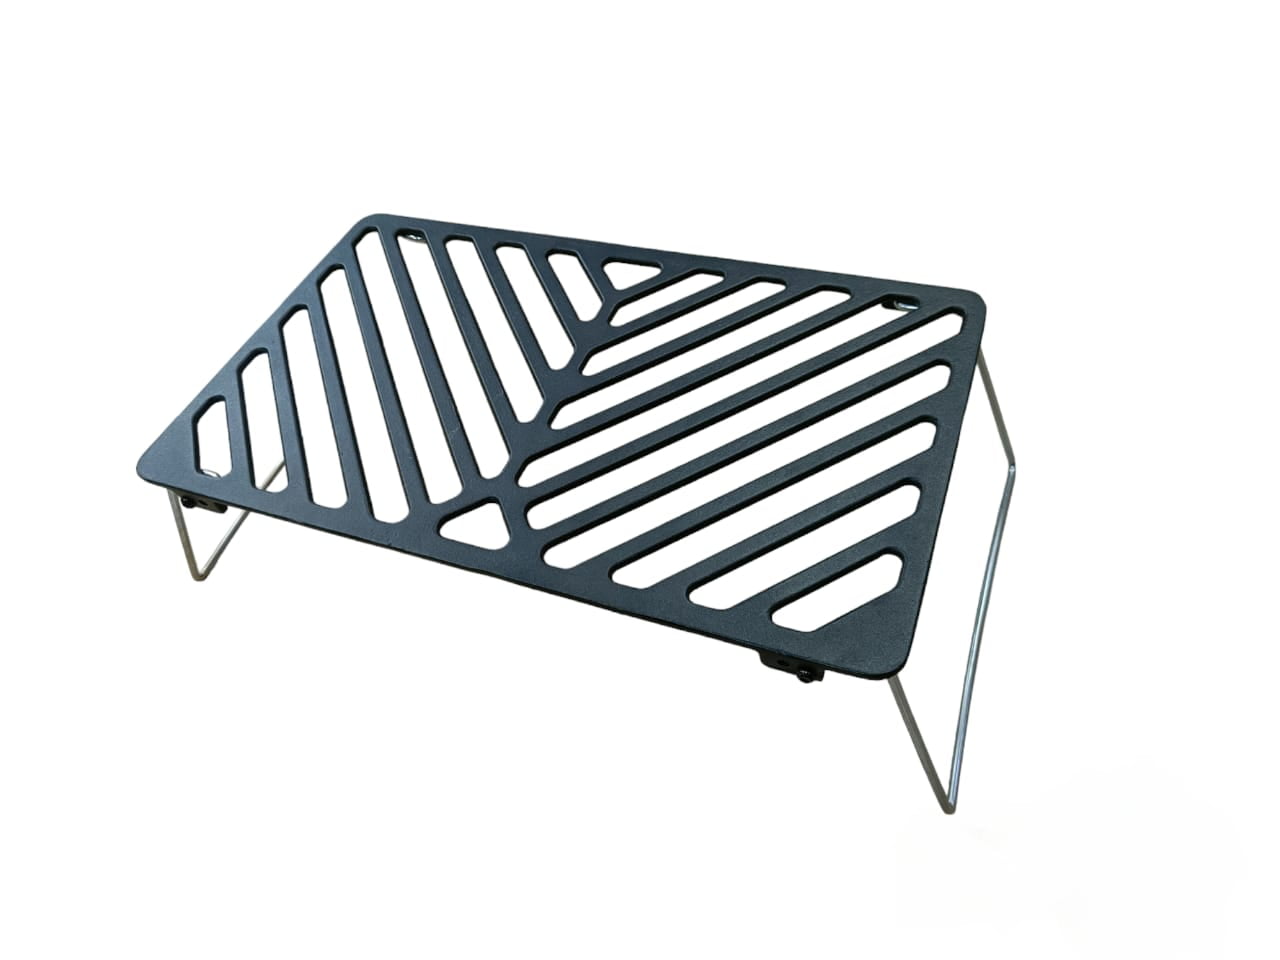
Can not use the grill? Your kitchen oven works just as well, especially in winter or bad weather.
Preheat to 400°F
Set the oven to 400°F. Place a foil-lined baking sheet on the bottom rack to catch drips.
Bake for One Hour
Place oiled grates on the top rack. Bake for 60 minutes. Expect smoke, so turn on the vent fan.
After the hour, turn off the oven and let grates cool inside. Do not remove them while hot.
Repeat 3–4 Times
Same as the grill method: multiple layers equal stronger seasoning. Oven seasoning is ideal for deep restoration or off-season maintenance.
Note: Avoid self-cleaning ovens. High heat can warp grates.
Clean After Every Use
Seasoning is not a “set and forget” process. Maintenance after each cook keeps the patina strong.
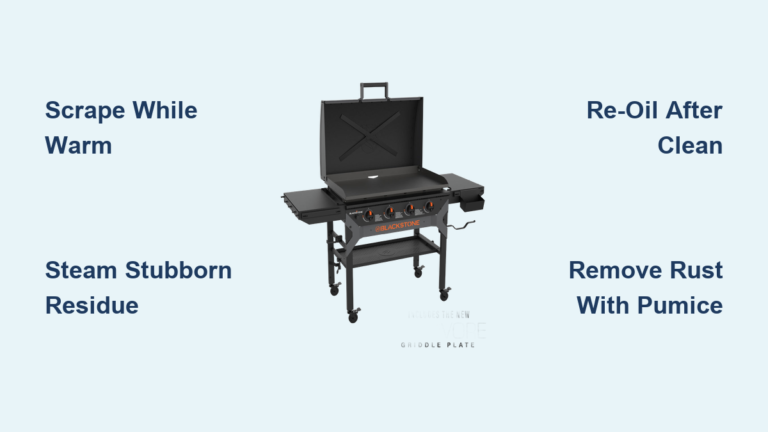
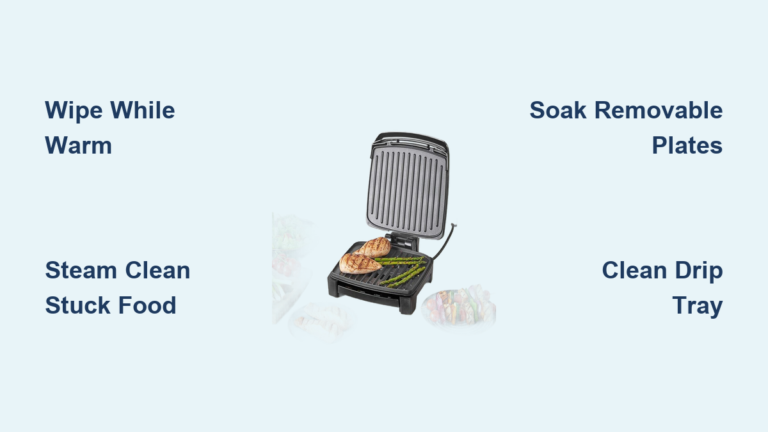
Scrape While Warm
After grilling, while grates are still warm but not scorching, use a bristle-free grill brush or brass scraper to remove food debris. Cold grates trap residue.
Avoid wire brushes because bristles can break off and end up in food.
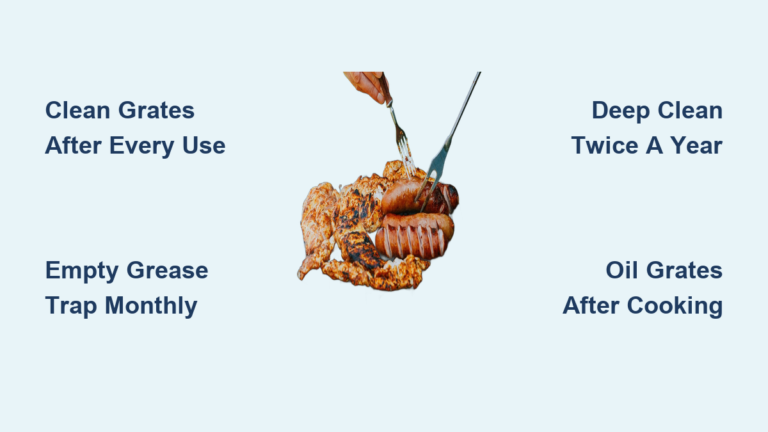
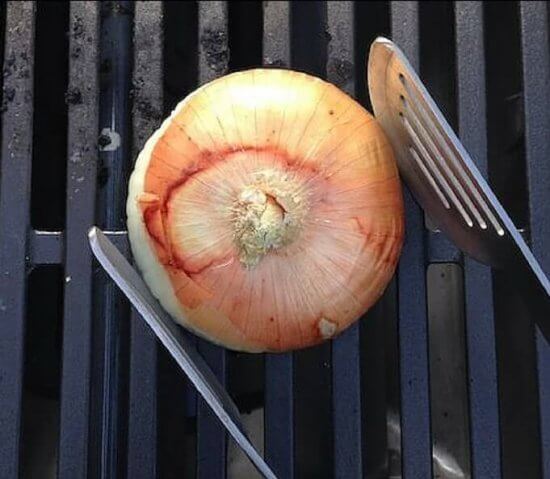
Use the Onion Trick
For stuck-on bits, try the onion cleaning method:
- Cut an onion in half
- Spear it with tongs or a fork
- Rub it firmly over the warm grates
The juices act as a natural deglazer, and the fibers scrub gently. No soap needed.
Wash Only If Necessary
If grates are greasy or have sticky residue, a quick warm soapy wash is okay. Use mild dish soap and a nylon brush. Rinse well and dry immediately.
Myth Busted: Soap will not destroy a well-established patina. But always re-oil after washing.
Re-Oil After Cleaning

This is the non-negotiable step most people skip. Every cleaning session must end with oiling.
Apply Light Coat with Tongs
Dip a paper towel in vegetable or grapeseed oil. Hold it with tongs and rub over the entire surface. Do 4 to 5 passes to ensure even coverage.
You are not adding oil. You are replenishing the protective layer.
Heat Briefly (Optional)
For best results, fire up the grill to medium-high for 5 to 10 minutes after oiling. This bonds the fresh oil into the existing patina.
If short on time, just let the oiled grates sit. But heating makes the layer more durable.
Prevent and Remove Rust
Rust happens, even on seasoned grates. But it is fixable if caught early.
Stop Rust Before It Starts
- Oil after every use
- Cover the grill when not in use
- Leave vents slightly open to reduce moisture buildup
- Store indoors in humid or rainy climates
Avoid leaving grates wet or covered while still damp.
Remove Light Rust
For surface rust (reddish spots), scrub with:
- Steel wool (fine grade)
- Brass brush
- Scouring pad
Rinse, dry thoroughly, then re-season with 2 to 3 oil-and-heat cycles.
Fix Heavy Rust
For thick rust or flaking:
- Make a paste using 2 parts vinegar and 1 part baking soda
- Coat grates and let sit 30 minutes
- Scrub with steel wool
- Rinse and dry completely
- Re-season from scratch
Alternative: Sand down to bare metal with 220-grit sandpaper, then re-season.
Store Grates Properly
How you store your grates determines their lifespan, especially over winter.
Indoor Storage (Best Option)
Remove grates and store indoors in a dry place. Basements, sheds, and garages are often too damp.
Wrap for Protection
- Clean and oil grates heavily (use grapeseed oil because it resists rancidity)
- Wrap in plastic bags or craft paper
- Place in a box with a silica gel packet to absorb moisture
Do not use newspaper because ink can transfer.
Outdoor Storage Tips
If leaving grates in the grill:
- Apply a thick oil coat
- Close the lid
- Use a weatherproof cover
- Crack vents open slightly for airflow
Check monthly for rust.
Troubleshoot Common Mistakes
Even seasoned grillers make errors. Here is how to fix the most common ones.
Sticky or Gummy Surface
Cause: Too much oil or wrong oil like spray.
Fix: Heat grates to 450°F for 30 minutes to burn off residue. Cool, scrub lightly, then re-season with ultra-thin oil layers.
Food Still Sticking
Cause: Incomplete seasoning or cooking frozen food too soon.
Fix: Build more layers. Avoid grilling frozen items on new grates because temperature shock causes sticking.
Uneven or Patchy Finish
Cause: Inconsistent oiling or hot spots on the grill.
Fix: Rotate grates during seasoning. Apply oil in a well-lit area to spot missed spots.
Flaking Seasoning
Cause: Old grease trapped under new layers or thermal shock.
Fix: Strip with vinegar paste or sanding, then re-season from scratch.
Build a Long-Lasting Patina
The best seasoning comes from regular use. Every time you grill fatty foods like burgers, steaks, or bacon, you are adding natural oils that polymerize and strengthen the patina.
Cook Fatty Foods First
New grates benefit from cooking high-fat items early. The grease fills pores and accelerates non-stick development.
Avoid Acidic Foods Early On
Tomato sauces, citrus marinades, or wine-based dishes can strip weak seasoning. Wait until your patina is dark, smooth, and stable, usually after 10 to 15 uses.
Touch Up Monthly
Even with frequent use, do a quick re-seasoning every 4 to 6 weeks:
- Oil grates
- Heat to 400°F for 30 minutes
- Cool and use
It takes 10 minutes and keeps performance sharp.
Frequently Asked Questions About Seasoning Cast Iron Grill Grates
Can I use olive oil to season cast iron grill grates?
Olive oil has a relatively low smoke point and can leave a sticky residue when heated to seasoning temperatures. Stick to oils with high smoke points like grapeseed, vegetable, or canola for best results.
How long does seasoning take to build up properly?
A strong initial seasoning requires 3 to 4 oil-and-heat cycles. After that, regular use and monthly touch-ups will maintain and strengthen the patina over time.
Is it safe to use soap on cast iron grill grates?
Yes, mild dish soap is safe for cast iron, especially during initial cleaning or when dealing with sticky residue. Just rinse thoroughly, dry completely, and re-oil afterward to protect the patina.
What temperature should I season cast iron grill grates at?
The ideal temperature range is 350°F to 400°F. This allows the oil to polymerize properly without burning off. Going too high can leave bare spots, while too low will not trigger the chemical bonding process.
How do I know if my cast iron grates are properly seasoned?
Properly seasoned grates appear jet black and slightly glossy. Food should release easily without sticking, and the surface should feel smooth to the touch. If food sticks aggressively or the surface looks reddish-brown, the seasoning needs attention.
Can I season cast iron grates in a self-cleaning oven?
No, avoid using self-cleaning ovens for seasoning. The extreme high heat can warp cast iron grates and damage your oven. Use a conventional oven at 400°F instead.
Key Takeaways for Seasoning Cast Iron Grill Grates
Seasoning cast iron grill grates comes down to three core principles: clean thoroughly, apply ultra-thin oil layers, and heat to the right temperature. Always use high-smoke-point oils like grapeseed or vegetable, and repeat the oil-and-heat cycle 3 to 4 times for a durable foundation. After every cook, scrape while warm, re-oil, and store properly to prevent rust.
Your next step is simple: inspect your grates today. If they look dull, sticky, or rusty, set aside an hour this weekend to strip, clean, and re-season them from scratch. Your future self, and your taste buds, will thank you every time you fire up the grill.