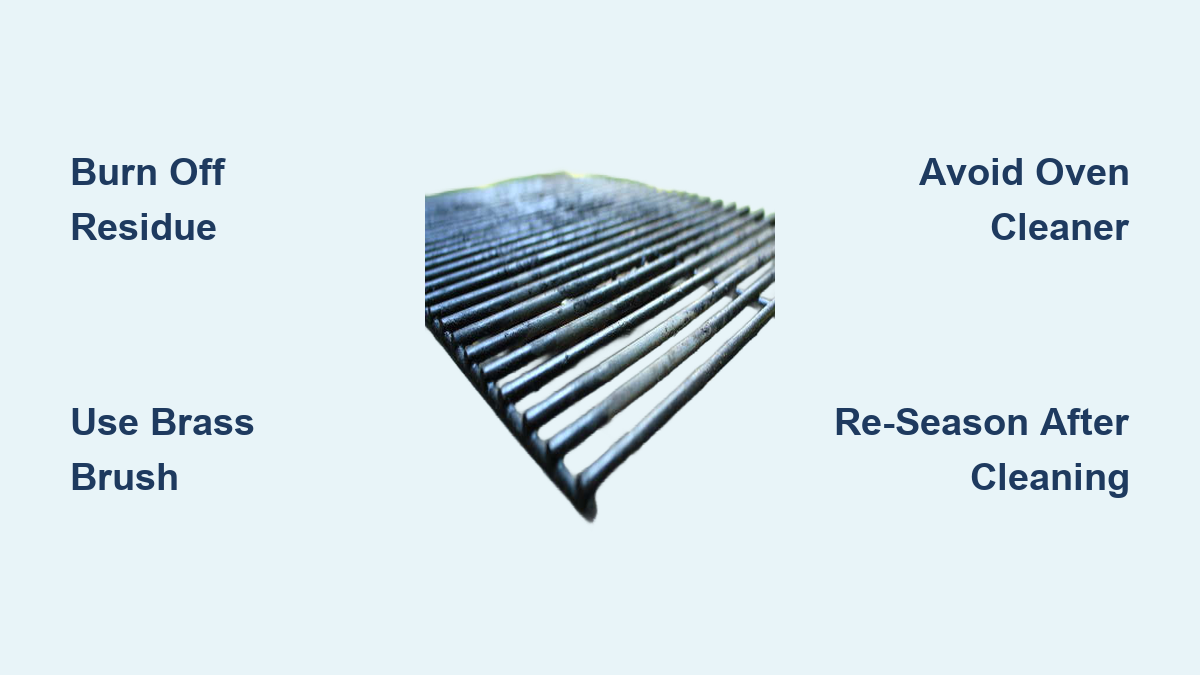
How to Clean Porcelain Grill Grates
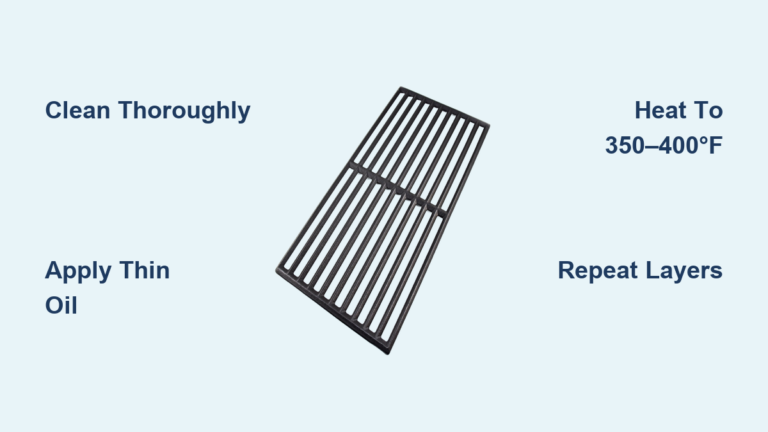
That black coating on your porcelain grill grates is not grime. It is seasoning, a polymerized oil layer that creates a natural non-stick surface and protects the cast iron underneath. Scrubbing it away or using harsh tools can crack the porcelain enamel, expose the metal, and invite rust. The goal of cleaning is removing food debris and carbon buildup while preserving that protective black layer.
This guide covers safe, proven methods for routine maintenance and deep restoration of porcelain grill grates. You will learn how to burn off residue, tackle baked-on messes, choose the right tools, re-season properly, and recognize when replacement makes more sense than repair.
Burn Off Residue with High Heat

High heat is the fastest, safest routine method for cleaning porcelain grill grates. It incinerates stuck-on food without stripping seasoning.
Heat Grates to 450°F or Higher
Turn all burners to high and close the lid. Let the grill run for 10 to 15 minutes until the internal temperature exceeds 450°F. At this heat, food particles carbonize and loosen from the surface. Heat gradually to avoid thermal shock, since porcelain cracks when temperatures spike too fast.
Scrub While the Grates Are Still Hot
Once hot, use a brass or nylon brush to scrub the grates. Brass bristles (such as the Libman model) remove carbon without scratching porcelain when used gently. Nylon brushes are even safer if you worry about surface damage. Never use steel wire brushes. The bristles can snap off into food or chip the enamel coating.
Season with Oil After Cleaning
After brushing, dip a paper towel in canola oil or used fryer oil. Using long tongs and heat-resistant gloves, wipe the hot grates to re-season the surface and prevent rust. Repeat 2 to 3 times until the oil burns cleanly. Then turn off the grill and let it cool.
Pro Tip: Throw sliced onions on the grill after cleaning. They release natural oils that enhance seasoning and remove leftover flavors from your last cook.
Deep Clean with Oven Cleaner for Stubborn Buildup
When burn-off leaves behind thick, baked-on residue, a chemical soak restores porcelain grill grates without excessive scrubbing.
Use Easy-Off Heavy Duty or Fume Free
Remove the grates and place them in a plastic tote or on newspaper outdoors. Spray both sides generously with Easy-Off Oven Cleaner, either the yellow Heavy Duty formula for faster results or the blue Fume Free version for less caustic fumes. Always work outdoors and wear rubber gloves and safety goggles.
Let the Cleaner Soak for 24 to 72 Hours
Seal the grates in a plastic bag or cover the tote. Let them sit for at least 24 hours; for heavy buildup, extend to 48 to 72 hours. Reapply if the cleaner dries out. Do not use oven cleaner indoors. The fumes are hazardous.
Rinse and Scrub Off All Residue
After soaking, wash the grates thoroughly with dish soap and water. Use a plastic paint scraper or a blue Scotch-Brite pad to remove any remaining crust. Rinse completely. Leftover cleaner can affect food flavor and safety.
Warning: Never mix ammonia-based cleaners with bleach. The combination produces toxic gas.
Try Gentle Soaking Methods First for Moderate Messes
For moderate buildup, gentler soaking methods clean porcelain grill grates without harsh chemicals.
Soak in Dawn and Hot Water
Place grates in a bus tub or large container. Fill with hot water and add Dawn dish soap. Soak for several hours up to 2 days. Dawn’s degreasing power loosens grime without damaging porcelain. After soaking, scrub with a nylon brush or non-scratch pad.
Use the Steam Wrap Technique
Heat the grates on the grill, then wrap them in 3 to 4 layers of wet newspaper. Seal inside a cooler or let sit uncovered until fully cooled. The trapped steam softens carbon deposits. Unwrap and brush clean.
Try the Overnight Dew Method
Lay grates on damp grass overnight. Morning dew penetrates residue. Hose them off in the morning, then burn off any remaining bits on the grill.
Note: Avoid the dishwasher. Harsh detergents can degrade seasoning and expose cast iron to moisture damage.
Choose the Right Cleaning Tools
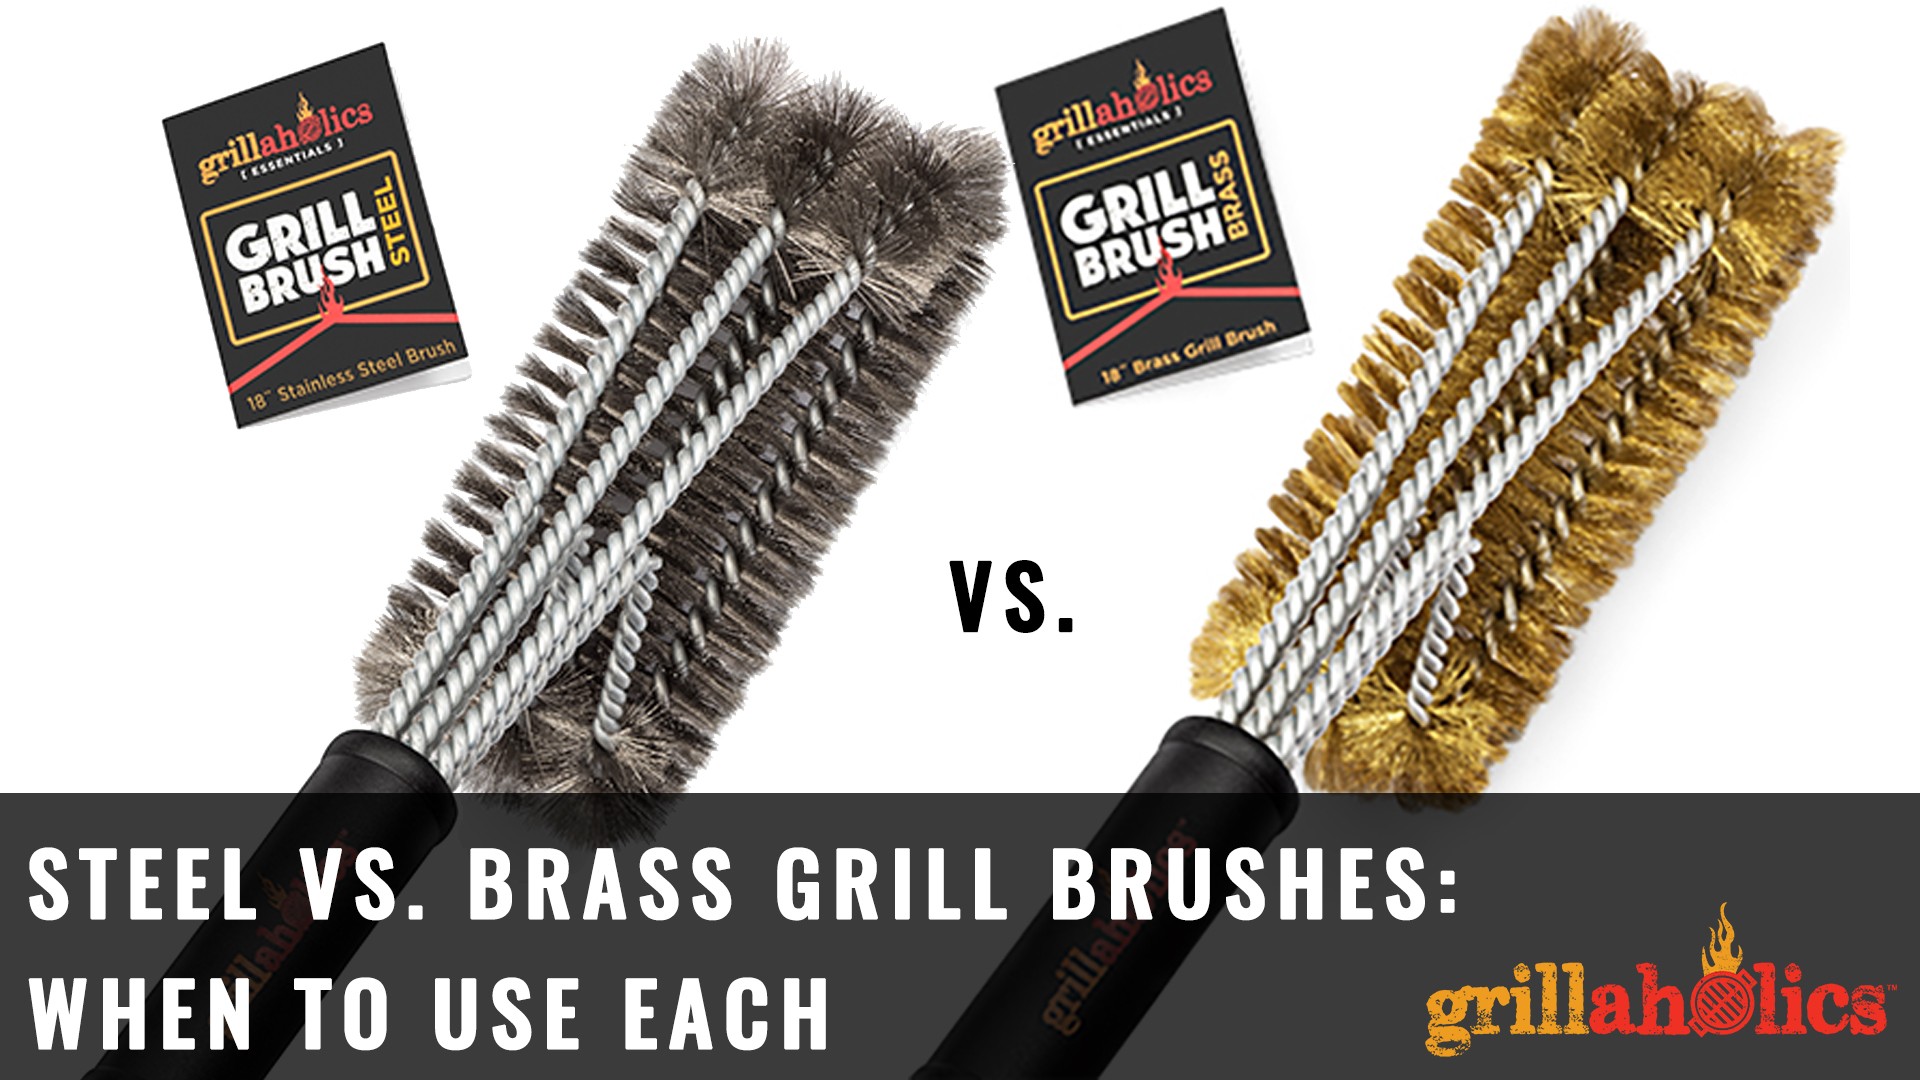
The wrong tool is the fastest way to ruin porcelain grill grates. Match your brush and scraper to the job.
Safe Brushes: Brass and Nylon
- Brass Bristle Brush (Libman): Effective and widely recommended. Brass is soft enough not to scratch porcelain but tough on carbon.
- Stiff Nylon Brush: Ideal for daily use. It will not scratch and eliminates the risk of bristle loss.
Safe Scrapers: Wood and Plastic
- Wooden Scraper: Removes large debris without marring the surface. Available at Walmart for under $10.
- Plastic Paint Scraper: Great for sink cleaning after soaking.
Tools to Avoid
- Steel Wire Brushes: Especially Weber-branded models. Bristles can snap off into food.
- Metal Scrapers: High risk of chipping enamel.
- Abrasive Pads: Even “non-scratch” pads can leave micro-scratches if pressed too hard.
Expert Insight: If a brass brush chips the coating, the porcelain was likely already cracked from thermal stress. The brush exposed damage that was already there.
Re-Season Grates After Every Deep Clean
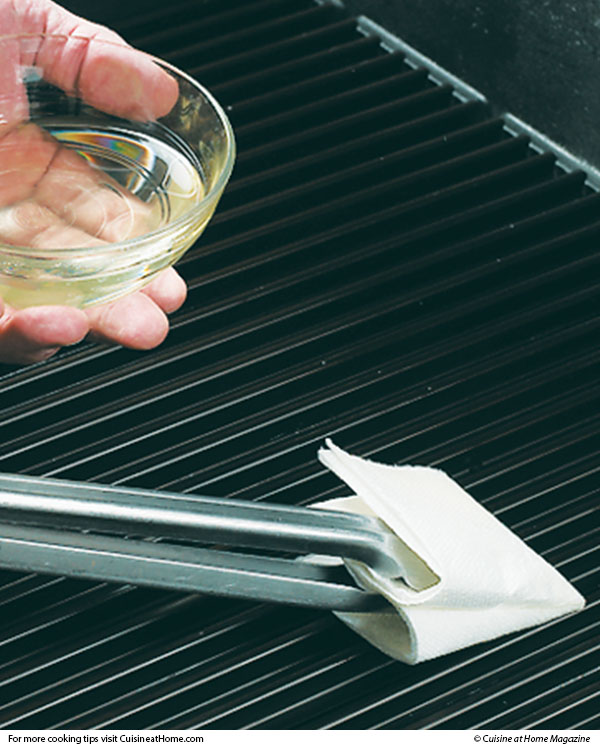
A clean grate needs protection. Seasoning prevents rust and creates a non-stick cooking surface.
Apply Oil to Hot Grates
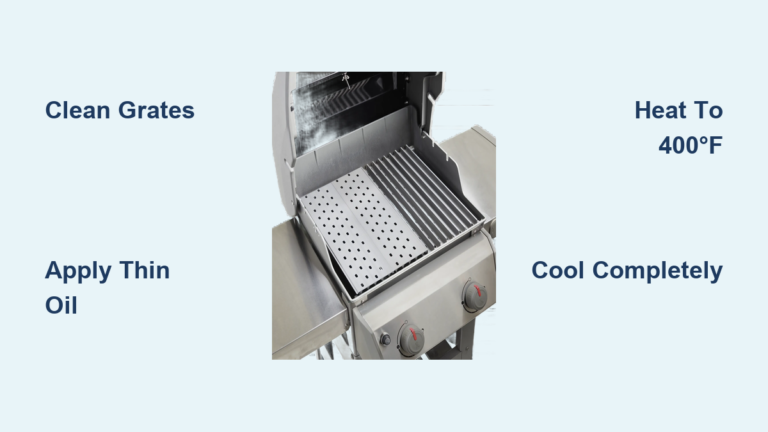
After cleaning, heat the grill. Dip a paper towel in vegetable oil, canola oil, or used fryer oil. Using long tongs, wipe the oil evenly across the hot grates. Let it burn on for 5 to 10 minutes. Repeat 2 to 3 times.
Use Crisco Grill Spray for Convenience
Crisco non-stick spray can be applied before cooking. It adds a thin, even layer that enhances seasoning over time.
Cook Onions to Build Seasoning Naturally
Grilled onions release natural sugars and oils that bond to the surface, building a durable, flavor-neutral layer.
Myth Busting: A black grate is not dirty. It is well-seasoned and optimal for cooking.
Prevent Cracking and Rust on Porcelain Grill Grates
Porcelain grates eventually fail. Smart habits delay the end.
Avoid Thermal Shock
Never cool hot grates with water or put cold grates on a roaring fire. Heat gradually to prevent cracking from expansion stress.
Keep Grates Dry
Store with the grill covered, but ensure airflow. In humid or rainy climates, moisture causes surface rust even with intact porcelain.
Upgrade to Stainless Steel in Wet Climates
If you live where it rains often, consider switching to 304 stainless steel grates with:
– 9mm (3/8″) bar thickness
– Spacing under 0.3 inches
They resist rust, handle aggressive cleaning, and last longer, though they need more oil to prevent sticking.
Troubleshoot Common Porcelain Grate Problems
Rust on Grates
Rust usually means moisture exposure or a compromised coating.
Fix: Deep clean, burn off rust, and re-season heavily. If rust persists or flakes appear, replace the grates.
Baked-On Food Won’t Budge
Solution:
1. Soak in Easy-Off for 72 hours
2. Try the steam wrap method
3. Follow with a brass brush scrub
Fear of Damaging the Coating
Relax. Black is good. Clean only until food debris is gone. Use wood, nylon, or brass tools. Damage is more likely from heat than brushing.
Food Tastes Like the Last Meal
Burn off grates at high heat and oil before switching food types, such as fish to steak. For complete flavor reset, stainless steel grates are easier to keep neutral.
Know When to Replace Porcelain Grill Grates

All porcelain grill grates eventually crack due to thermal cycling. Signs it is time to replace include:
– Flaking enamel
– Visible cracks
– Persistent rust spots
– Food sticks despite seasoning
Cleaning can restore function temporarily, but cracked porcelain cannot be repaired. The cast iron underneath will rust quickly once exposed.
Upgrade Tip: Look for 304 stainless steel rod grates with tight spacing. They outlast porcelain in harsh conditions.
Frequently Asked Questions About Cleaning Porcelain Grill Grates
Can I Use a Wire Brush on Porcelain Grates?
Steel wire brushes are not recommended. Bristles can break off into food, and steel can scratch or chip the enamel. Use a brass or nylon brush instead for safe cleaning of porcelain grill grates.
Is the Black Coating on My Grates Dirt?
No. The black layer is seasoning, a polymerized oil buildup that creates a natural non-stick surface. It protects the cast iron and improves cooking performance. Clean only loose food debris, not the black layer itself.
How Often Should I Deep Clean Porcelain Grill Grates?
Routine burn-off cleaning should happen after every cook. Deep cleaning with oven cleaner or extended soaking is needed only when baked-on residue resists brushing, typically every few months depending on use.
What Oil Is Best for Seasoning Porcelain Grill Grates?
Canola oil, vegetable oil, and used fryer oil all work well. Apply with a paper towel using long tongs while the grates are hot. Crisco non-stick spray is a convenient alternative before cooking.
Why Are My Porcelain Grates Cracking?
Porcelain and cast iron expand at different rates. Repeated heating and cooling creates stress between the coating and the metal core. Thermal shock from rapid temperature changes accelerates cracking. Eventually, all porcelain grill grates develop cracks regardless of care.
Can I Put Porcelain Grates in the Dishwasher?
Hand washing is preferred. Dishwasher detergents can degrade seasoning and expose cast iron to prolonged moisture, increasing rust risk. Soak in hot soapy water and scrub by hand instead.
Key Takeaways for Cleaning Porcelain Grill Grates

Cleaning porcelain grill grates is about balance. Remove food debris without stripping seasoning or damaging the enamel. Use high heat for routine cleaning, chemical soaks for deep restoration, and always re-oil after cleaning. Choose brass or nylon tools, avoid thermal shock, and accept that these grates have a limited lifespan.
Your next step: pick one cleaning method that matches your current grate condition, gather the right tools, and perform maintenance after your next cook. With consistent care, you will maximize performance and delay replacement.