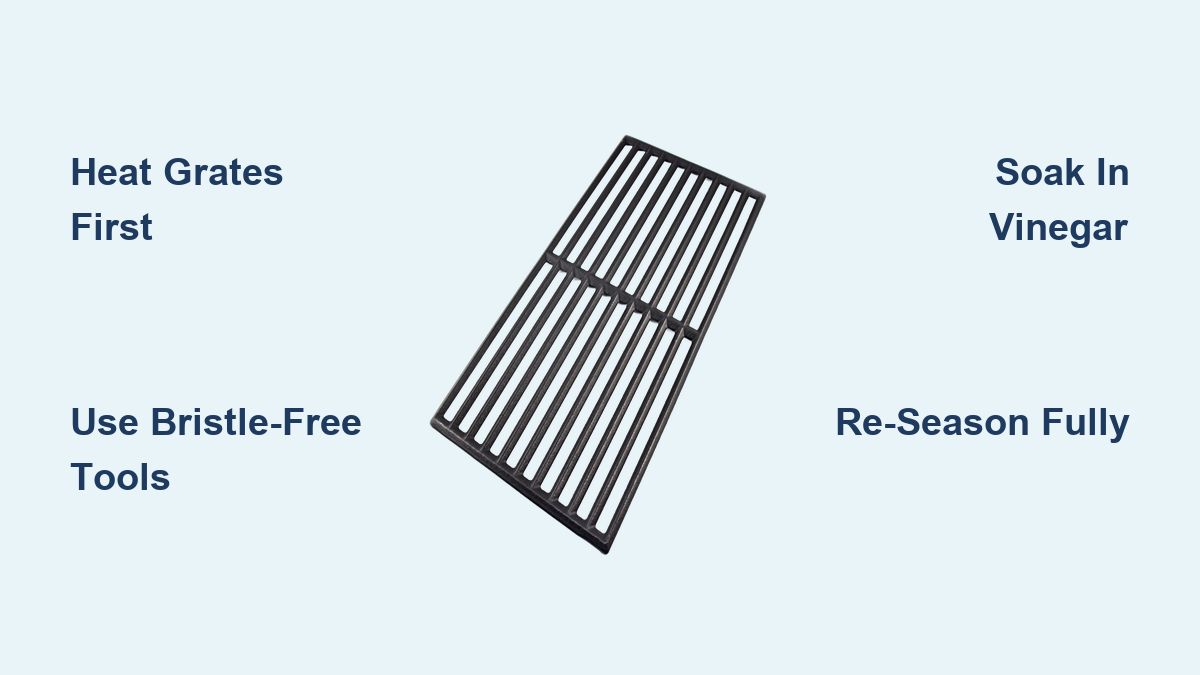
How to Remove Rust From Cast Iron Grill Grates
Nothing ruins a grilling session faster than spotting reddish-brown rust creeping across your cast iron grates. The good news is that learning how to remove rust from cast iron grill grates is far easier than most people think. Cast iron is one of the most forgiving materials in your kitchen, capable of being fully restored even after heavy oxidation sets in. The secret lies in understanding that rust is just iron oxide, and with the right combination of heat, abrasion, or acid, you can strip it away and replace it with a fresh, protective seasoning layer.
In this guide, you’ll discover step-by-step techniques, safe tool recommendations, and expert-backed seasoning protocols to not only fix existing rust but prevent it from returning. Whether you’re dealing with light surface discoloration or years of neglect, every situation has a proven solution waiting for you.
Heat Grates Before Cleaning

Why Hot Cleaning Works Better
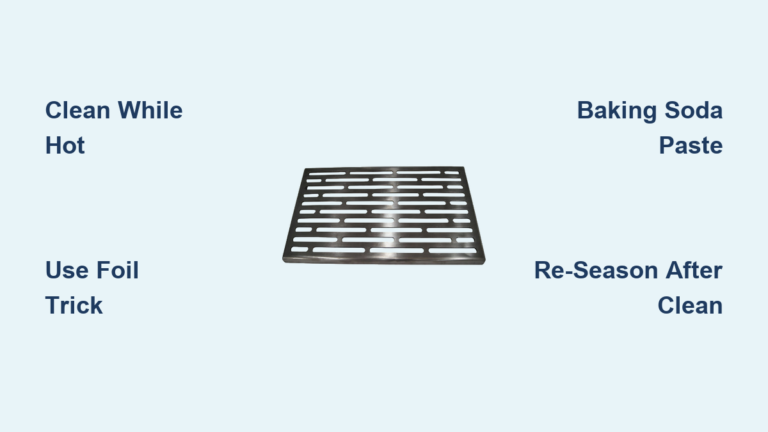
Rust bonds tightly to cold metal, which is why dry brushing a room-temperature grate barely makes a dent. Heating the grates expands the iron and weakens the adhesion of rust and carbonized residue. This single step makes every other cleaning method dramatically more effective.
Fire Up the Grill First
Turn your grill to high and let it run for 10 to 15 minutes. You’re aiming for a surface temperature of at least 400°F. You’ll know it’s ready when you see smoke or a slight shimmer across the metal. Never attempt deep cleaning while the grates are cold.
Safety Gear for Handling Hot Grates
Use heavy-duty oven mitts and long-handled tongs whenever handling heated grates. Cast iron retains heat for a surprisingly long time, sometimes over an hour, so treat it as dangerous even after you turn off the grill. Thin kitchen towels and bare hands are not acceptable substitutes.
Choose Safe Cleaning Tools
Avoid Wire Brushes with Bristles
Standard wire-bristle brushes shed tiny metal fragments that can lodge in food and cause serious internal injuries. The FDA has issued warnings about this hazard. Even brushes that look intact can lose bristles during use, putting you and your guests at risk.
Use Bristle-Free Alternatives
Switch to safer, equally effective tools that get the job done without the danger:
– Bristle-free coiled brushes (such as GrillArt or SteamWizards)
– Nylon scrub pads for post-soak cleaning
– Steel wool (fine grade) for stubborn patches
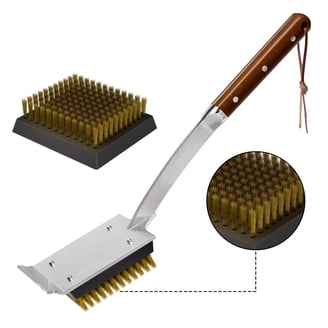
– Brass brushes for detailed work without scratching iron
Aluminum Foil Trick for Grooves
Fold heavy-duty aluminum foil into a tight 3×3 inch square. Grip it with tongs and rub it over the hot grates. The foil conforms to ridges and pulls out debris that brushes often miss. It’s disposable, chemical-free, and surprisingly effective.
Natural Rust Removal Methods
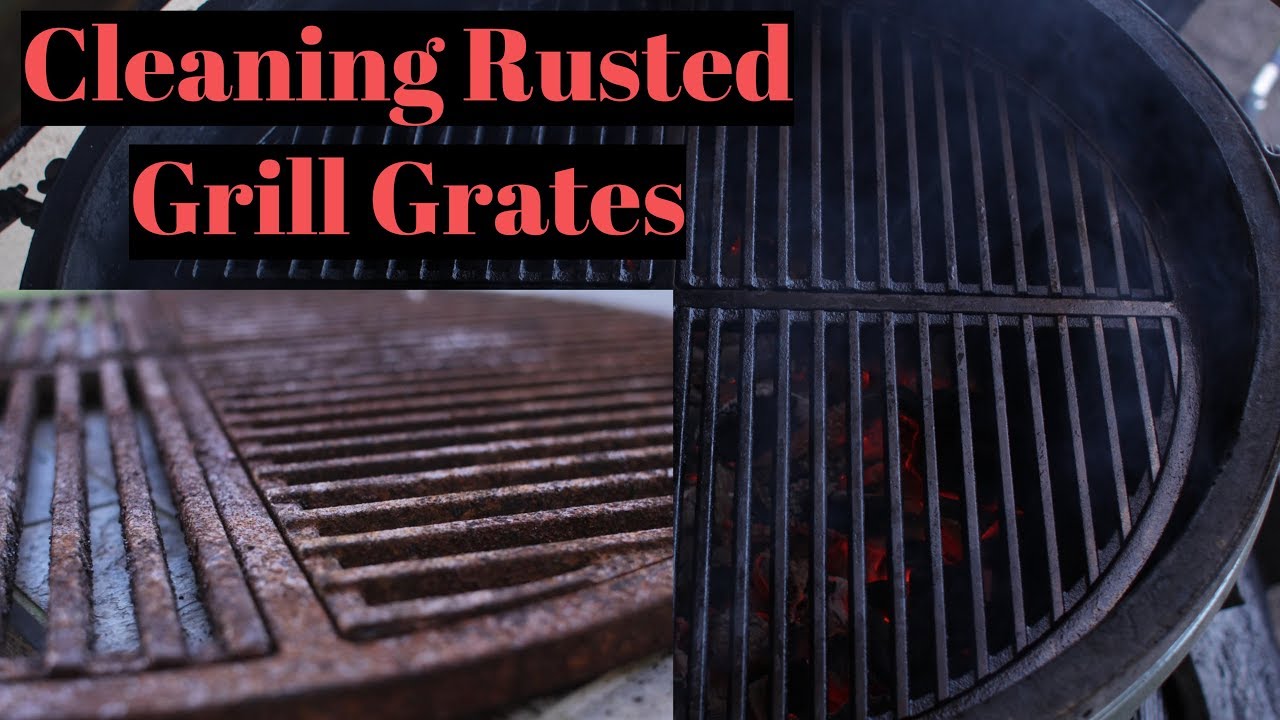
Salt and Potato Scrub
How It Breaks Down Rust
Kosher salt acts as a gritty abrasive, while the oxalic acid in raw potatoes helps dissolve light rust. The potato’s soft flesh provides a safe grip and prevents you from over-scrubbing the metal.
Step-by-Step Application
- Cut a large potato in half.
- Sprinkle coarse salt generously over the rusted areas.
- Use the cut side of the potato to scrub in circular motions.
- Wipe clean with a damp cloth.
- Dry immediately and apply a thin coat of oil.
Best for: Light surface rust and stuck-on food residue.
Charcoal and Lemon Paste
Make the Abrasive Mixture
Crush a lump of natural charcoal inside a plastic bag until it becomes a fine powder. Strain out the large chunks, then mix the powder with fresh lemon juice to form a thick paste. The charcoal provides grit while the citric acid helps lift oxidation.
Scrub and Rinse
- Apply the paste to warm grates.
- Scrub with steel wool or a nylon brush.
- Rinse thoroughly with water.
- Dry completely and re-season.
Pro tip: Use this outdoors because it can get messy.
Baking Soda Paste for Buildup
Neutralize and Lift Residue
Baking soda is mildly alkaline and excellent for breaking down grease while neutralizing any leftover acids from previous cleaning steps.
Apply Overnight
- Mix 1 cup baking soda with 1/3 cup water.
- Spread the paste over the grates.
- Let sit overnight.
- Scrub with a nylon brush the next day.
- Rinse and dry thoroughly.
Best for: Combined rust and carbonized gunk.
Chemical Rust Removal Techniques
White Vinegar Soak
Dissolve Rust with Acetic Acid
Vinegar’s acetic acid eats away at iron oxide. Submerge the grates in undiluted white vinegar for 2 to 8 hours, depending on rust severity.
Neutralize After Soaking
After soaking:
1. Scrub with steel wool.
2. Wash with warm, soapy water and a tablespoon of baking soda to neutralize the acid.
3. Rinse and dry immediately. Never leave them wet.
Warning: Prolonged soaking beyond 12 hours can etch the metal.
Evapo-Rust Soak (No Scrubbing)
Use Water-Based Rust Remover
Evapo-Rust is biodegradable, non-toxic, and doesn’t require any scrubbing. Place the grates in a container and cover them completely with the solution.
Soak Overnight
Leave the grates in Evapo-Rust for 8 to 12 hours. The solution turns brown as it pulls out rust. Remove, rinse with water, and dry.
Bonus: It’s safe for food-contact surfaces after rinsing.
Carbona 2-in-1 Cleaner Bag
All-in-One Restoration Kit
Carbona includes a sealable bag and cleaning solution designed specifically for oven racks and grill grates.
Seal and Wait
- Place the grates in the bag.
- Add the solution.
- Seal and leave overnight.
- Remove, rinse, and dry.
This kit returns heavily rusted grates to near-new condition.
Oven Cleaner Method (Severe Cases)
Deep Clean with Lye-Based Spray
Spray the grates liberally with oven cleaner such as Easy-Off. Place them in a heavy-duty black trash bag, seal it, and leave in direct sunlight for 24 to 48 hours.
Rinse and Scrub Safely
- Open the bag outdoors.
- Scrub with soapy water and a brass brush.
- Rinse thoroughly.
- Re-season completely.
Note: Some experts caution about chemical residue, so ensure full rinsing.
Pumice and Torch Methods
Grill Bricks for Light Rust
Use a Pumice Brick
Pumice grill bricks are chemical-free and perfect for quick cleanups. Wet the brick and scrub warm grates in straight lines.
Rinse and Oil After
Wipe off residue with a damp cloth. Dry and apply oil. Avoid using pumice on cold or heavily pitted grates.
Best for: Routine maintenance and surface oxidation.
Propane Torch for Spot Rust
Burn Off Heavy Patches
For localized rust spots, use a propane torch to heat the area until it glows red. This burns off the oxidation completely.
Scrub While Hot
Immediately after torching, scrub with steel wool or a brass brush. Wear heat-resistant gloves and safety glasses throughout.
Caution: Only use in well-ventilated areas and keep water nearby in case of flare-ups.
Strip and Re-Season Completely
Why Seasoning Prevents Rust
Seasoning is a polymerized layer of oil that seals the iron from oxygen and moisture. Without it, rust returns quickly. After rust removal, re-seasoning is non-negotiable.
Choose the Right Oil
Use high-smoke-point oils for the best results:
– Peanut oil
– Canola oil
– Avocado oil
– Lard or vegetable shortening
Avoid olive oil for initial seasoning because it smokes too early.
Apply Thin Layers
- Wipe a microscopic amount of oil on the grate with a paper towel.
- Buff off all excess. No pooling should remain.
- Heat the grate to 350°F to 400°F until it smokes.
- Let cool completely.
- Repeat 3 to 6 times.
Visual cue: The finish should be deep black with a semi-gloss sheen.
Oven Seasoning Option
If the grates fit, place them upside down in an oven at 400°F for 1 hour. Put a baking sheet on the lower rack to catch drips. Cool completely before handling.
Maintain Grates After Every Use
Clean While Warm
After cooking:
1. Turn off the grill but leave the grates warm.
2. Wipe with a paper towel to remove grease.
3. Scrub lightly with a bristle-free brush or foil.
Never let food sit on the grates overnight.
Oil While Still Warm
Brush a light coat of oil (canola or spray) on the warm grates. The heat helps the oil absorb and bond to the metal surface.
Store Properly
Keep Dry and Covered
If storing outside:
– Use a breathable grill cover.
– Place paper towels between stacked grates to absorb moisture.
– Store indoors during winter or rainy seasons.
Avoid airtight plastic bags because they trap humidity.
Troubleshoot Common Issues
Rust Keeps Coming Back
Check for Moisture Exposure
If rust reappears quickly, the grates are likely sitting in a humid environment. Re-season fully and improve your storage setup. Apply oil after every use.
Re-Season Fully
One coat isn’t enough. Build up multiple layers over time. The more you use and oil the grates, the better the protection becomes.
Sticky or Flaking Surface
Too Much Oil During Seasoning
A sticky feel means oil pooled and polymerized unevenly. Strip with steel wool and re-season with thinner coats.
Black Flakes vs. Rust
Black flakes are carbonized food and are completely normal. Red or brown flakes are rust and require immediate action. If the seasoning layer itself is peeling, re-season from scratch.
Food Sticks to Grates
Seasoning Is Worn or Thin
Re-season with 3 to 6 cycles. Preheat grates before cooking. Oil food directly, such as brushing steak with oil, to reduce sticking.
Expert Tips and Myths Debunked
Top Tool Recommendations
| Tool | Best Use Case |
|---|---|
| GrillArt Bristle-Free Brush | Safe daily cleaning |
| Kona 360 Clean | Reaches all sides of round rods |
| Evapo-Rust | Heavy rust, no scrubbing |
| Carbona Kit | All-in-one overnight fix |
| Aluminum Foil | Quick groove cleaning on hot grates |
| Pumice Brick | Light rust and maintenance |
Debunked Myths
“Never Use Soap”
Modern dish soaps are mild and safe. A quick wash won’t harm seasoned cast iron. Just dry immediately afterward.
“Metal Utensils Ruin Cast Iron”
Cast iron is tough. Metal tongs and spatulas won’t damage the metal, only the seasoning if used aggressively.
“You Can Over-Season”
False. More seasoning layers mean better protection. Build it up over time without worry.
What to Avoid Cooking
- Long-simmered acidic foods like tomato sauce or wine-based stews: They break down seasoning.
- Delicate fish or eggs: These stick if seasoning isn’t perfect.
- Strong-smelling foods such as blue cheese: Can linger in the seasoning.
Frequently Asked Questions About Rust Removal on Cast Iron Grates
Can rusty cast iron grill grates make you sick?
Rust itself is not toxic, but consuming loose flakes can cause minor irritation. More importantly, rusty grates often harbor bacteria in the pitted surface. Thorough cleaning, proper seasoning, and high cooking heat eliminate these concerns.
How long does it take to remove rust from cast iron grates?
Light surface rust can be removed in under 30 minutes using heat and a bristle-free brush. Heavy rust requiring chemical soaking takes 8 to 12 hours overnight. Add another hour for each seasoning cycle, and the full restoration spans 1 to 2 days.
Is vinegar safe to use on cast iron grates?
Yes, white vinegar is safe for short-term rust removal. The acetic acid dissolves iron oxide effectively. However, you must neutralize the acid with baking soda afterward and dry immediately to prevent flash rusting.
Should I throw away rusty cast iron grates?
Only if the grates have structural damage like cracks, holes, or warping that compromises safety. Surface rust is completely reversible. Cast iron is one of the most restorable materials in your kitchen.
How often should I season my cast iron grill grates?
Perform a full 3 to 6 cycle seasoning after any rust removal. For maintenance, apply a thin coat of oil after every cook while the grates are still warm. This builds up protection over time.
Can I use a dishwasher to clean cast iron grates?
No. Dishwashers use prolonged water exposure and harsh detergents that strip seasoning and accelerate rust. Hand cleaning with minimal soap and immediate drying is the correct approach.
Key Takeaways for Restoring Your Cast Iron Grill Grates
Rust on cast iron is a temporary setback, not a permanent problem. The most important steps are heating the grates before cleaning, choosing bristle-free tools, and committing to a full re-seasoning cycle after rust removal. Without that protective oil layer, rust will return within days.
Start your restoration today by inspecting your grates for structural damage, then heating and scrubbing away the oxidation. Follow up with a proper seasoning protocol, and make oiling after every cook a non-negotiable habit. Your cast iron grates can deliver decades of perfect sear marks and safe, delicious meals with just a little consistent care.