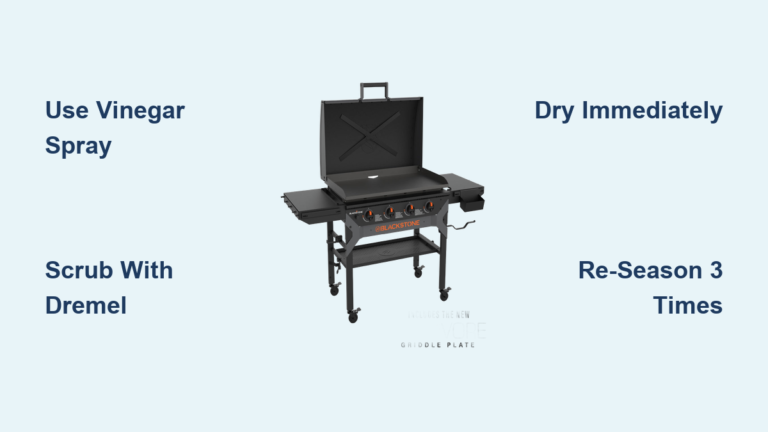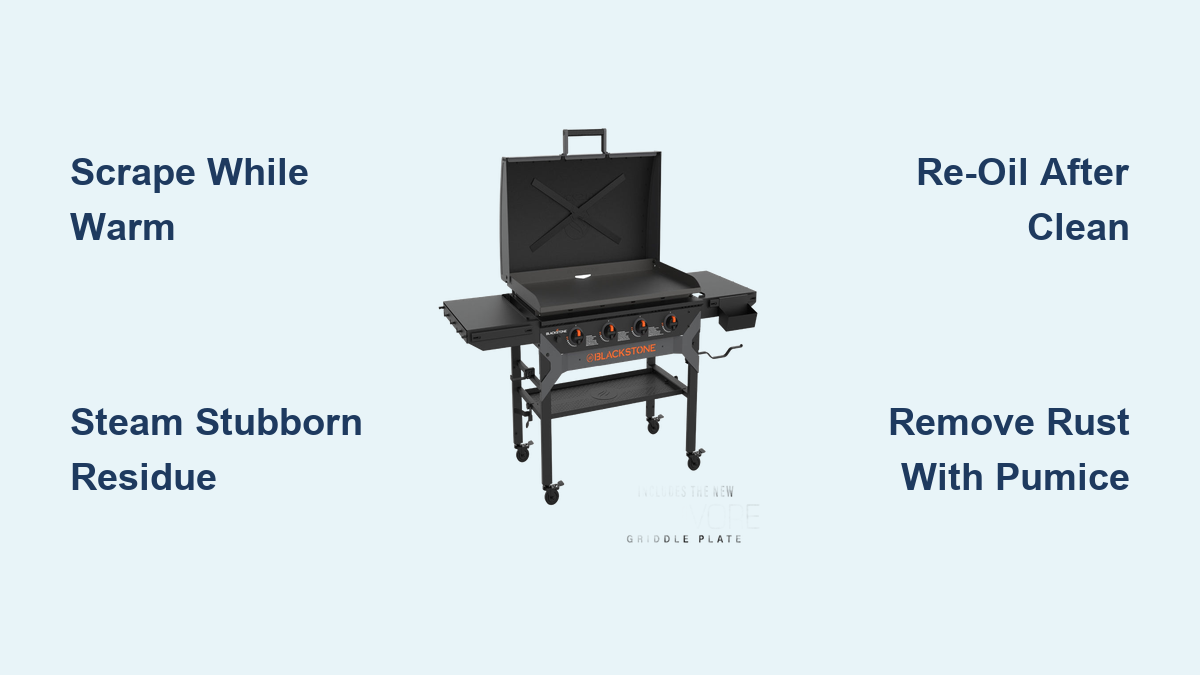
How to Clean a Blackstone Grill
Cleaning a Blackstone grill doesn’t have to be a chore. In fact, with the right method, it’s faster than scrubbing a frying pan. The secret? Clean it while it’s still warm and never let food cool and harden on the surface. Most problems start when sugary sauces or proteins bond to the steel overnight. But if you follow a simple post-cook routine, your griddle stays non-stick, rust-free, and ready for anything from pancakes to seared steaks. This guide walks you through cleaning after every use, fixing rust, restoring flaking seasoning, and storing your grill the right way. You’ll learn why soap kills seasoning, how a pumice stone can save a rusted griddle, and why a thin coat of oil after every clean is non-negotiable.
Scrape While Warm
Why Heat Matters
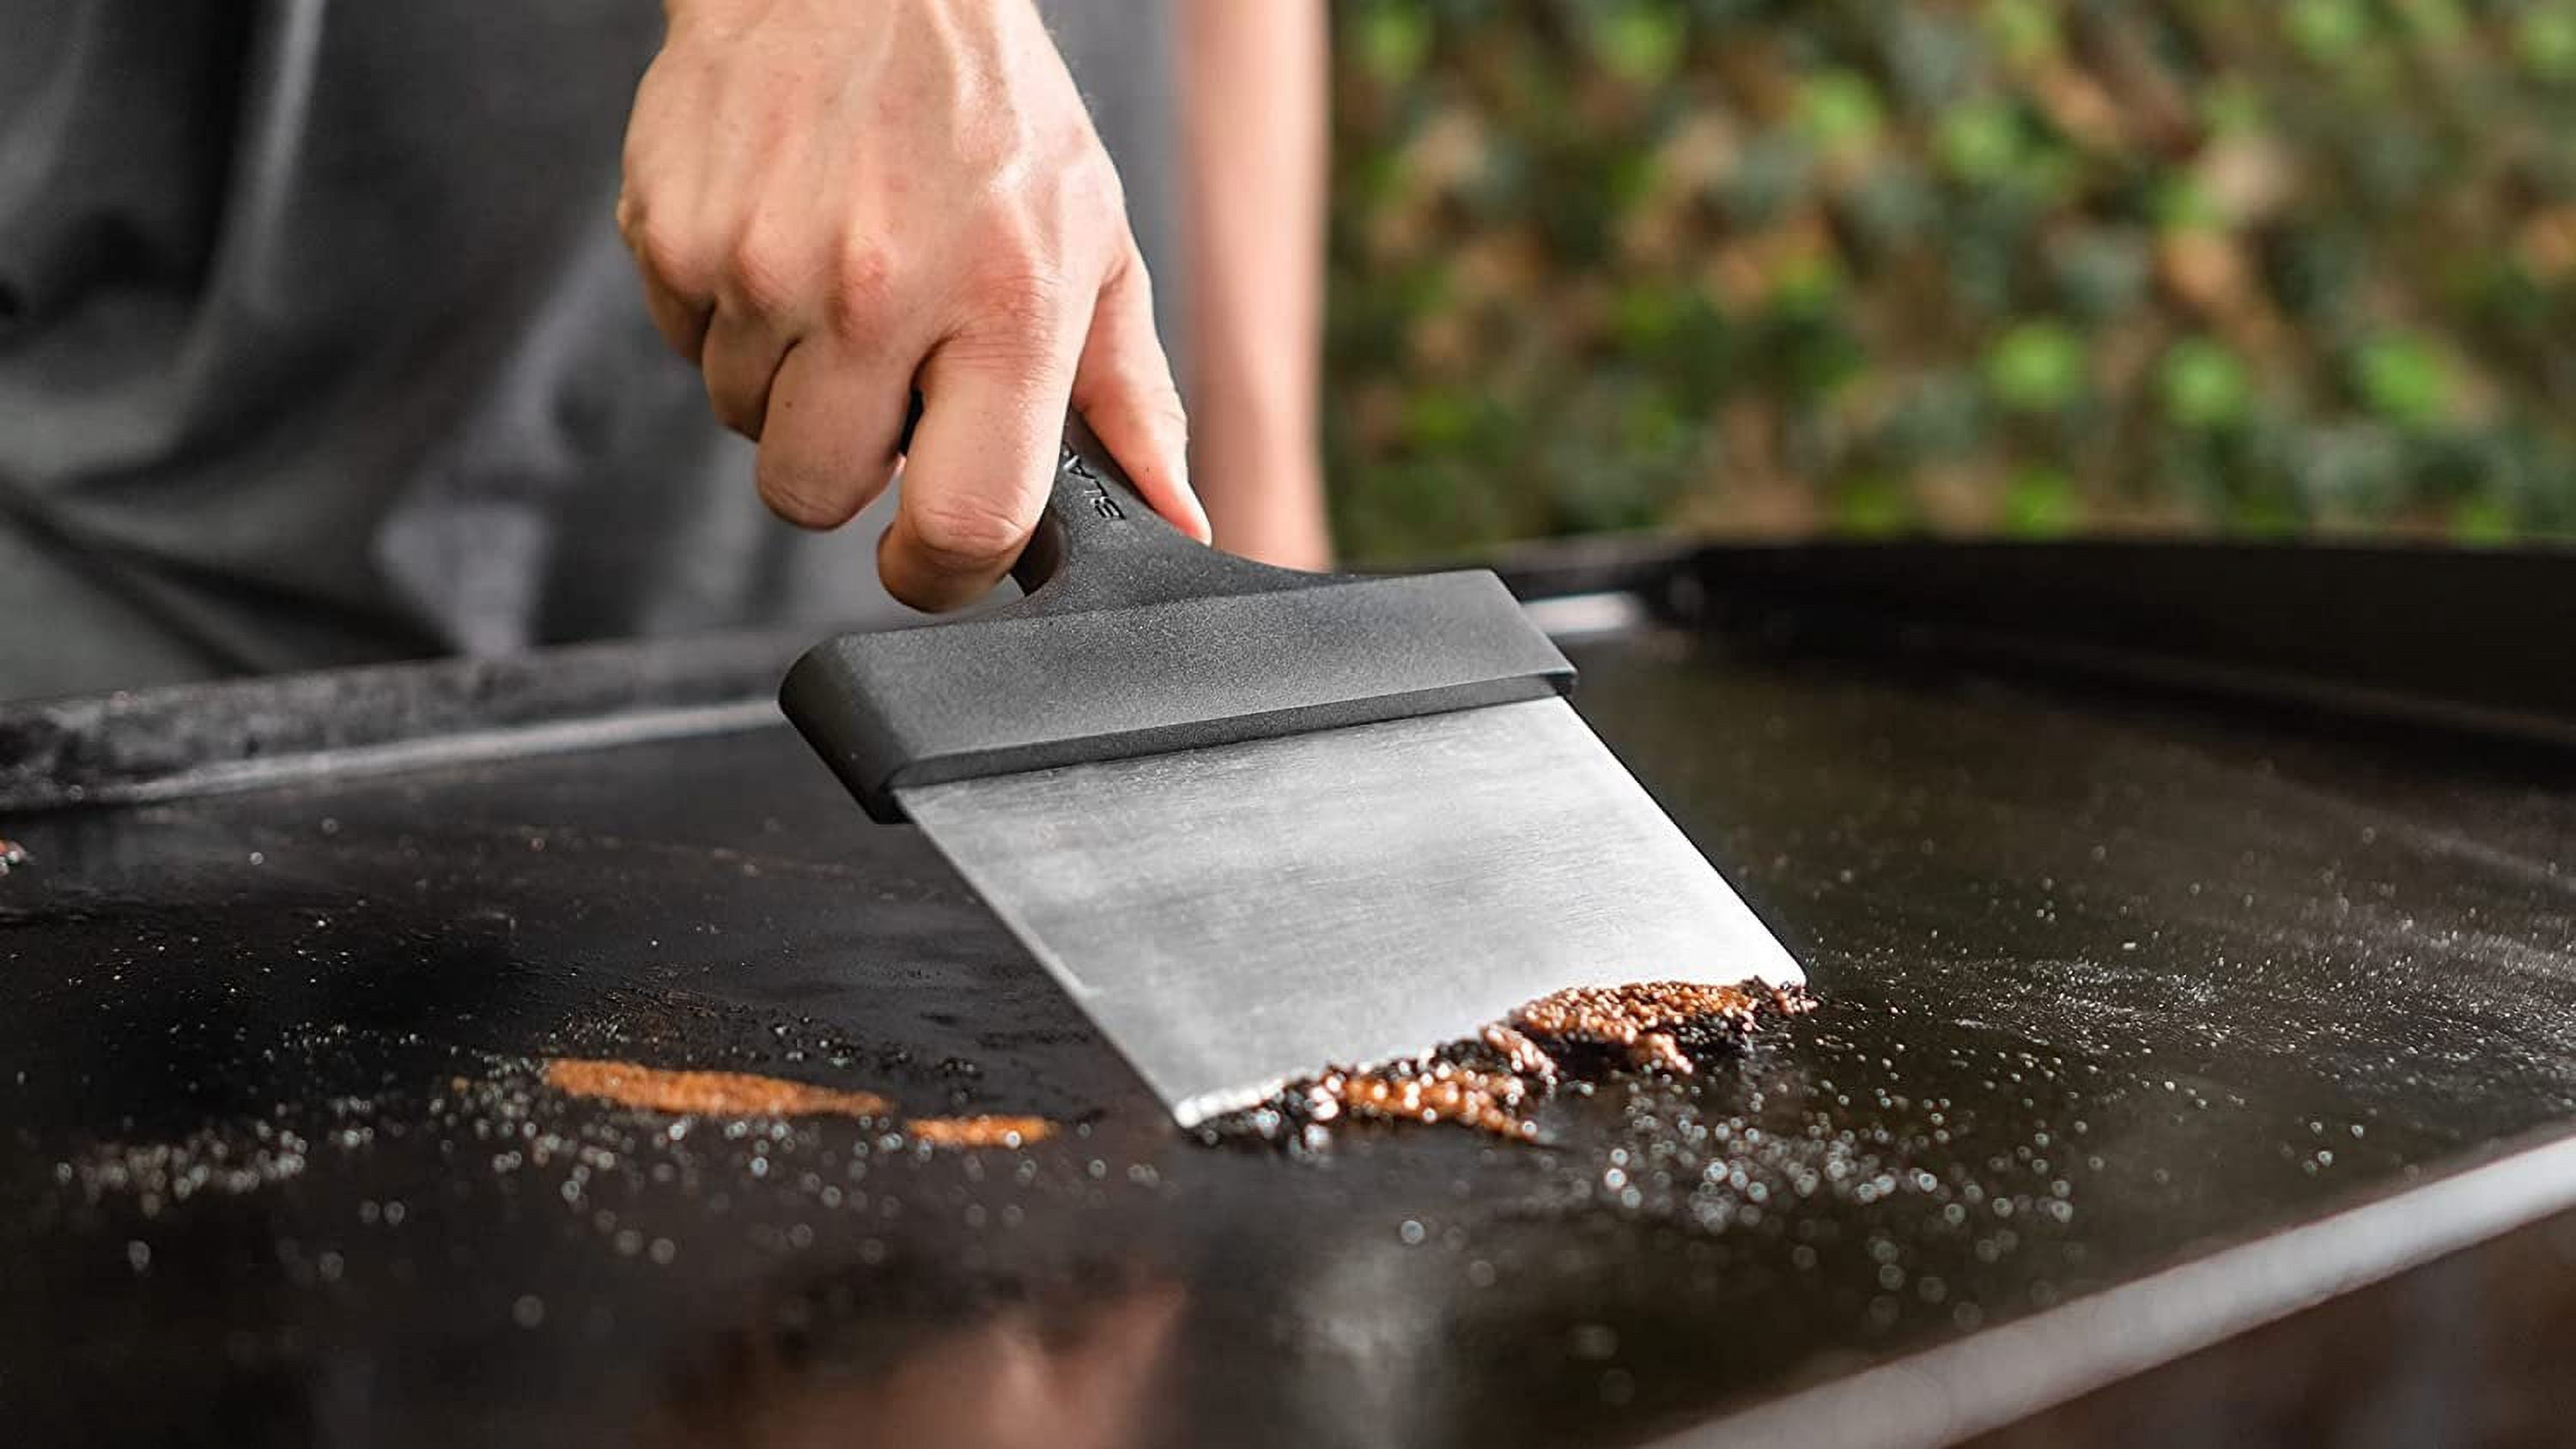
Start cleaning right after cooking, while the griddle is cooling but still warm. At this stage, water sizzles on contact, creating steam that lifts stuck-on food. If you wait until the surface is cold, sugars and proteins harden into a glue-like layer that takes much longer to remove. The goal isn’t to burn yourself, but to work when the metal is warm enough to react with water. This makes scraping effortless and protects your seasoning.
Use a Metal Bench Scraper
Grab a metal bench scraper, which is the most essential tool for Blackstone care. Hold it flat so the entire edge touches the surface. Push forward with firm pressure toward the grease trap. Never saw back and forth, because that motion can gouge the steel or peel seasoning. Scrape in straight lines, overlapping slightly, until all food debris and grease are cleared. For thick buildup, use the corner of the scraper to lift chunks first, then sweep everything into the drip tray.
Clear the Grease Trap
As you scrape, excess oil and food particles drain into the grease trap. If large pieces accumulate, they can clog the opening. Use the side of a spatula or scraper to scoop out solids before they harden. Empty the drip tray regularly, especially after cooking fatty meats, to prevent overflow and fire hazards. A clogged trap means grease pools on the cooking surface, creating smoke and uneven cooking.
Steam Stubborn Residue
Apply Water with a Squirt Bottle
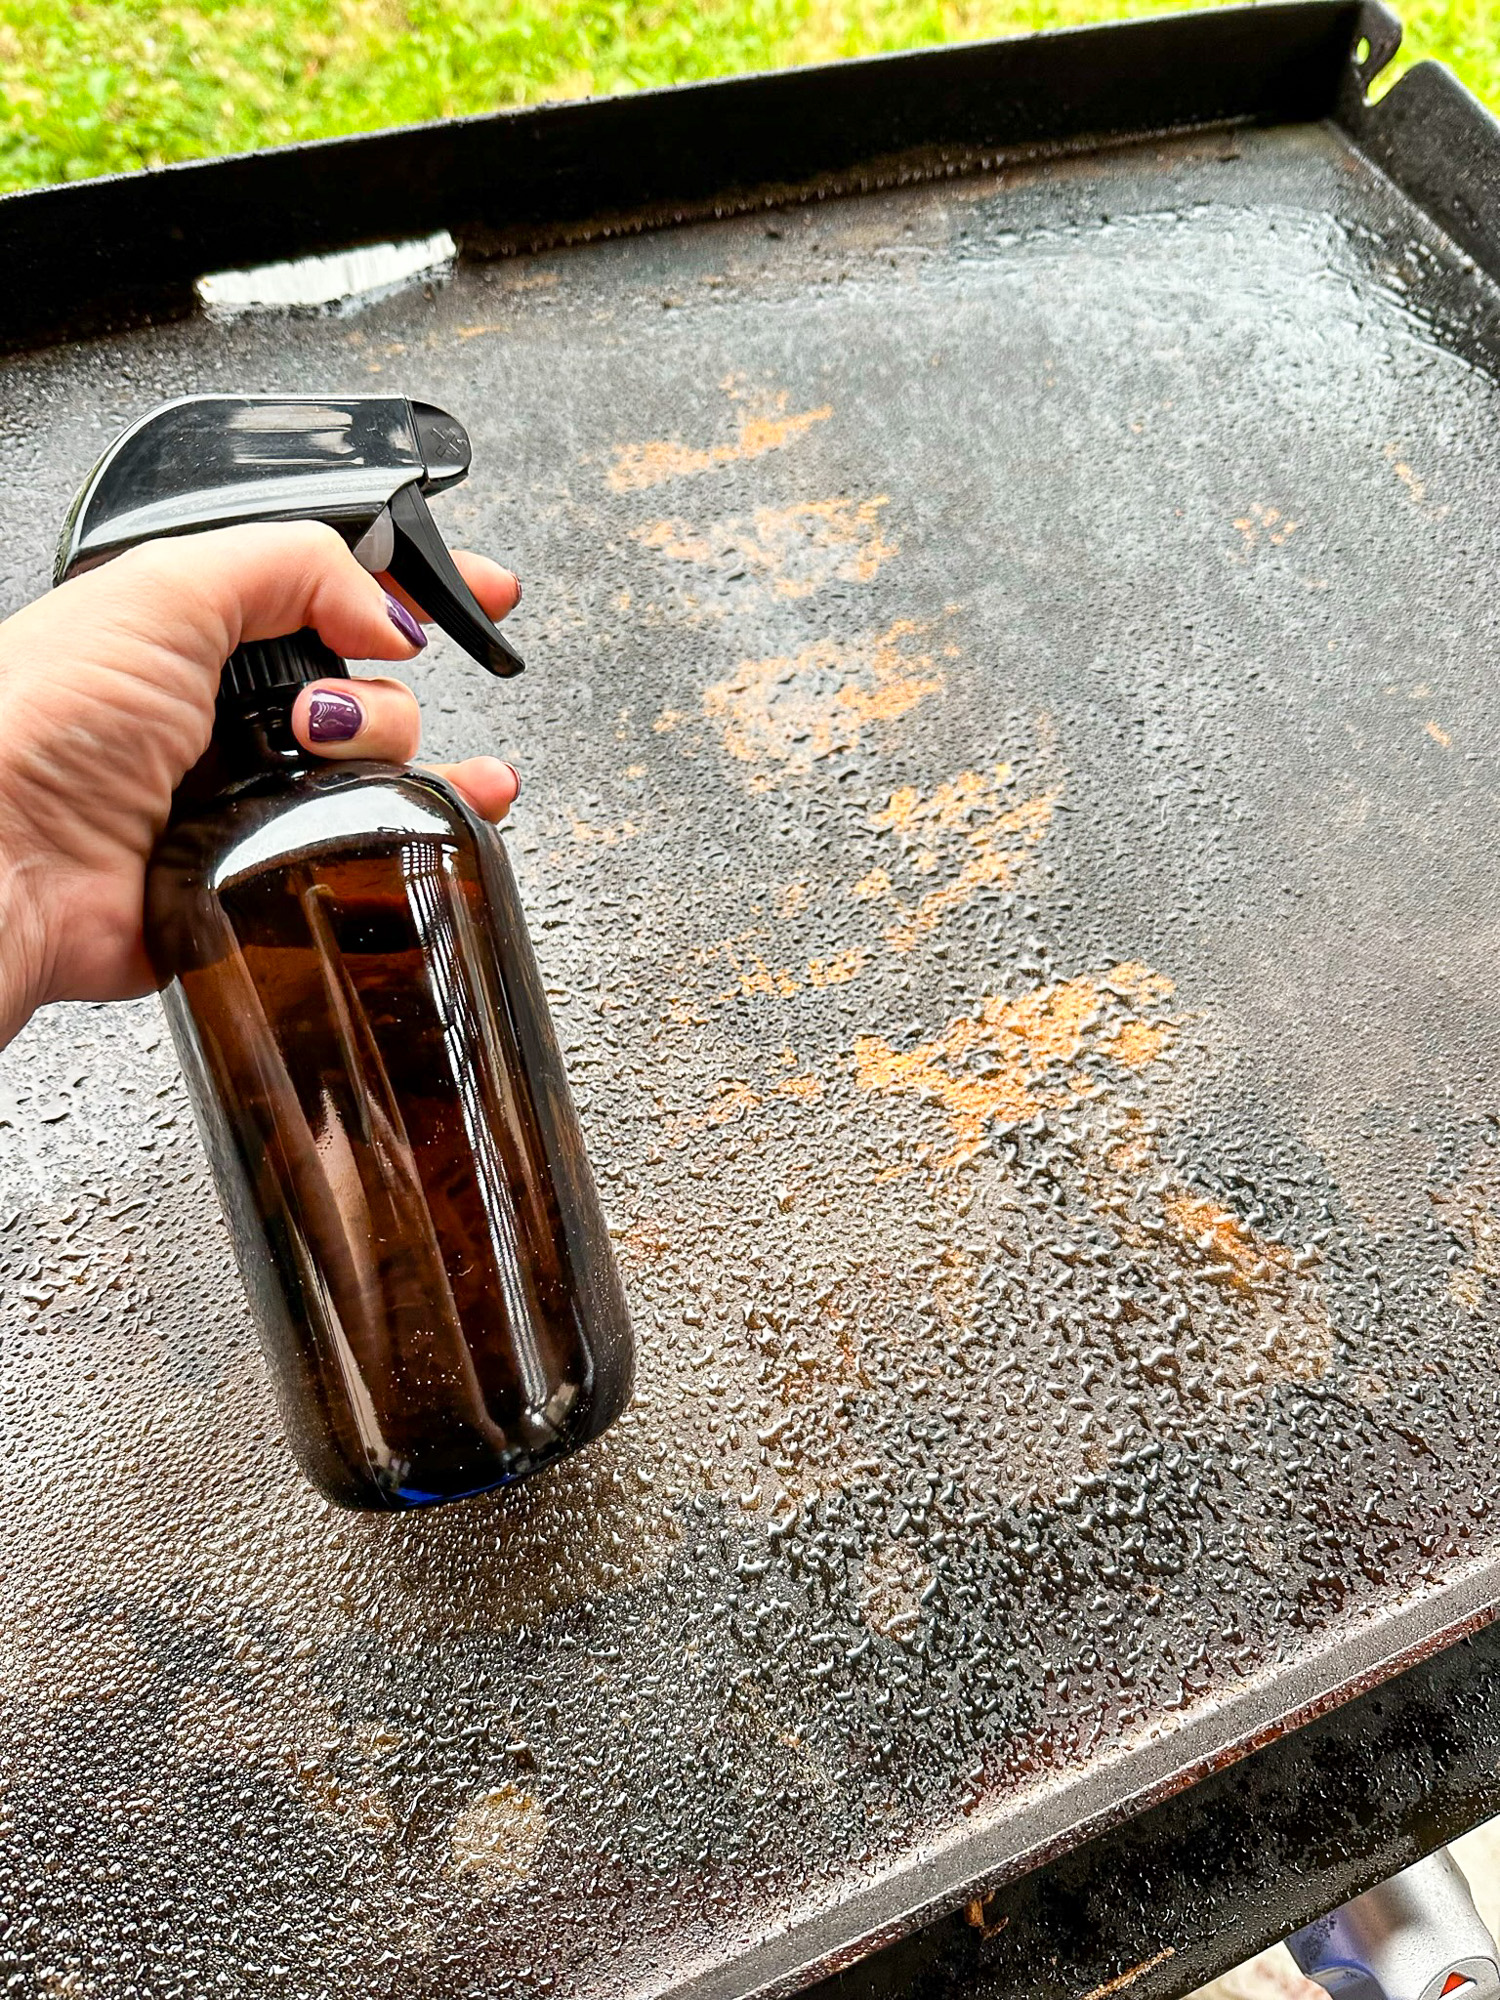
If sticky spots remain after scraping, pull out a squirt bottle filled with room-temperature water. Spray a small amount directly onto the warm griddle. It will instantly vaporize into steam, loosening caramelized sugars and baked-on sauces. Avoid dousing the surface, because too much water cools the metal too fast and increases rust risk. Target only problem areas, like where teriyaki or BBQ sauce spilled.
Scrape Immediately After Steaming
Work quickly after spraying. The steam softens residue in seconds. Reapply the metal scraper in smooth, forward strokes to lift the loosened gunk. Repeat once if needed, but don’t overdo it, because excessive steaming can leave moisture behind. This method works especially well on pancake batter edges or egg remnants that resist dry scraping.
Wipe Down with Towels
Once the surface is clear, grab high-quality paper towels or blue shop towels. Wipe the entire griddle, including the cooking area, sides, and back edges, to remove all moisture and microscopic debris. Low-lint towels prevent fibers from sticking to the hot surface. Avoid dishcloths, because they trap grease and can redeposit grime when reused. This step is critical: any leftover water invites rust, even overnight.
Re-Oil After Every Clean
Apply a Thin Oil Layer
After wiping, pour 1–2 tablespoons of high-smoke-point oil like avocado, vegetable, or Blackstone conditioner onto the surface. Use a fresh paper towel to spread it into a microscopic film. Cover every inch, including corners and sidewalls. The oil should shimmer but not pool. If you see puddles, wipe them off, because excess oil leads to sticky buildup over time.
Why Oil Prevents Rust
Steel rusts when exposed to oxygen and moisture. The oil layer creates a barrier, sealing the metal from humidity in the air. This is especially important if you store the griddle in a garage, shed, or coastal area. Skipping this step, even once, can result in rust spots by morning. Think of it as sunscreen for your griddle: a small effort that prevents big damage.
Best Oils for Maintenance
- Avocado oil: High smoke point (520°F), neutral flavor, excellent for daily use
- Blackstone Griddle Seasoning: Pre-formulated, consistent results
- Vegetable oil: Affordable and effective
- Flaxseed oil: Great for initial seasoning, but can flake over time with heavy use
- Non-stick spray: Convenient for quick touch-ups, but avoid aerosols with additives
Deep Clean a Cooled Griddle
Reheat Before Scrubbing
If you forgot to clean right away and food has hardened, don’t panic. Turn the burners to low or medium heat and let the griddle warm up for 5–10 minutes. This reactivates the oils in the residue, softening it without burning it further. Never blast it on high, because the goal is to loosen, not char, the debris.
Scrape and Steam as Usual
Once warm, follow the standard scraping and steaming process. The heat will make stuck bits slide off more easily. You may need to steam and scrape 2–3 times for thick layers. Be patient, because rushing with excessive force can damage the seasoning. If residue persists, move to a pumice stone for rust removal.
Avoid Ice or Cold Water
Never pour cold water or ice on a hot griddle. The sudden temperature change can warp or crack the steel. Always use room-temperature water in a spray bottle. Thermal shock is one of the fastest ways to ruin a Blackstone.
Remove Rust with a Pumice Stone
Identify Rust Early
Rust appears as reddish-brown spots, usually in corners or near the grease trap where moisture collects. It forms when bare metal is exposed to air and water, often because someone skipped the post-clean oil coat. Good news: rust is fixable, even if it looks bad. Catch it early, and you’ll avoid full restoration.
Scrub with Oil and Grill Brick
- Heat the griddle on high for 5 minutes to loosen rust flakes
- Turn off the heat and let it cool slightly (wear heat-resistant gloves)
- Pour 4–5 tablespoons of oil over the rusty area
- Use a pumice grill stone (not steel wool) to scrub in small circles
- The oil lubricates while the stone abrades rust without scratching steel
- Add more oil as needed to keep the surface slick
- Scrub until the area is uniform and shiny
Wipe and Re-Season
After removing all rust, wipe the surface clean with paper towels to remove sludge. The metal is now bare, so you must re-season it immediately to prevent new rust. Apply a thin oil layer and heat until smoking to restore the protective coating.
Restore Flaking Seasoning

Spot-Treat with Pumice Stone
If the seasoning is peeling or patchy, don’t strip the whole surface. Use the pumice stone with oil to gently scrub only the flaking areas. This smooths transitions and removes loose layers. Avoid aggressive scraping, which can create uneven spots. Work slowly until the surface feels uniform.
Blend Old and New Layers
After scrubbing, wipe clean and apply a fresh oil coat. Heat the griddle to bond the new seasoning to the existing layer. Over time, regular cooking and oiling will even out the color and performance. A slightly mottled look is normal, because perfectly black isn’t the goal. Function matters more than appearance.
When to Full-Strip
Only fully strip and re-season if:
– Rust covers more than 30% of the surface
– Seasoning is cracked or lifting in large sheets
– Food sticks everywhere despite oiling
In those cases, use the pumice stone to remove all seasoning down to bare metal, then rebuild from scratch.
Season Your Griddle Properly
When to Season
- Before first use (after washing off factory oil)
- After rust removal or stripping
- When food starts sticking or the surface looks dull
- After deep cleaning with water or pumice
Seasoning isn’t just for new griddles. It’s ongoing maintenance. Each cycle strengthens the non-stick layer.
Heat to Smoke, Then Cool
- Clean and dry the griddle
- Apply 2–3 tablespoons of oil (avocado or Blackstone conditioner)
- Spread evenly with a paper towel, then wipe off excess
- Turn all burners to high
- Wait for the oil to smoke heavily (this means polymerization is happening)
- Let it smoke for 10–15 minutes until the surface darkens
- Turn off heat and let cool
Repeat 3 Times for Best Results
For a durable base layer, repeat the oil-heat cycle three times. Each pass builds a stronger, smoother coating. After the final cool-down, your griddle should look deep black and feel slick to the touch. No sticking, no rust, just performance.
Store to Prevent Rust
Keep It Dry and Covered
Always store your Blackstone in a cool, dry place. Humidity is the enemy. If kept outdoors, use a heavy-duty canvas cover designed for your model. It shields against rain, dew, dust, and UV damage. Never use plastic tarps, because they trap moisture and accelerate rust.
Oil Before Storing
Even if you oiled after cleaning, apply a slightly thicker coat before long-term storage (e.g., winter). This extra layer provides insurance against humidity. Wipe off visible puddles, but let a thin film remain. Check the griddle monthly if stored in a garage or shed.
Avoid Stacking or Covering Wet
Never cover a damp griddle. Moisture trapped under the cover causes rapid rust. Always ensure the surface is dry and warm before putting on the cover. And never stack tools, pans, or grills on top, because the weight can dent the surface or scratch seasoning.
Frequently Asked Questions About Cleaning a Blackstone Grill
Can I use dish soap on my Blackstone grill?
Only on a brand-new griddle before the first seasoning. Soap strips the polymerized oil layer that creates the non-stick surface, leaving bare metal vulnerable to rust. For routine cleaning after cooking, use water, a scraper, and oil instead.
How often should I deep clean my Blackstone?
If you clean after every use, a full deep clean is rarely needed. Many owners report only needing one every four years. The key is consistent post-cook maintenance: scrape, wipe, and oil every time.
What’s the best oil for seasoning a Blackstone grill?
Avocado oil is a top choice due to its high smoke point (520°F) and neutral flavor. Blackstone Griddle Seasoning and Conditioner is another reliable option. Vegetable oil works well and is budget-friendly. Flaxseed oil builds a strong initial layer but can flake with heavy use.
Is rust on a Blackstone grill dangerous?
Rust itself isn’t toxic in small amounts, but it damages the seasoning and creates a rough surface that causes food to stick. The good news: rust is fully reversible. Scrub with a pumice stone and oil, then re-season immediately.
Can I use steel wool to clean my Blackstone?
No. Steel wool is too abrasive and will scratch the steel and strip seasoning. Use a pumice grill stone with oil instead. It removes rust and buildup without damaging the metal surface.
Why does my food stick even after cleaning?
Sticking usually means the seasoning layer is thin or worn. Apply a fresh coat of oil and heat the griddle until it smokes. Repeat the seasoning cycle 2–3 times to rebuild the non-stick surface.
Key Takeaways for a Clean, Long-Lasting Blackstone Grill

Cleaning a Blackstone grill is simple when you stay consistent. Scrape while warm, steam if needed, wipe dry, and oil every time. Avoid soap, ice, and abrasive pads on a seasoned surface. Fix rust fast with a pumice stone and re-season immediately. Store dry, covered, and lightly oiled. Treat your griddle like cast iron: respect the seasoning, and it’ll reward you with perfect sears for years. For best results, start your next cook by scraping off yesterday’s oil, preheating for 3–5 minutes, and adding a thin fresh coat before the food hits the surface.