How to Change a Propane Tank on a Gas Grill
Nothing kills a cookout vibe faster than a flame that suddenly dies mid-burger flip. Learning how to change a propane tank on a gas grill the right way keeps your grill ready and your family safe. Propane is highly flammable, so a careless swap can lead to leaks, flare-ups, or worse. The good news is that the process takes only a few minutes once you know the steps.
This guide breaks down everything you need: shutting off the old tank, picking the right replacement, making a leak-proof connection, and confirming everything works. You’ll also pick up pro tips that prevent common mistakes, like stripping threads or triggering safety valves.
Essential Safety Gear and Pre-Connection Checks
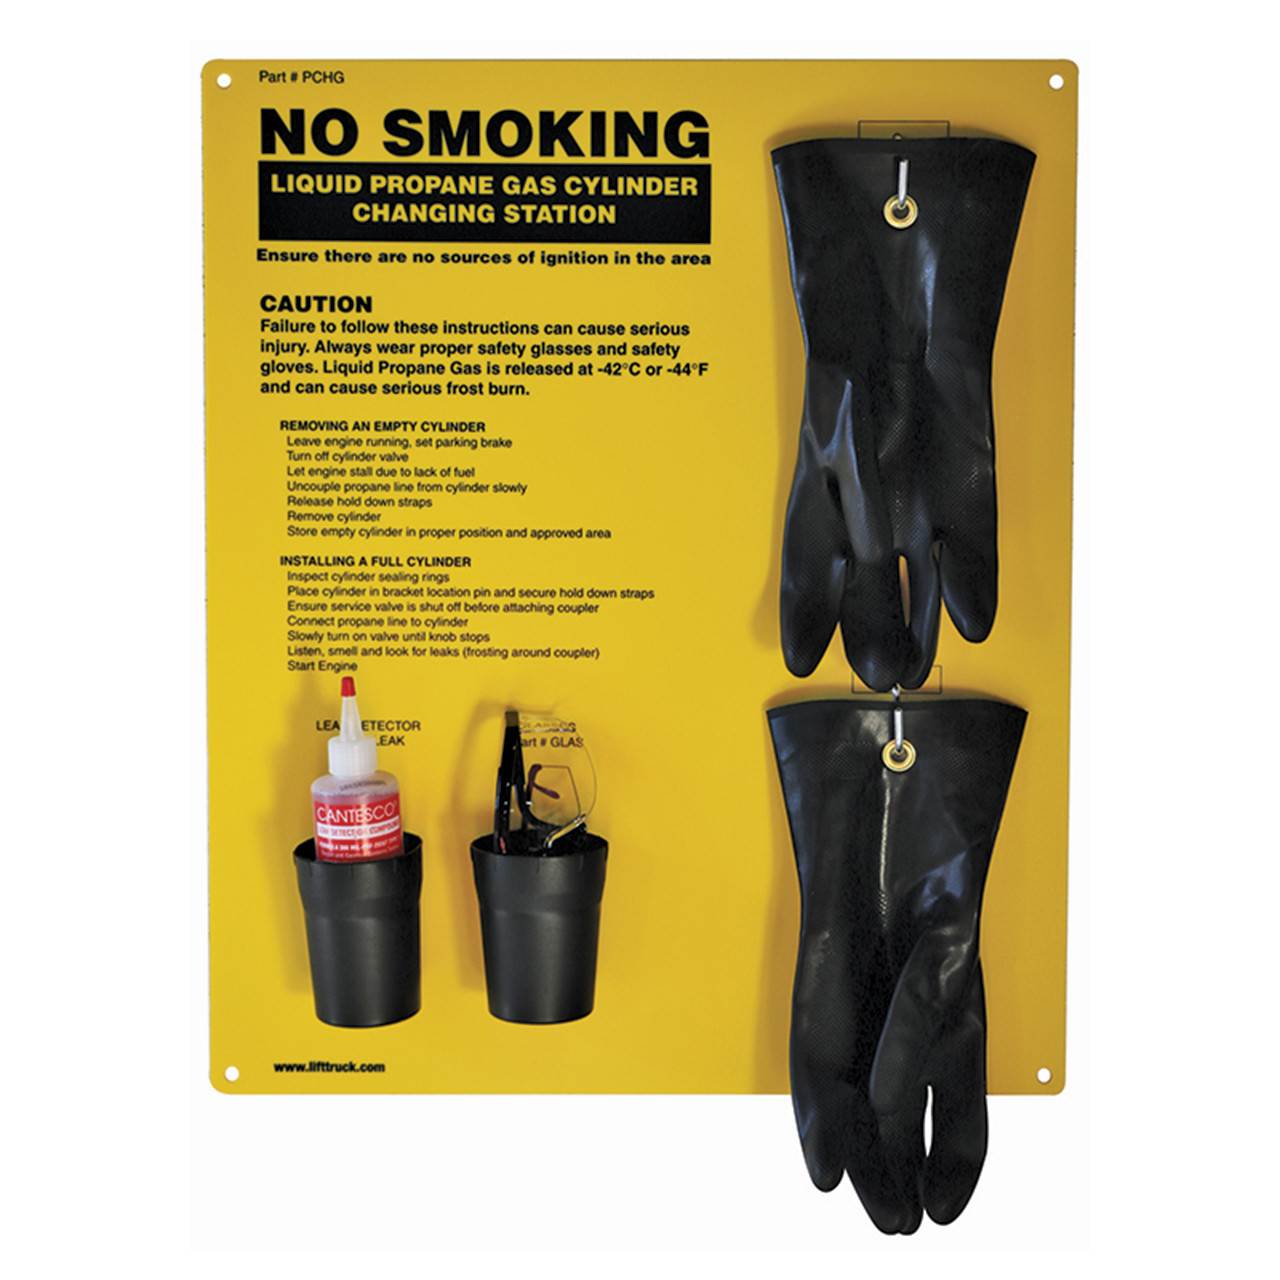
Before you touch a valve, set yourself up for a safe swap. Skipping these steps is the fastest path to a gas leak or burn.
Gear Up Before You Start
Strap on safety goggles and heavy-duty gloves before you go near the tank. Goggles shield your eyes if gas bursts when you crack a valve. Gloves protect your hands from the rapid cooling effect propane causes on release, and they give you a better grip on stubborn fittings.
Inspect the Tank and Surroundings
Look over your current tank for rust, deep dents, or corrosion. Heavy rust means it’s time to retire the tank entirely. Also check that your grill sits on a stable, level surface away from sheds, fences, or dry grass. Keep the grill lid open during the entire swap so gas cannot pool inside.
Confirm the Rotten Egg Smell Test
Propane itself has no odor, but suppliers add ethyl mercaptan to give it a sharp rotten-egg smell. If you catch that scent at any point, stop what you’re doing and check for leaks before going further.
Shut Off and Disconnect the Old Propane Tank
Removing the old tank is a simple reverse of installation, as long as you follow the order.
Turn Off Every Burner First
Make sure all burner knobs are in the OFF position. If a burner is left on, gas will flow the moment you connect the new tank, creating an instant fire hazard.
Close the Tank Valve
Find the hand wheel on top of the propane cylinder. Turn it clockwise (right) until it stops moving. This cuts off the fuel at the source. Never skip this step, even if the grill has been sitting unused for weeks.
Pro Tip: If the valve feels stuck, wrap a rag around it for better grip. Never use pliers, since they can damage the valve and cause a leak.
Unscrew the Pressure Regulator
Locate the pressure regulator, the round brass-colored fitting that links the grill hose to the tank. Twist it counter-clockwise (left) until it comes free by hand. If it resists, gently wiggle it side to side while turning.
Release the Retaining Bracket
Most grills lock the tank in place with a bolt, screw, or metal bracket. Use a wrench or socket to loosen it. Set the hardware aside in a small container so nothing rolls off into the grass.
Lift Out the Tank
Pull the tank straight up and out of the compartment. It may still feel heavy even when empty. Set it upright in a shaded, well-ventilated spot. Never lay a propane tank on its side.
Pick the Right Replacement Propane Tank
Not every tank fits every grill or grilling style. Choosing wisely saves money and hassle down the road.
Standard 20-Pound Tank
The 20-pound (5-gallon) tank is the go-to choice for home grills. It is portable, easy to exchange, and holds enough fuel for roughly 18 to 20 hours of cook time. Look for the OPD (Overfill Protection Device) valve, which has a triangular hand wheel and is required by U.S. law on all consumer tanks.
Steel vs. Aluminum Construction
| Feature | Steel Tank | Aluminum Tank |
|---|---|---|
| Empty Weight | About 17 lbs | About 12 lbs |
| Rust Resistance | Lower; needs dry storage | High; ideal for coastal climates |
| Upfront Cost | Lower | Higher |
| Lifespan | 12 years with requalification | Longer with minimal upkeep |
Aluminum tanks cost more up front but pay off if you live near the ocean or in a humid area where rust is a constant battle.
Check the Certification Date
Every tank has a stamped date on its collar, such as “06-25.” Tanks must be requalified or replaced every 12 years. A tank past its date cannot be legally refilled, so always confirm the date before buying or exchanging.
Connect the New Tank to Your Grill

Installation is where most leaks happen, so take your time and double-check every move.
Prep the New Tank
Make sure the hand wheel is fully OFF (clockwise) before you connect anything. Then pull off the blue plastic safety cap covering the valve outlet. Save the cap, since many exchange programs ask for it during returns.
Never install a tank with the valve already open. This can damage the regulator diaphragm or cause a dangerous gas surge.
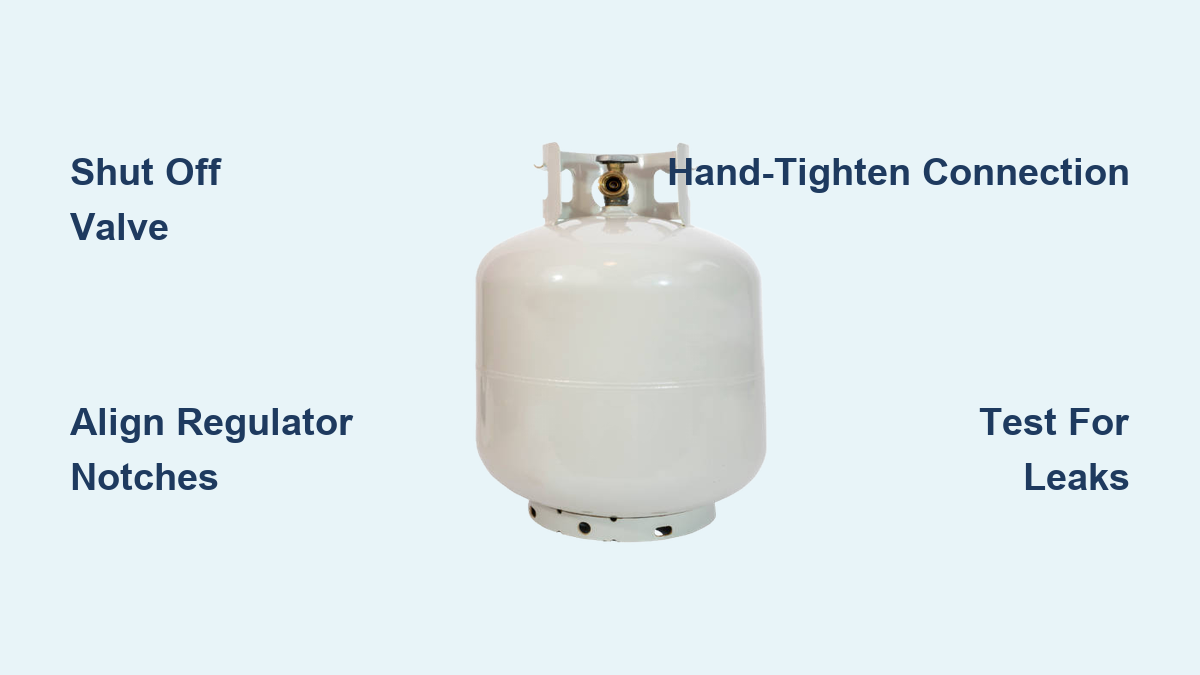
Align the Regulator Notches
Hold the regulator and line up the notches on its connector with the tabs on the tank valve. This step is critical. Misalignment is the number-one cause of post-installation leaks.
Hand-Tighten the Connection
Screw the regulator onto the tank valve by turning it clockwise (right) until it feels snug. Stop there. Over-tightening crushes the rubber O-ring or strips the threads, both of which create slow leaks you might not notice right away.
Lock the Tank in Place
Set the tank upright in the holder and reattach the retaining bracket or bolt. A loose tank can tip during use or when you move the grill, which is a serious safety risk.
Open the Valve and Run the Leak Test
This is the most important step in the entire process. A small leak can fill your yard with gas in minutes.
Crack the Valve Slowly
Turn the hand wheel counter-clockwise (left) at a slow, steady pace. A quick burst of hissing is normal as the regulator pressurizes. If the hissing keeps going, shut the valve right away. You have a leak.
Why slow? Opening too fast can trip the OPD safety mechanism, which blocks gas flow entirely. If that happens, close the valve, wait 30 seconds, and try again at a gentler pace.
Mix and Apply the Soapy Water Solution
Grab a spray bottle and mix a few drops of dish soap with water. With the tank valve open, spray the solution generously around the joint where the regulator meets the tank valve.
- No bubbles means the connection is sealed and safe.
- Bubbles forming means gas is escaping.
Fix Any Bubbles You See
If bubbles appear, follow this sequence:
- Turn the tank valve OFF right away.
- Unscrew the regulator from the tank.
- Inspect the rubber O-ring inside the regulator connector.
- Replace the O-ring if it looks cracked, dry, or flattened.
- Reconnect, realign, and retest until you see zero bubbles.
Never use a lighter or match to check for leaks. This is one of the most dangerous mistakes you can make.
Light the Grill and Confirm a Healthy Flame
Once the leak test is clean, you are ready to fire up.
Follow the Grill’s Ignition Steps
Turn one burner knob to HIGH and press the igniter button. You should hear a click and see a flame catch inside the burner tube. If nothing happens, give it 30 to 60 seconds, since air in the line can delay the first ignition on a fresh connection.
Check the Flame Color
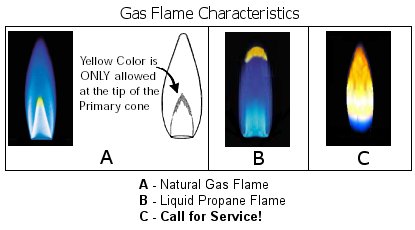
A properly working burner produces a blue flame with small yellow tips. Watch for these warning signs:
- Yellow or orange flames may mean clogged burner ports or an air-to-gas imbalance.
- Flickering or uneven flames often point to wind interference or debris in the burner tube.
Let the grill run for 2 to 3 minutes with the lid open before you start cooking. This stabilizes the flame and burns off any residual oils.
Troubleshoot Common Post-Swap Problems
Even a careful swap can hit a snag. Here is how to handle the usual suspects.
No Gas Flow After Connection
The OPD safety lock likely triggered from opening the valve too fast. Close the valve, wait 30 seconds, then reopen very slowly.
Persistent Gas Smell
Turn off the tank valve immediately and step away from the grill. Recheck all connections and rerun the soapy water test. If the smell lingers after tightening, the regulator or tank may be defective. Do not use the grill until you swap the faulty part.
Weak Flames Despite a Full Tank
A worn-out regulator is the most common culprit. Regulators typically last 5 to 10 years. Other causes include a kinked hose, clogged burner ports, or cold weather reducing vapor pressure.
Maintain Your Propane System for Long-Term Safety
A little routine care keeps your grill running smoothly and your tanks in good shape for years.
Store Tanks the Right Way
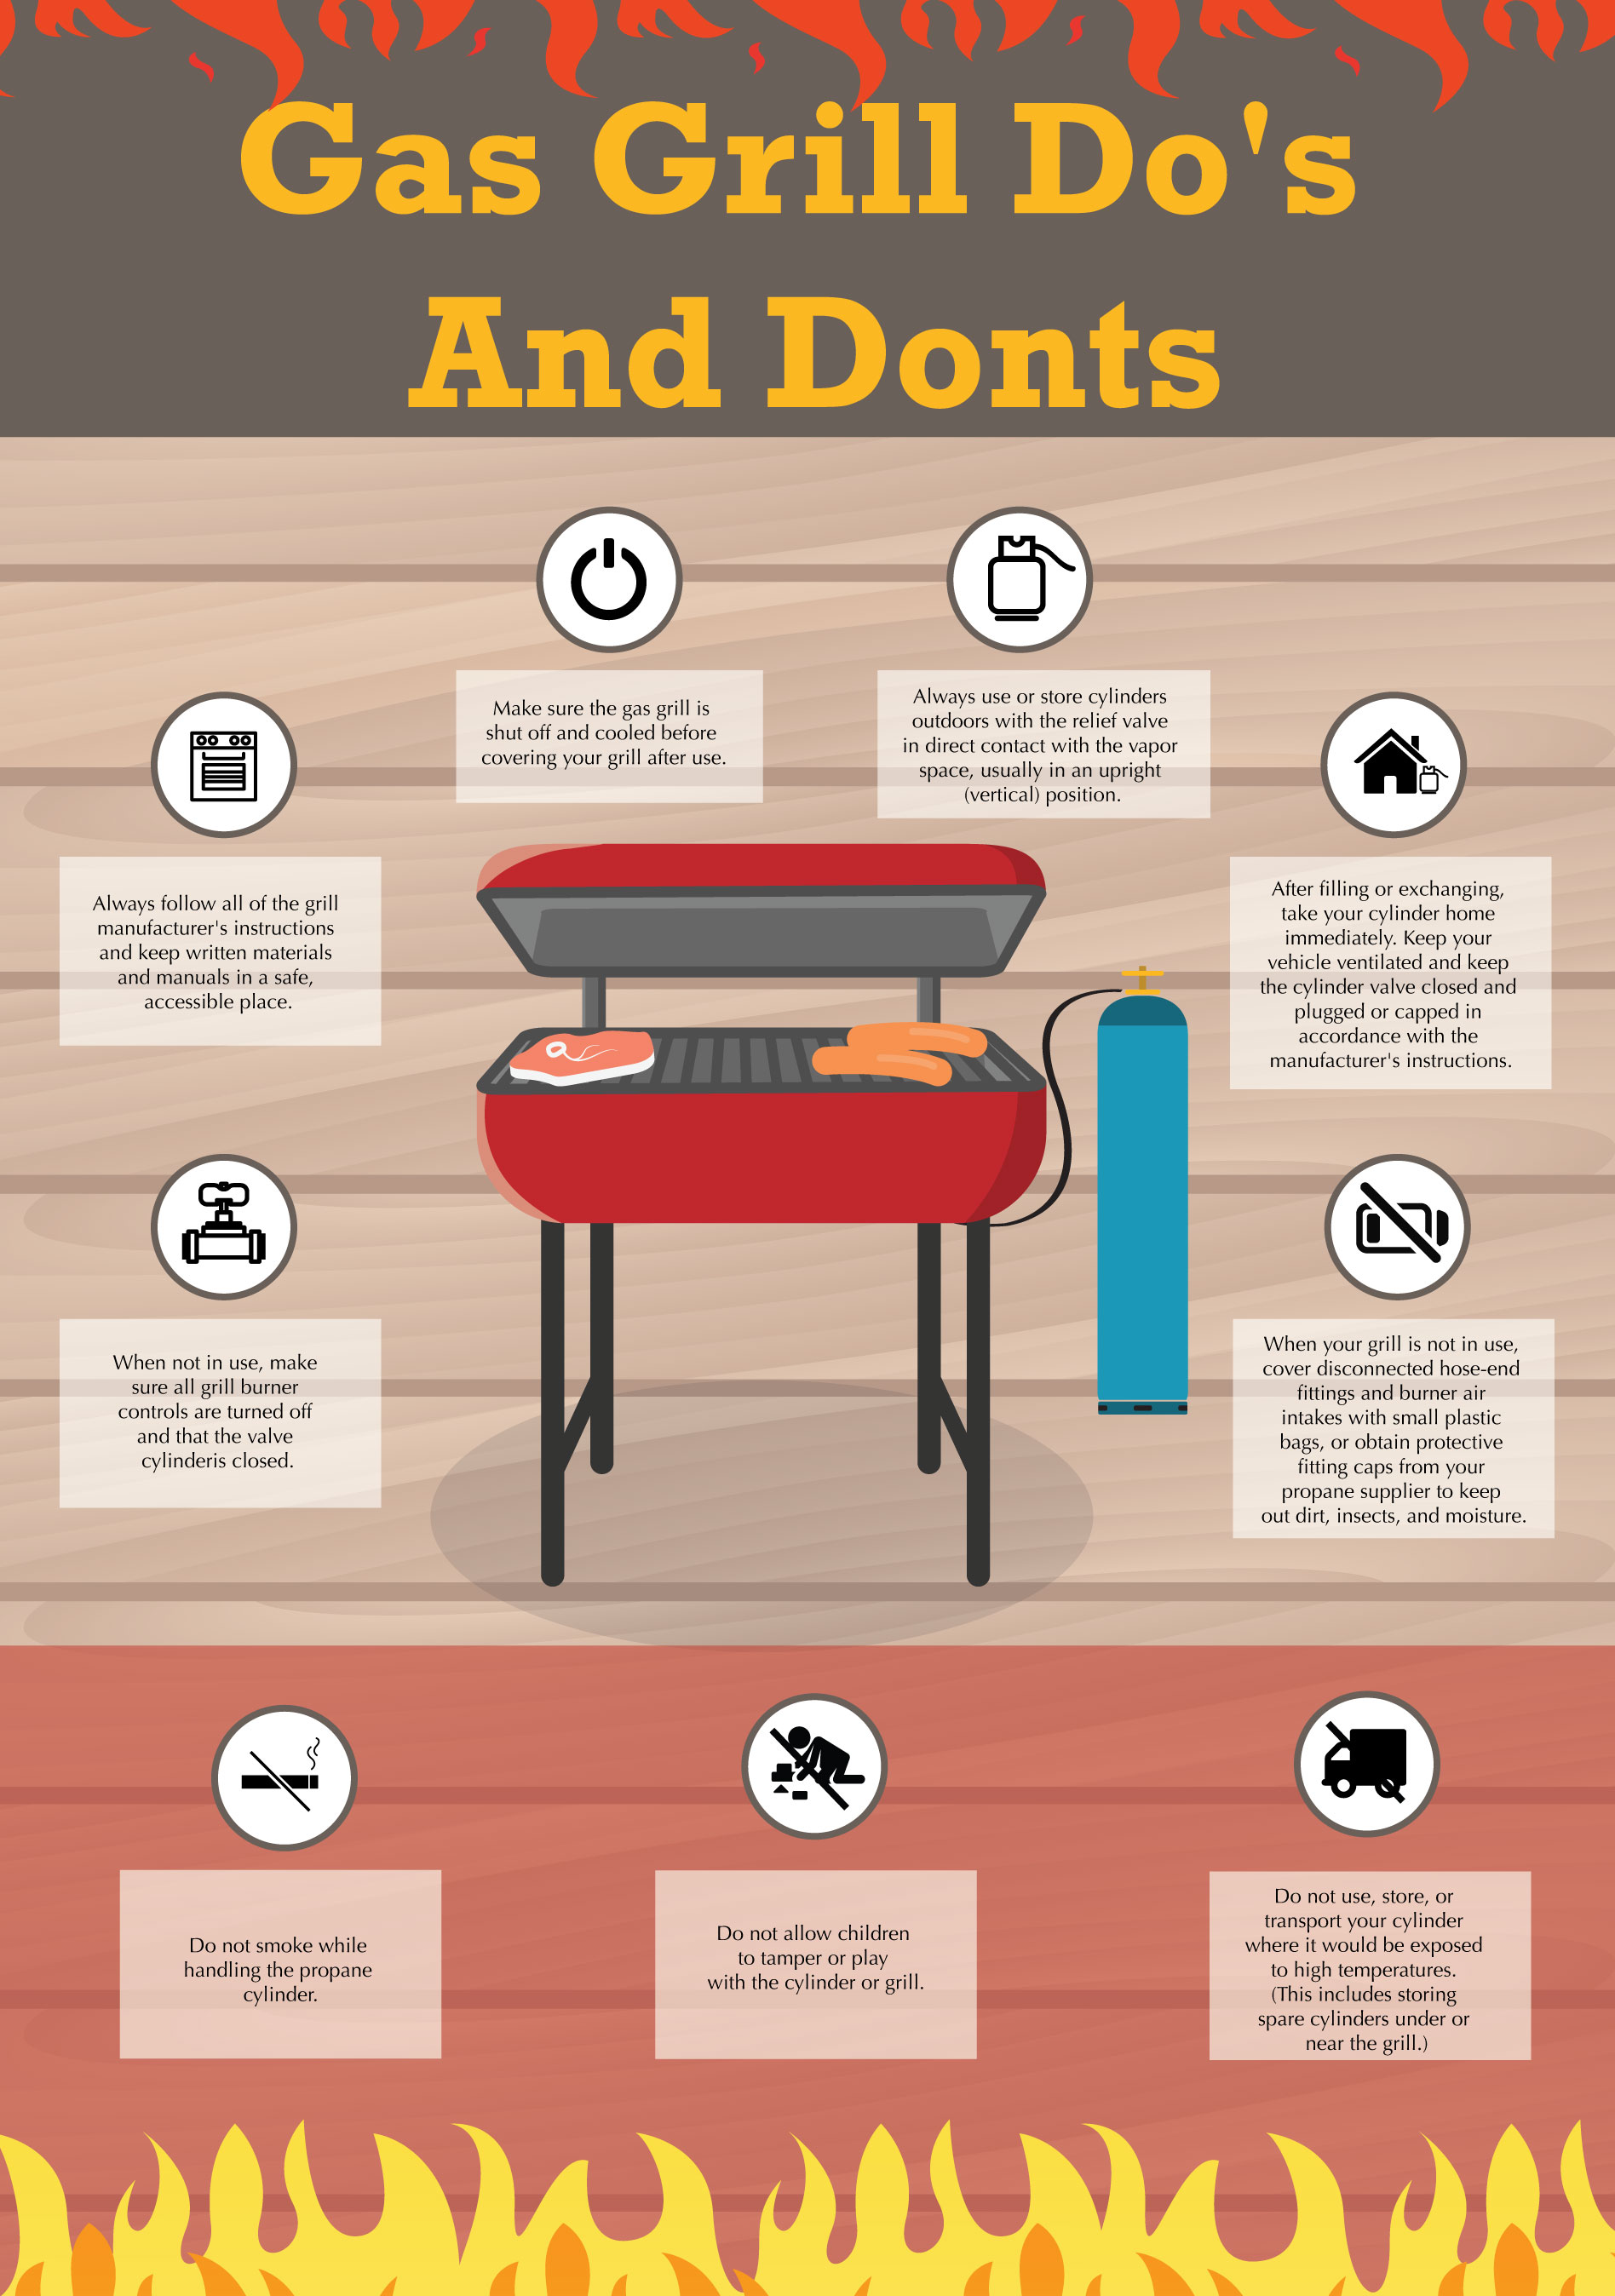
Always store propane tanks upright and outdoors in a shaded, well-ventilated area. Never keep a spare tank in a garage, basement, or car trunk. Heat and enclosed spaces can turn a tiny leak into a major hazard.
Transport Tanks Securely
When hauling tanks to an exchange station, keep them upright and strapped down in your truck bed or trailer. Never leave a tank rolling around in a hot car, since rising temperatures can spike internal pressure.
Run Seasonal Inspections
Before peak grilling season, do a full checkup:
- Test every connection with soapy water.
- Clean burner ports with a wire brush.
- Inspect hoses for cracks, brittleness, or soft spots.
- Confirm the tank certification date is still valid.
Quick 10-Step Tank Swap Checklist
| Step | Action |
|---|---|
| 1 | Put on safety goggles and gloves |
| 2 | Turn all burner knobs to OFF |
| 3 | Close the old tank valve clockwise |
| 4 | Unscrew the regulator counter-clockwise |
| 5 | Remove the retaining bolt and lift out the old tank |
| 6 | Inspect the new tank for damage and certification |
| 7 | Remove the plastic cap and confirm the valve is OFF |
| 8 | Align the regulator notches and hand-tighten clockwise |
| 9 | Re-secure the tank with the bracket |
| 10 | Open the valve slowly and run the soapy water leak test |
Frequently Asked Questions About Changing a Propane Tank
How often should I replace my propane tank?
You do not need to replace a tank on a schedule, but it must be requalified or replaced every 12 years. Look for the stamped date on the tank collar. Tanks past that date cannot be legally refilled.
Can I change a propane tank while the grill is hot?
No. Always let the grill cool completely before swapping tanks. Hot surfaces can ignite leaking gas on contact.
What if my new tank will not connect to the regulator?
The most common cause is misalignment between the regulator notches and the valve tabs. Disconnect, realign carefully, and try again. Forcing the connection can damage the threads or O-ring.
Is it better to exchange or refill a propane tank?
Exchanging is faster and more convenient, but exchange tanks are often older and may only contain 15 pounds instead of a full 20. Refilling lets you keep your own certified tank and get a full fill, but you need access to a certified refill station.
Why does my grill smell like rotten eggs after a tank change?
That smell is the ethyl mercaptan additive alerting you to a leak. Turn off the tank valve immediately, move away from the grill, and rerun the soapy water test on every connection.
How long does a 20-pound propane tank last on a grill?
A standard 20-pound tank provides roughly 18 to 20 hours of cook time on a medium-sized residential grill. Heavy use, high heat, and windy conditions can shorten that window.
Key Takeaways for a Safe Propane Tank Swap
Changing a propane tank is one of the simplest grill maintenance tasks, but it carries real risk if you rush. Always close the old valve before disconnecting, align the regulator notches carefully, and run the soapy water leak test every single time you install a new tank. These three habits prevent nearly every accident related to tank swaps.
For your next cookout, keep a spare full tank on hand so you are never caught mid-flip with an empty cylinder. Store it upright outdoors, check its certification date once a year, and you will be ready to grill safely for many seasons to come.