How to Remove Propane Tank From Grill
Removing a propane tank from your grill sounds simple, but doing it the wrong way can lead to gas leaks, fire, or serious injury. Whether you’re swapping an empty cylinder for a full one or storing the grill for winter, the process must follow a strict safety sequence. This guide walks you through every step, from shutting off the grill to transporting the tank, using proven methods backed by industry safety standards.
Propane is highly flammable, and even a small mistake during disconnection can create a dangerous situation. The good news is that once you understand the key components and follow the correct order, the entire process takes only a few minutes. You’ll learn exactly how to disconnect the tank, what to watch for, and how to handle the cylinder properly once it’s free.
Shut Off the Grill and Locate the Tank
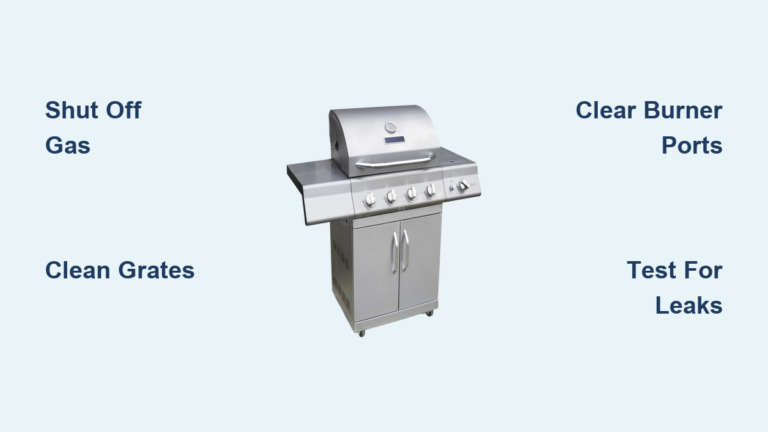
Before touching any part of the propane system, your grill must be completely off. Turn every burner knob to the “Off” position and confirm the control panel shows zero. Wait a few moments to let any residual gas clear from the lines. This step eliminates ignition sources and prepares the system for safe disconnection.
Confirm Tank Location and Components
Most propane tanks are housed in a side or rear compartment on the grill cart. Open the access door and locate the cylinder. Identify two essential parts before you begin:
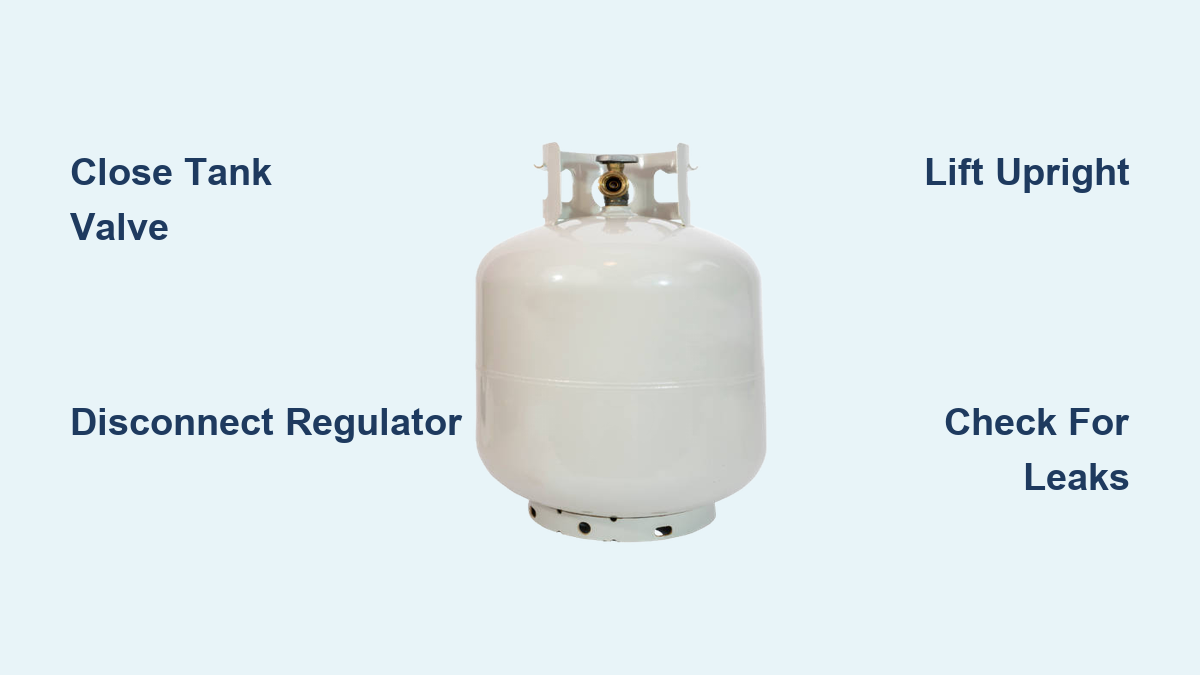
- Tank valve, which is the knob on top of the propane tank
- Pressure regulator, which is the silver or black device with a hose connecting it to the grill
These are the only parts you will manipulate during removal. Make sure nothing blocks your access and that the area is well-ventilated.
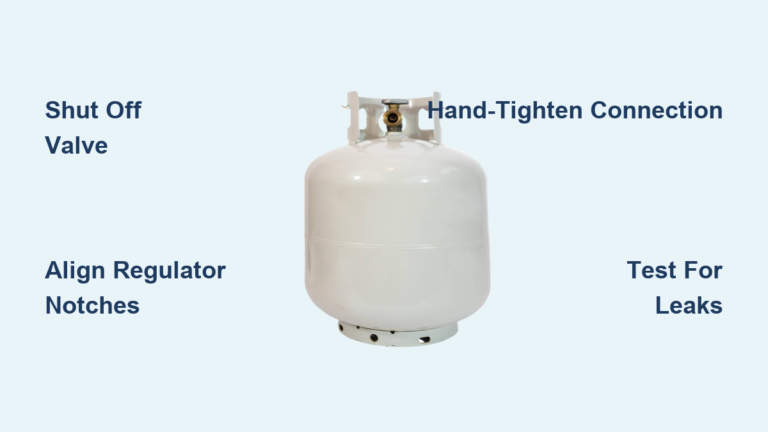
Close the Tank Valve Before Anything Else
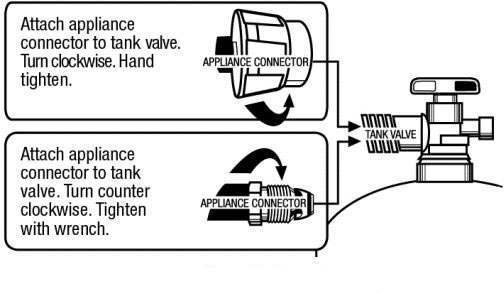
This is the most critical safety step in the entire process. Always close the propane tank valve before disconnecting the regulator. Skipping this step can release a dangerous amount of propane into the air.
Turn the Valve Clockwise Until It Stops
Grasp the knob on top of the tank and turn it clockwise (to the right). Keep turning until it stops naturally. Do not force it, but make sure it is fully closed to create a complete seal on the gas supply.
Once closed, wait 10 to 15 seconds to allow pressure in the line to settle. You may hear a brief hiss as gas clears from the regulator. This is normal and indicates the system is depressurizing safely.
Disconnect the Pressure Regulator
With the valve securely closed, you can now detach the grill’s gas supply line from the tank.
Unscrew the Regulator by Hand Only
Hold the base of the pressure regulator and twist it counterclockwise to unscrew it from the tank valve. Use hand strength only. No tools are needed for this step.
If the regulator resists, double-check that the valve is fully closed and try again. Once loose, pull the regulator straight off and set it aside safely. Keep the hose clear of dirt and damage during this step.
Release the Tank Restraint and Lift It Out
Even after disconnecting the regulator, the tank may still be physically secured to the grill frame by a restraining bolt or bracket.
Loosen the Retaining Bolt or Bracket
Look for a metal arm, bolt, or screw across the top or side of the tank. This restraint prevents the cylinder from shifting during use. Use a wrench or screwdriver to loosen or remove it, depending on your grill model.
Once free, grip the tank handle with both hands and lift it straight out. Propane tanks are heavy, typically 17 to 20 pounds empty, so bend your knees and lift with your legs to avoid back strain.
Transport the Tank Safely to Refill or Exchange
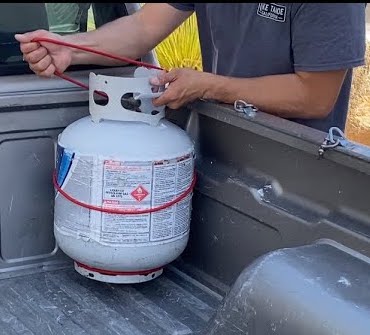
How you carry and transport the tank matters just as much as how you remove it. Improper transport can cause leaks or pressure buildup.
Keep the Tank Upright and Ventilated
Always carry and store the tank in an upright (vertical) position. Laying it on its side can cause liquid propane to escape through the valve, creating a serious hazard.
When placing it in a vehicle:
- Use the bed of a pickup truck whenever possible
- If inside a car, secure it upright behind the rear seat
- Crack windows for airflow, and never seal it in a trunk or enclosed space
Never Leave the Tank Unattended
Stay with the tank at all times during transport. Do not leave it in a parked car while you run errands. Heat buildup in vehicles can increase internal pressure and risk leaks. Go directly to your refill or exchange location, where most hardware and home improvement stores offer quick swap services.
Prepare for Reconnection When Ready
If you are installing a new or refilled tank, a few extra steps ensure a safe restart.
Remove the Safety Cap and Check the Valve
New or exchanged tanks often come with a plastic safety cap covering the valve. Pull this off before connecting anything. Confirm the valve is closed by turning it clockwise. This prevents gas from rushing out the moment you attach the regulator.
Reattach the Regulator Securely
Follow this sequence for a safe reconnection:
- Place the tank in its compartment on the grill
- Reinstall the retaining bolt, but do not fully tighten yet
- Align the regulator with the tank valve
- Twist clockwise by hand until snug. No tools required
- Tighten the retaining bolt to secure the tank
If the regulator resists while threading, unscrew and realign. Forcing a cross-threaded connection damages the threads and causes leaks.
Test for Leaks Before Lighting the Grill
A final leak check is non-negotiable before you fire up the grill. This step protects you from invisible gas leaks around the connection point.
Apply Soapy Water to the Connection
Mix dish soap with water and apply it to the valve-regulator connection. Slowly open the tank valve just enough to pressurize the line. Do not light the grill yet.
Watch for bubbles:
- No bubbles means the connection is safe
- Bubbling means gas is escaping
If you see bubbles, close the valve immediately, disconnect the regulator, and inspect both parts for damage. Reconnect and retest until no bubbles appear.
The National Fire Protection Association (NFPA) recommends this soapy water method and warns against using a flame to check for leaks. A flame near a gas leak can cause an explosion.
Key Safety Rules to Follow Every Time
Keep these six rules in mind whenever you handle a propane tank:
- Always shut off the grill first
- Close the tank valve before disconnecting
- Turn the valve clockwise to close (righty tighty)
- Keep the tank upright during transport
- Never leave the tank unattended in a vehicle
- Test for leaks after every reconnection
Breaking any of these rules increases the risk of fire, explosion, or carbon monoxide exposure. When in doubt, consult your grill’s manual or contact a certified technician.
Frequently Asked Questions About Removing a Propane Tank from a Grill
Do I need to turn off the grill before removing the propane tank?
Yes. Always turn all burner knobs to the “Off” position and confirm the grill is completely shut down before touching the propane system. This eliminates ignition sources during disconnection.
Which way do I turn the valve to close it?
Turn the tank valve clockwise (to the right) until it stops. This is the universal “righty tighty” rule for propane valves and ensures a complete seal of the gas supply.
Can I use tools to remove the pressure regulator?
No. The pressure regulator should be unscrewed by hand only. Using tools like pliers can damage the threads and cause leaks when you reconnect the tank later.
How should I transport a propane tank in my car?
Keep the tank upright at all times. Place it in a ventilated area, such as the bed of a truck or behind the rear seat with windows cracked. Never seal it in a trunk or leave it unattended.
How do I check for leaks after reconnecting the tank?
Apply a mixture of dish soap and water to the valve-regulator connection, then slowly open the valve. If bubbles form, you have a leak. Close the valve, disconnect, inspect for damage, and retest until no bubbles appear.
What is the plastic cap on a new propane tank for?
The plastic safety cap protects the valve from debris and prevents accidental activation during transport. Always remove it before connecting the regulator to the tank.
Final Thoughts on Safely Removing a Propane Tank from a Grill
Mastering how to remove a propane tank from a grill comes down to following a strict sequence: close the valve, disconnect the regulator, release the restraint, and transport the tank upright. Each step builds on the last, and skipping any one of them introduces unnecessary risk.
Make leak testing a habit every time you reconnect a tank, and inspect hoses and regulators regularly for cracks or wear. With a little practice, this routine task becomes quick, safe, and second nature. Your next refill or exchange will go smoothly, and you’ll have total peace of mind every time you fire up the grill.