How to Use a Park Grill
Grilling in the park can turn an ordinary afternoon into a memorable outdoor feast, but only if you know how to use a park grill properly. Unlike your backyard setup, public grills come with unique challenges: unpredictable cleanliness, limited controls, and strict safety rules. Without preparation, you risk unsafe fires, contaminated food, or even being turned away for breaking park regulations.
The key to mastering a park grill lies in smart planning, bringing the right gear, and understanding how to manage fire, food, and cleanup in an open environment. Whether you’re cooking for two or hosting a family gathering, this guide walks you through every step from checking permit requirements to extinguishing the fire safely. You will learn how to use a park grill efficiently, responsibly, and with confidence.
Check Permits and Fire Rules Before You Go
Confirm Reservation Requirements
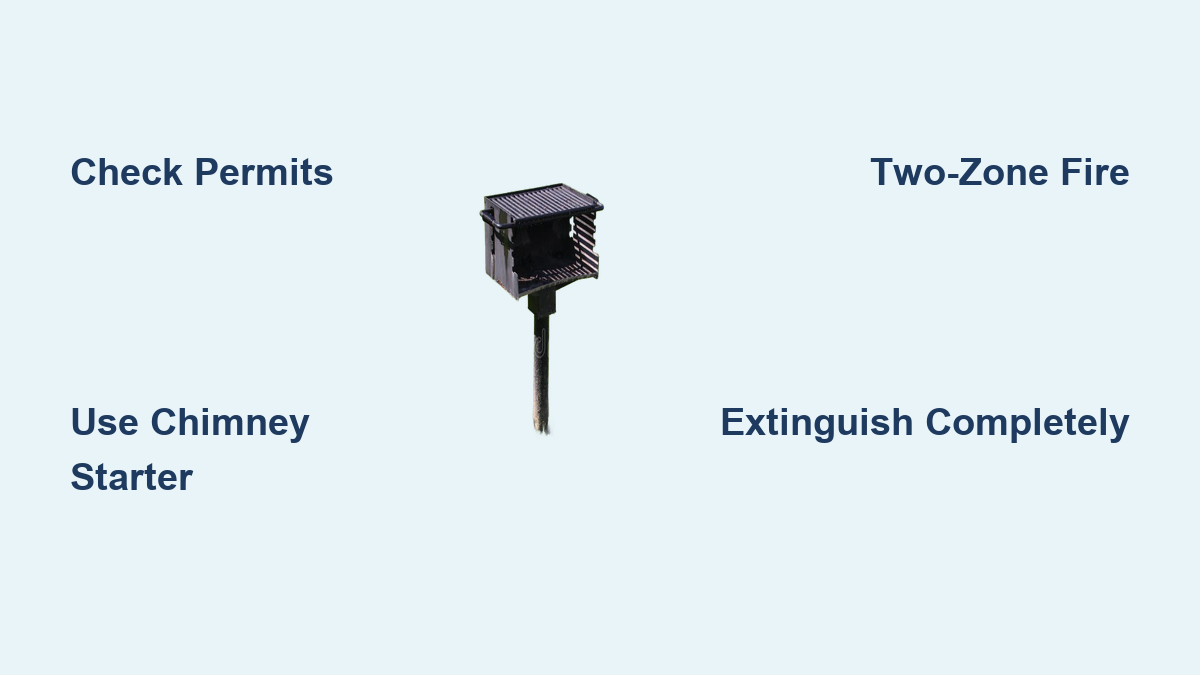
Many parks, especially in cities like New York or high-traffic recreation areas, require reservations or permits to use grills. These are not always first-come, first-served. Before packing your cooler, visit the official park website or call the ranger station to verify availability. Reserved spots often mean better-maintained facilities and fewer surprises upon arrival.
If no reservation system exists, arrive early because popular grilling sites fill up fast on weekends and holidays. Some parks limit grill use to specific hours, so check the schedule to avoid showing up too late or staying too long.
Verify Fire Safety Regulations
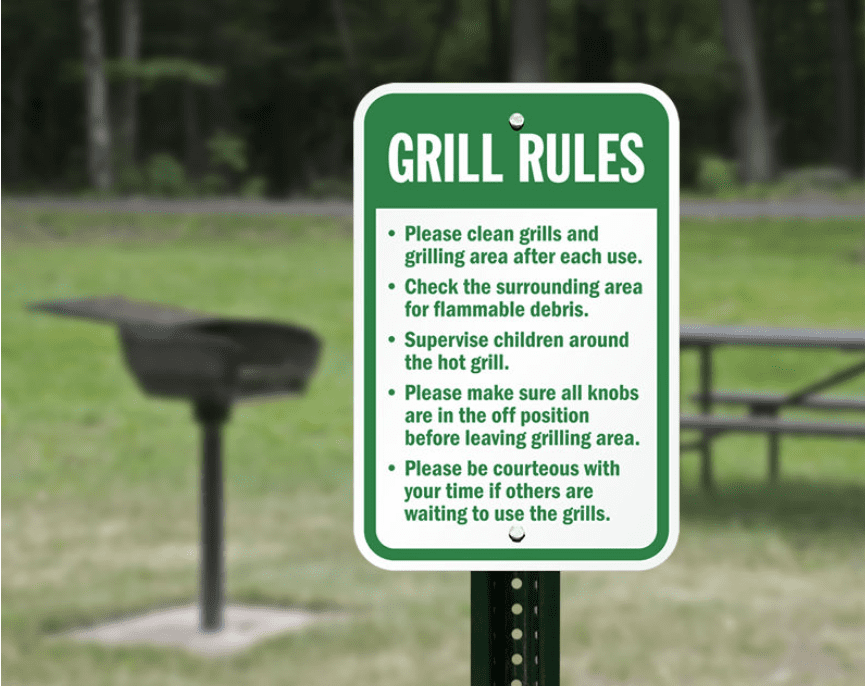
Open flames are only allowed in designated grilling zones. Never set up a portable grill or use a fire pit outside marked areas. Look for permanent structures like brick fire rings or steel grills labeled for public use.
Before lighting anything, check for active fire warnings, especially in dry regions like Southern California. On high-risk days, grilling may be banned entirely. Ignoring these rules can lead to fines or wildfires. When in doubt, ask a park ranger or consult posted signage.
Choose a Safe Grilling Location

Pick the Right Spot
Even within a designated grilling zone, your exact location matters. Place the grill on a non-flammable surface like concrete or packed dirt. Avoid grass, mulch, or dry leaves, which can ignite from stray sparks.
Keep at least 10 feet between the grill and any structure including playgrounds, picnic shelters, benches, or parked cars. Wind can carry embers, so position the unit so smoke blows away from seating areas and foot traffic.
Inspect the Grill and Surroundings
Take 60 seconds to assess the grill’s condition. Look for rust, debris, or leftover ash. If the grate is crumbling or the base is unstable, consider switching sites. Also scan for overhanging branches or nearby shrubs that could catch fire. Your safety depends on this quick visual check.
Pack the Right Equipment for Park Grilling
Bring Reliable Fuel and Igniters
Charcoal is the most common fuel for park grills. Choose based on your needs:
- Lump charcoal: Lights fast, burns hot, and is ideal for quick meals.
- Briquettes: Burn longer and more evenly, making them better for groups.
- Instant-light charcoal: Only use if you let it burn until fully ashed over to remove chemical taste.
Never use lighter fluid. It is dangerous and imparts a foul flavor. Instead, bring a chimney starter that uses newspaper to light coals safely from below and works even in light wind. No chimney available? Pack crumpled newspaper, paraffin cubes, or alcohol-soaked paper towels.
One bag of charcoal typically lasts 2 to 3 hours and feeds about six people.
Carry Essential Tools and Safety Gear
Do not rely on the park to provide tools. Bring your own:
- Long-handled stainless steel tongs and spatula
- Heat-resistant gloves rated for welding or fireplace use
- Metal shovel for moving coals and ash
- Hardwood grill scraper, which is safer than wire brushes
- Spray water bottle to tame flare-ups
- Instant-read thermometer for food safety
Also pack a first aid kit, mobile phone, and fire extinguisher or bucket of water nearby.
Protect Against Dirty Grates
Public grills are rarely clean. To avoid cooking on rust or residue, use one of these barriers:
- A cast iron skillet for a sterile, high-heat surface
- Heavy-duty aluminum foil to line the grate
- A portable grill pan to prevent small items from falling through wide grates
These barriers keep food safe and make cleanup easier.
Prepare and Light the Grill the Right Way
Clean Ash and Debris First
If the grill is filled with old ash, scrape it out using a bench scraper or flat metal tool. Dump waste into a paper bag or metal tin and never leave it in the chamber. Ash blocks airflow, making ignition difficult and inefficient.
Build a Proper Charcoal Pyramid
- Set the cooking grate to its highest position.
- Place fire starters like newspaper or cubes in the bottom.
- Pile charcoal in a pyramid over the starter so upward airflow is maximized.
- Light the starter from the bottom and let heat rise naturally.
Avoid dumping coals flat because they will not ignite evenly.
Wait for White Ash Coverage
Let the fire burn for about 20 minutes until all coals are coated in white ash. This means they are hot, stable, and any chemical accelerants have burned off. Premature cooking leads to underheated food and chemical flavors.
Preheat Grates and Cookware
Once coals are ready, spread them evenly or arrange them in a two-zone setup. Place the grate back and let it heat for 5 minutes. Test readiness by flicking a drop of water onto the surface. An immediate sizzle means it is hot enough.
If using a cast iron pan, place it on the grill to preheat now.
Control Heat Without Dampers
Adjust Grate Height Manually
Public grills lack adjustable vents, so you control heat by moving the grate:
- Lower the grate for hotter cooking and searing
- Raise the grate for cooler cooking and slow roasting
Use heavy-duty gloves to adjust because metal gets extremely hot.
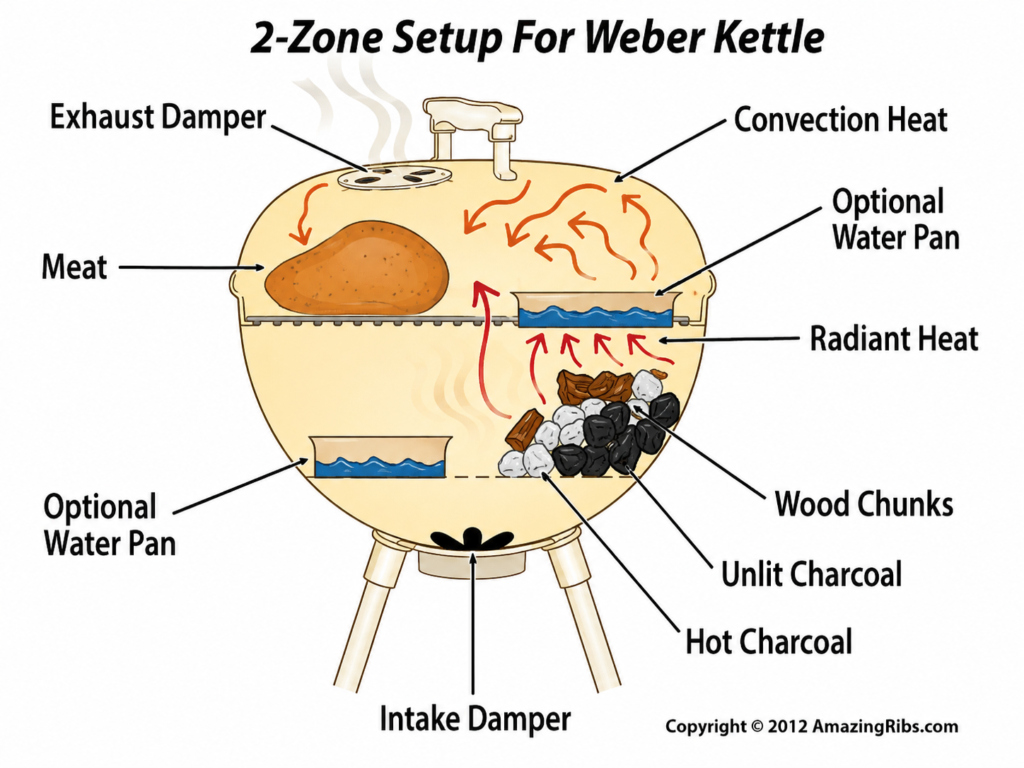
Create a Two-Zone Fire
Arrange coals on only one side of the grill:
- Direct heat zone (over coals): Sear steaks, burgers, and veggies.
- Indirect heat zone (no coals underneath): Finish thick cuts, warm buns, or keep food hot without burning.
This setup mimics a professional grill and gives you cooking flexibility.
Cook Food Safely and Evenly
:max_bytes(150000):strip_icc()/MeatTemperatureSafetyGuidecopy2-8040ef9b998844248fc922154042c2fb.png)
Sear First, Then Move to Indirect
Start meats like burgers or chicken on the direct side for a crisp sear. Then move them to the indirect zone to cook through without charring. This prevents undercooked centers and flare-up disasters.
Prevent Flare-Ups
Fat dripping on coals causes sudden flames. When flare-ups occur:
- Mist lightly with water without dousing, or you will cool the fire
- Move food to the indirect zone until flames subside
- Trim excess fat before grilling to reduce risk
Use a Thermometer for Safety
Guessing doneness risks foodborne illness. Use an instant-read thermometer and check these targets:
- Chicken and turkey: 165°F (74°C)
- Beef, pork, and seafood: 145°F (63°C)
Insert into the thickest part while avoiding bone or fat.
Cook Delicate Foods Safely
Fish and vegetables often fall through wide park grill grates. Fix this by:
- Using a grill pan or foil packet
- Skewering veggies or shrimp
- Placing food on folded heavy-duty foil
Foil also helps steam corn, potatoes, or delicate fish.
Adjust Your Setup for Group Size
For Quick Meals (1–2 People)
Focus on speed and simplicity:
- Use lump charcoal for fast heat
- Cook directly over coals
- Bring minimal gear such as tongs, foil, and a spray bottle
- Ideal foods include sausages, skewers, and grilled cheese in foil
Spend less than 90 minutes total.
For Family Gatherings (6+ People)
Plan for volume and timing:
- Use briquettes for longer burn time
- Set up a two-zone fire to manage multiple dishes
- Bring a cooler to keep raw meat cold
- Use disposable aluminum pans for serving and storage
- Assign tasks so one person grills while another preps sides
Cook in batches and keep finished food warm on the indirect side.
Extinguish the Fire Completely
Douse Coals with Water
When done, it is time to put the fire out fully.
- Pour water directly onto the coals and ash.
- Stir the mixture with a shovel to expose hidden embers.
- Add more water until no steam rises and the pile is cool to the touch.
Never assume coals are out just because flames are gone. Smoldering embers can reignite hours later.
Never Transport Hot Ash
If water is not available, let coals cool completely, which can take 2 to 3 days. Transport only when 100% cold, using a metal container.
Dispose of Waste Properly
Use Designated Ash Bins
Many parks provide red metal barrels or cans only for ash, matches, and charcoal. These are fire-safe and prevent trash bin fires. Never dump hot or warm coals in regular trash.
If no ash bin exists, pack cooled ash in a metal tin and take it home.
Recycle and Bag General Waste
Place food wrappers, paper plates, and foil in trash bags. Take them with you if bins are full. Leave the site cleaner than you found it.
Compost Ash If Safe
Ash from additive-free charcoal can enrich garden soil or compost. Never compost ashes from treated briquettes or instant-light coals because they contain harmful chemicals.
Clean Up and Restore the Site
Scrape and Wipe the Grill
Before leaving, scrape off food residue with a hardwood scraper or foil ball. Wipe with a paper towel if possible. This respects the next user and reduces pest attraction.
Remove All Personal Items
Double-check for forgotten tools, gloves, or cookware. Ensure no trash or food scraps remain.
Leave No Trace
Pack out everything you brought in. A clean grill site keeps parks open for future use and avoids closures due to misuse.
Avoid Common Park Grill Mistakes
Cooking on Dirty Grates
Problem: Rust, grease, or old food on grates contaminates your meal.
Fix: Always use a barrier such as a cast iron pan, foil, or portable grill mat.
Using Lighter Fluid
Problem: Causes flare-ups and chemical taste.
Fix: Use a chimney starter or paraffin cubes instead.
Ignoring Two-Zone Cooking
Problem: Burnt outside, raw inside.
Fix: Build a coal pile on one side and use the other for warming.
Skipping the Thermometer
Problem: Undercooked meat risks illness.
Fix: Always check internal temperature with no exceptions.
Leaving Hot Coals Unattended
Problem: Fire hazard and park violations.
Fix: Douse with water, stir, and verify coolness before leaving.
Special Tips for Best Results
Bring a Cast Iron Lid
Public grills do not have covers. A cast iron lid traps heat, which is perfect for melting cheese on burgers or finishing thick cuts. Just place it over food like a dome.
Pre-Marinate at Home
Save time and boost flavor by marinating meats and veggies before leaving. Use zip-top bags or reusable containers in a cooler.
Use Foil for Easy Cleanup
Line serving trays, wrap leftovers, or create steam pockets for vegetables. Heavy-duty foil is a multitasking must-have.
Share the Grill
If others are waiting, offer to share space. Flip burgers in shifts or let someone warm their buns. Public grilling is part of the community experience.
Frequently Asked Questions About Using a Park Grill
Do I need a permit to grill in a public park?
Many parks, especially in high-traffic areas like New York, require reservations or permits for grill use. Always check the official park website or call the ranger station before your trip to verify requirements and availability.
What type of charcoal works best for park grills?
Lump charcoal lights fast and burns hot, making it ideal for quick meals. Briquettes burn longer and more evenly, which is better for large groups. Avoid instant-light charcoal unless you let it burn until fully ashed over to remove chemical taste.
How long does it take for charcoal to be ready for cooking?
Charcoal typically needs about 20 minutes to reach the white ash stage, which signals it is hot and stable. After spreading the coals, allow an additional 5 minutes of preheating before placing food on the grate.
How do I control temperature on a public grill?
Public grills usually lack adjustable vents, so control heat by raising or lowering the cooking grate and by arranging coals into a two-zone fire. Lower the grate for searing and raise it for slow cooking.
How should I dispose of ash after grilling?
Use designated red ash bins when available. Never place hot or warm coals in regular trash bins. If no ash bin exists, pack cooled ash in a metal tin and take it home for disposal.
What is the safest way to put out a park grill fire?
Pour water directly onto the coals and stir with a shovel to expose hidden embers. Add more water until no steam rises and the pile is cool to the touch. Never leave a fire smoldering unattended.
Key Takeaways for Mastering Park Grilling
Knowing how to use a park grill comes down to three essentials: preparation, safety, and respect for the space. Always verify permits and fire rules before you leave home, pack your own fuel and tools, and bring a barrier like foil or cast iron to handle dirty grates. During cooking, manage heat manually with grate height and a two-zone fire setup, and use a thermometer to confirm safe internal temperatures. When you finish, extinguish the fire completely with water, dispose of ash in designated bins, and leave the site cleaner than you found it.
Your next step is simple: pick a date, check your local park’s grill policy, and pack your gear. With these habits in place, every park cookout becomes safer, easier, and far more enjoyable.