How to Use a Griddle and Grill Combo
Picture this: golden pancakes sizzling on one side while burgers sear over open flames on the other. No pan swaps, no crowded burners, no flavor compromises. A griddle and grill combo delivers exactly this kind of seamless cooking, merging flat-top versatility with flame-kissed char in one outdoor station. Whether you’re working with a dedicated dual-surface unit or placing a carbon steel griddle on your existing grill, this setup transforms weekend cooking into a high-efficiency operation.
But efficiency only happens when you control the heat, master the tools, and maintain the surface properly. Skip these fundamentals and you’ll deal with warped metal, stubborn sticking, and uneven results. This guide walks you through safe setup, zone creation, pro-level techniques, and maintenance routines so every cookout produces diner-quality food without the trial and error.
Set Up Your Combo Unit Safely Before the First Burner Click

A rushed setup invites gas leaks, warping, and fire hazards. Taking ten extra minutes now protects both your equipment and your guests.
Inspect Gas Connections and Tank Compatibility
Hard bends or kinks in your propane hose choke gas flow and create weak, uneven flames. Connect the regulator to a standard 20 lb tank or a portable 1 lb cylinder, and tighten every joint by hand. Never depend on the control knobs alone to shut off gas; turn the tank valve off directly when you’re done cooking. For modular setups, verify that your grill’s grate spacing supports the griddle securely. Overhang or wobble means poor airflow and dangerous instability.
Prevent Thermal Shock During Startup
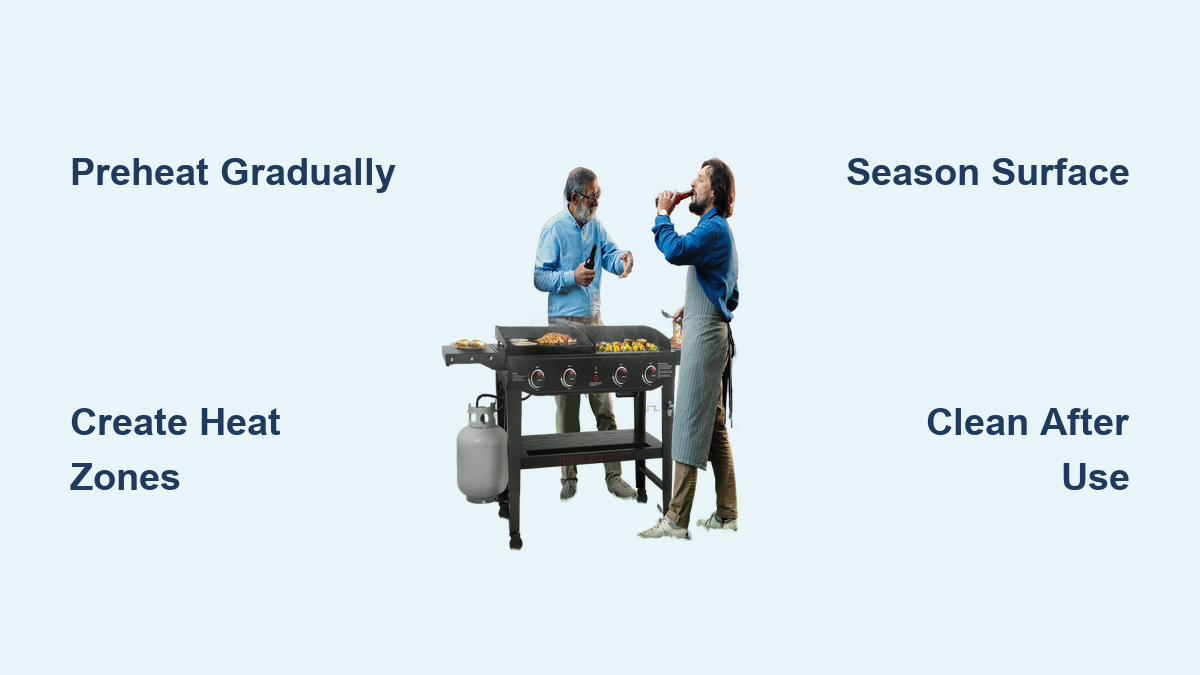
Cold griddles hit with high heat warp fast. Always ignite burners on low or medium-low and give the surface 10–15 minutes to warm gradually while you prep ingredients. If you’re using a modular griddle, set it on cold grates before lighting the grill so the steel heats up alongside the appliance. Carbon steel handles up to 1200°F, but sudden temperature spikes destroy that durability over time.
Secure Handles and Clear the Cooking Area
Leather handle covers can ignite over open flames, so remove them before heating. Use heat-resistant gloves whenever you adjust the griddle, and position the unit on a flat, non-flammable surface away from walls and foot traffic. Keep a fire extinguisher within reach and never walk away from a lit grill.
Choose the Right Configuration for Your Cooking Style
Not every griddle and grill combo works the same way. Your setup should match your space, fuel preference, and flavor goals.
Dedicated Split-Surface Units
Models like the Royal Gourmet GD405B feature a side-by-side griddle and grill grate powered by multiple burners delivering up to 70,000 BTU. This design enables true dual-zone cooking: sear steaks on the grill while scrambling eggs on the flat top. Built-in grease trays, integrated thermometers, and side shelves make these units ideal for tailgating and backyard cooking.
Modular Griddle-on-Grill Setups
Place a carbon steel griddle (around 9.9 lbs) directly on your gas, charcoal, or electric grill. This method leverages your existing heat source and adds smoky, flame-kissed flavor that indoor electric griddles can’t replicate. Grills like the Made In are engineered for flush fitment, which optimizes airflow and stability. This setup works best for grill owners who want flexibility without buying new equipment.
Standalone vs. Combo Tradeoffs
Some cooks prefer separate grills and griddles for superior grease control and temperature isolation. Combos can allow flavor crossover when grill smoke drifts toward the griddle. If flavor purity matters, clean the surface between uses or choose a modular setup you can remove. For small patios, RVs, or frequent moves, the combo’s space-saving design wins.
Master Heat Zones for Consistent Results
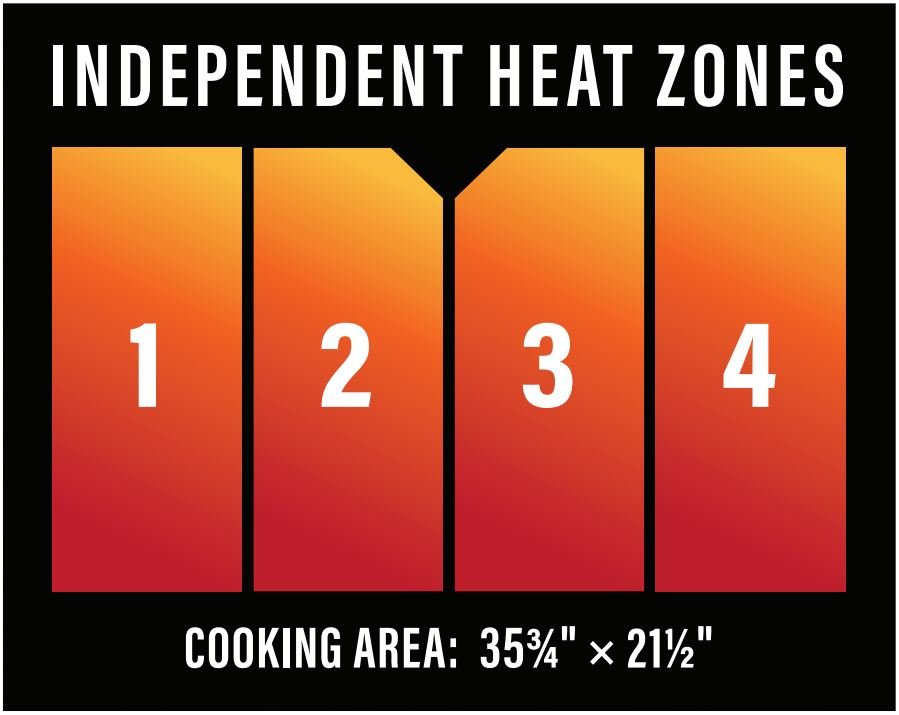
Heat control separates guesswork from great cooking. Flat tops respond dynamically to food load and airflow, so static knob settings don’t work.
Build a Two-Zone Cooking System
Split your surface into high-heat and low-heat zones. Set one side to 450–500°F for searing and keep the other at 300°F for warming or delicate items. Use the hot zone for smash burgers and the cool zone to hold pancakes without over-browning. A wire rack over low burners creates a dedicated warming station for batch-cooked items.
Adjust Heat Dynamically Throughout the Cook
Cold food drops surface temperature fast. When you add refrigerated proteins, briefly increase the heat, then dial back once sizzling resumes. Watch visual cues like browning speed and sizzle intensity rather than trusting knob positions. Turn off burners 3–5 minutes before food finishes; residual heat completes the cook without burning sauces.
Test Temperature Without a Thermometer
Built-in gauges often read air temperature, not surface heat. Use the water drop test: sprinkle water on the surface. If droplets dance across the metal (the Leidenfrost effect), the surface hits around 350°F, perfect for proteins. If water evaporates instantly, the surface runs too hot. The butter test works too. Place a small pad on the griddle. It should melt and bubble gently. Burning butter means turn the heat down now.
Execute Pro Cooking Techniques on the Flat Top
The right moves transform good ingredients into great meals. These techniques come straight from professional flat-top cooks.
Smash Burgers for Maximum Crust
Form loose 3–4 oz meat balls and place them on a hot griddle. Lay two spatulas in an “X” over each ball and press down hard using the handle base for leverage. Slide a small piece of wax paper between the meat and the top spatula to prevent sticking, then peel it off immediately. This maximizes the Maillard reaction for deep, crispy browning without a burger press.
Flip Fragile Foods Without Tearing
Slide your spatula in from the side rather than the top edge. The full length of the blade supports larger items like omelettes and hash browns. Commit to one swift motion; hesitation causes breakage.
Chop Ingredients Directly on the Griddle
Use a bench scraper held vertically to chop thinly sliced ribeye for cheesesteaks. Move it up and down rapidly to break down meat fibers. For scrambled eggs, use the side edge of your spatula to mix and fold. This keeps flavors integrated and speeds up cooking.
Cook a Wide Range of Foods Across Both Zones
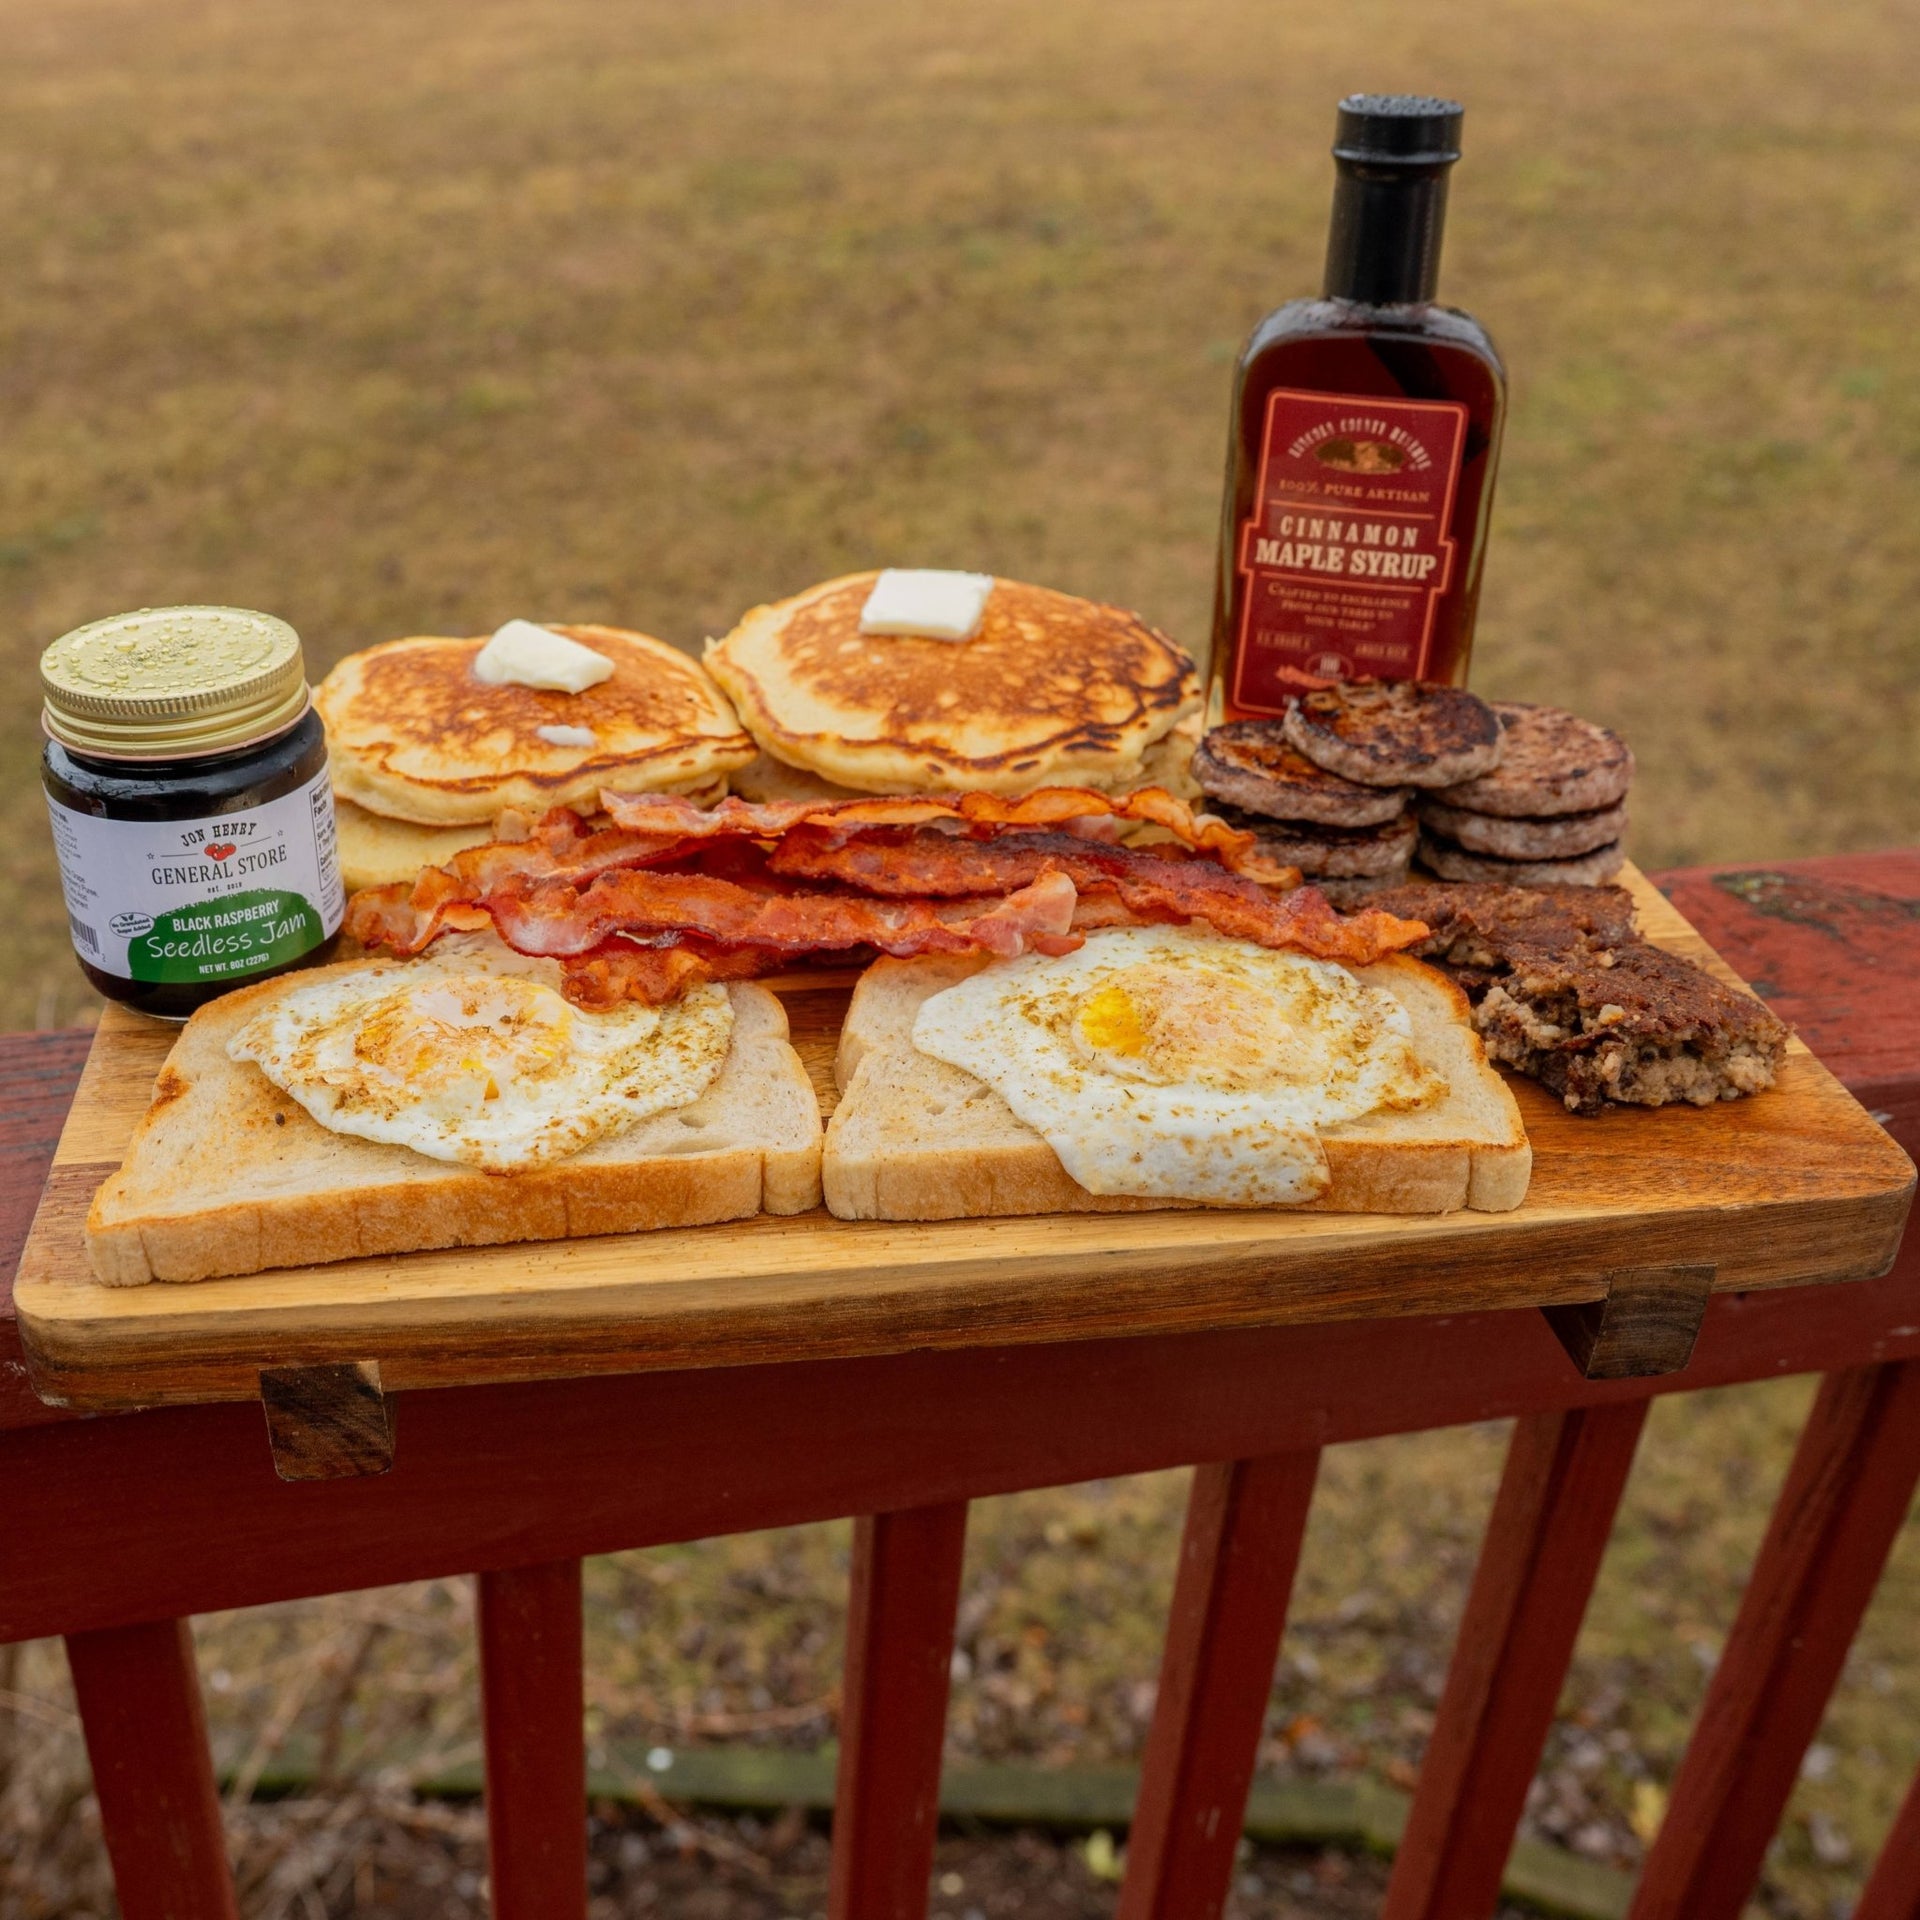
The combo’s real strength is versatility. Use each surface for what it does best.
Breakfast All at Once
Cook pancakes, eggs, bacon, and hash browns on the griddle while grilling sausages or tomatoes on the grate. Hold finished bacon on the cool zone while eggs finish. No more juggling pans or timing disasters.
Burgers, Meats, and Tacos
Smash burgers belong on the flat top for even crust. Slice ribeye thin and chop it on the griddle for cheesesteaks. Sear taco fillings on the hot zone and warm tortillas on the cooler side. Avoid large roasts or whole chickens on the griddle; they need indirect heat and vertical space. Use the grill grate or a smoker instead.
Seafood and Vegetables
Small items like shrimp, scallops, and diced peppers stay secure on the flat top. Sear quickly, then move to the warm zone. In modular setups, lift the griddle briefly to flare vegetables over grill flames for extra char.
Clean and Season for Long-Term Performance
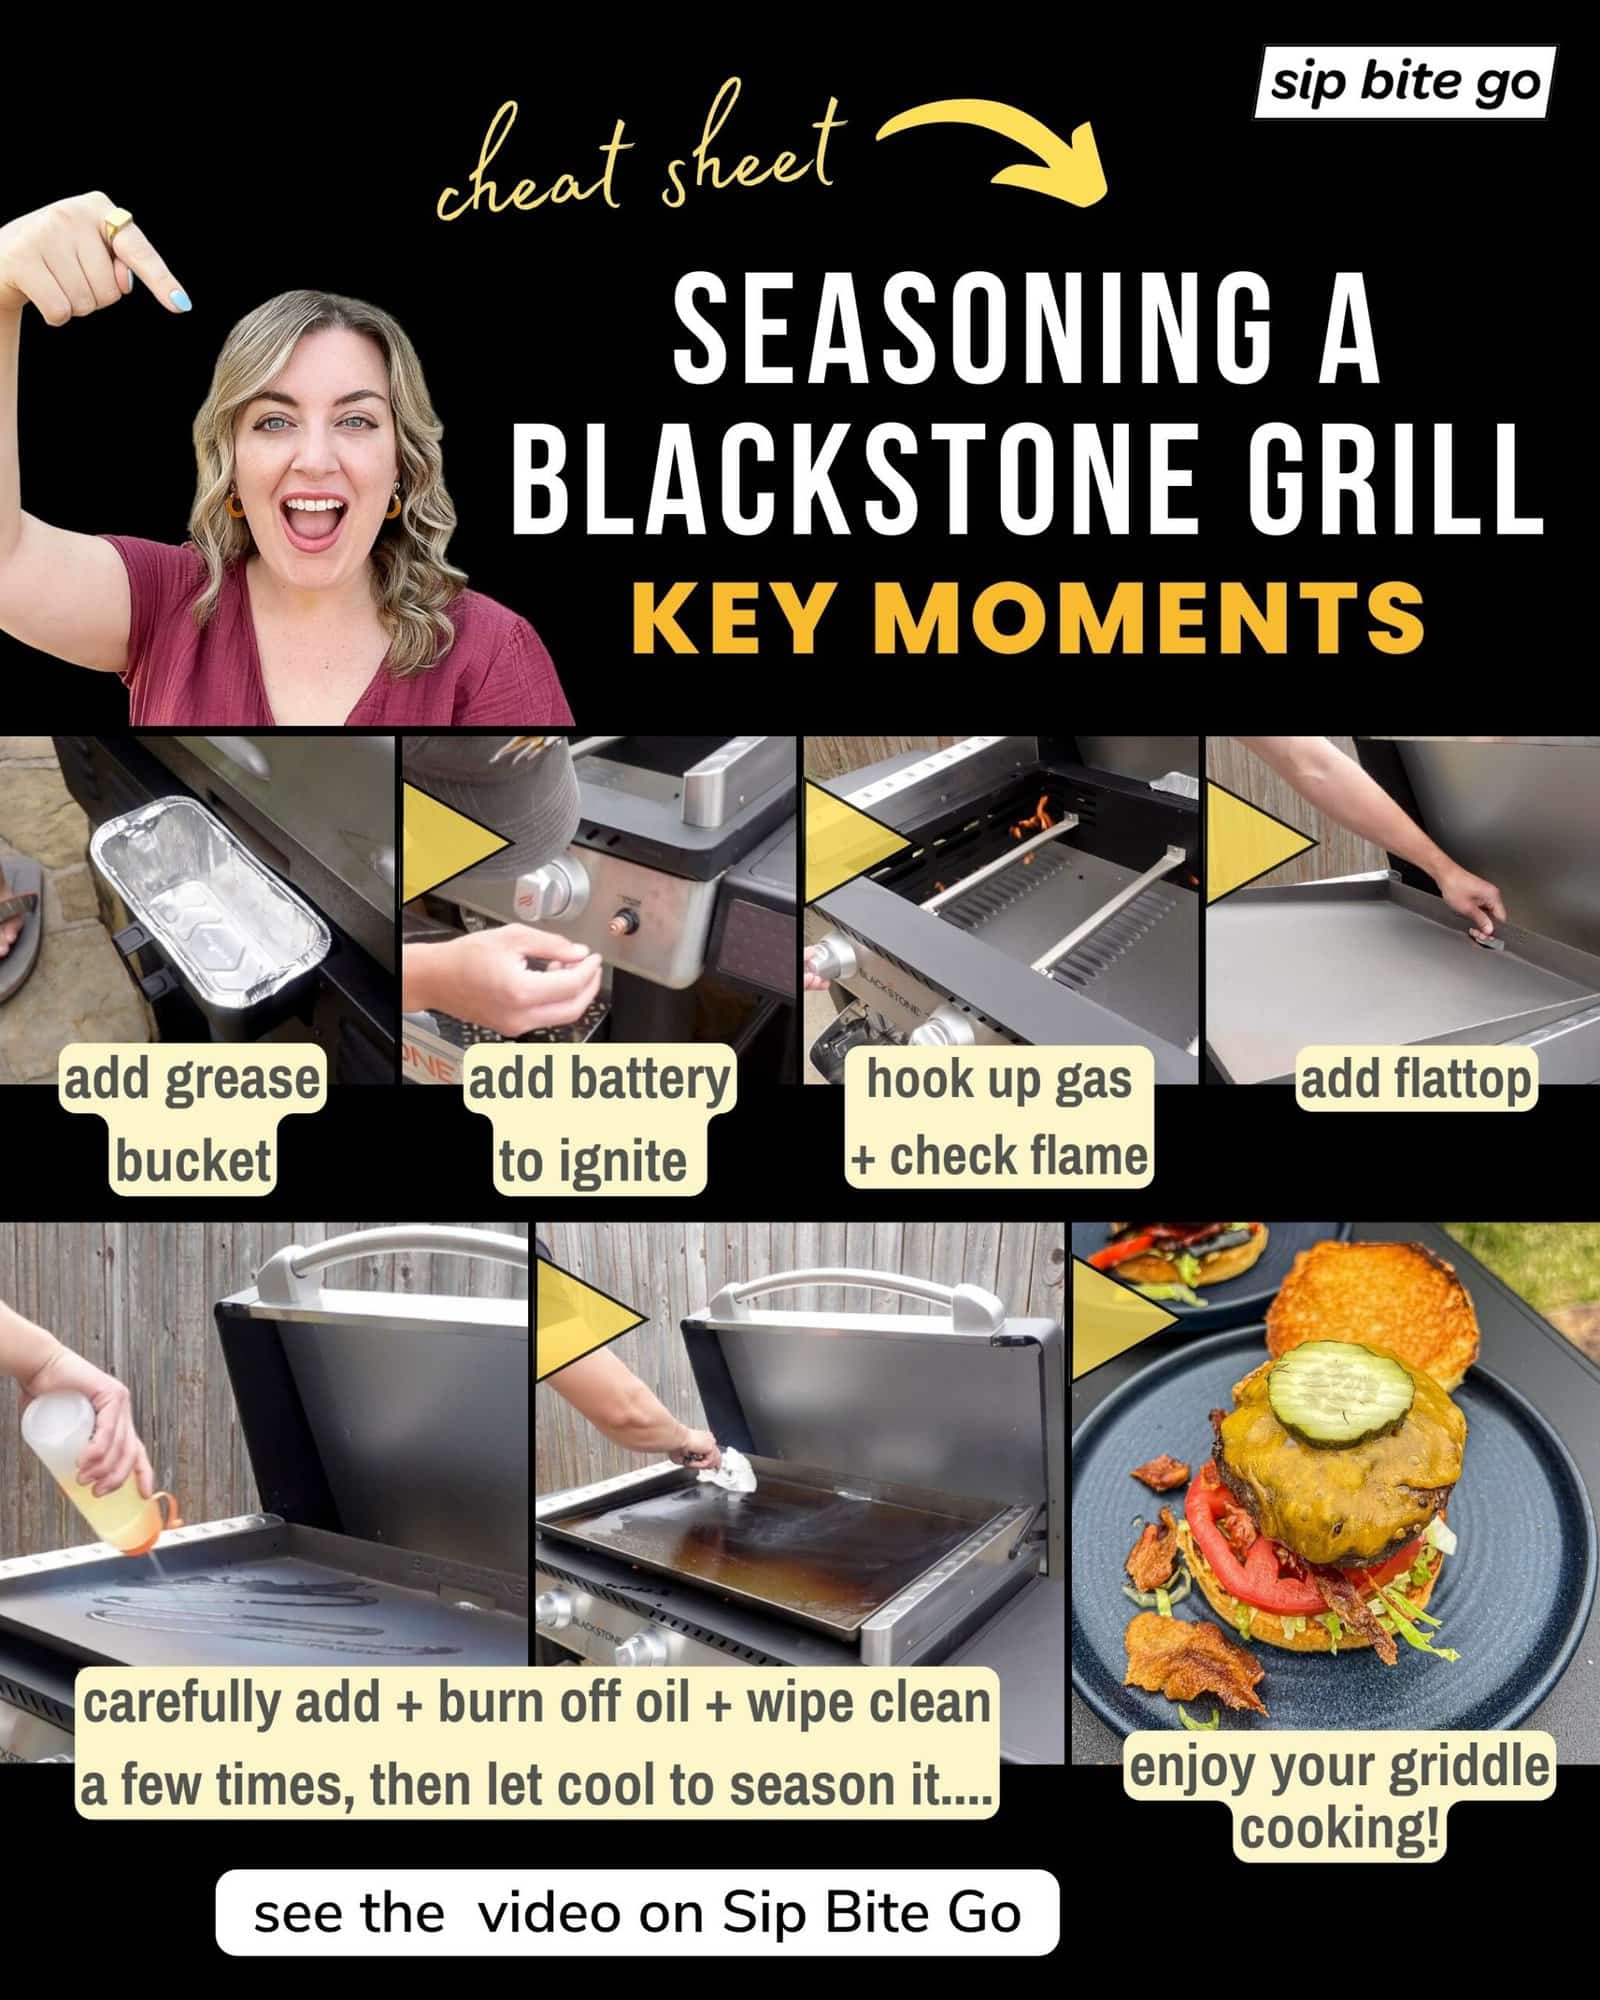
A well-maintained griddle performs better and lasts decades. Skipping care leads to rust, sticking, and uneven heating.
Clean As You Cook
Start scraping residue with a bench scraper after each food group. Push debris toward the grease trough and remove excess grease with a spoon before it smokes. This prevents carbon buildup and makes final cleanup faster.
Deep Clean After Cooking
Once the griddle cools, scrape off remaining bits and wipe with warm water only. Avoid soap, which strips the seasoning layer. Dry thoroughly with a towel and store indoors or under cover. Never leave food residue or moisture overnight.
Season and Protect the Surface
After cleaning, while the griddle stays warm, apply a thin layer of high-smoke-point oil (canola or grapeseed) with a paper towel. Spread it evenly across the entire surface. This routine maintains the non-stick patina and prevents rust. For new or stripped griddles, repeat the process 3–5 times to build a solid seasoning foundation.
Troubleshoot Common Problems Fast
Even experienced users hit snags. Here’s how to fix them quickly.
Food Sticks or Burns Instantly
The surface may be too hot, too cold, or poorly seasoned. Use the butter test to check temperature, re-season if the surface looks patchy, and always preheat gradually on low or medium-low.
Uneven Cooking or Hot Spots
Single-burner use or a kinked gas line often causes this. Run all burners, even on low, for even heat distribution. Inspect the propane hose for bends during setup.
Griddle Appears Warped
Thermal shock or uneven heating causes warping. Always preheat slowly and avoid using only one burner on multi-zone units. Once warped, correction is unlikely, so prevention matters most.
Can’t Cook Large Roasts
The flat top lacks indirect heat and vertical space. Use the grill grate portion for whole chickens or pork loins, and reserve the griddle for sides and sliced meats.
Boost Performance With Pro Habits
Small habits separate good cooks from great ones.
Use the Right Tools
Two spatulas (one for flipping, one for smashing) and a sturdy bench scraper cover 90% of tasks. Add an instant-read thermometer for checking internal temps without guesswork.
Organize Your Workflow Like a Line Cook
Use the hot zone for searing, the middle zone for cooking through, and the cool zone for holding. Keep sauces in a small pot on the griddle to stay warm. Pre-heat pans indoors to save outdoor cooking time.
Embrace the Full Potential
Don’t limit yourself to breakfast and burgers. Sauté vegetables, melt cheese, heat broth for ramen, or toast buns directly on the surface. The flat top is a complete outdoor kitchen hub.
Never Skip Maintenance
Clean, dry, and oil after every use. A neglected griddle loses non-stick properties fast. Treat upkeep as part of the cooking ritual, and your future self will thank you.
Frequently Asked Questions About Griddle and Grill Combos
What is the best way to preheat a griddle and grill combo?
Always start on low or medium-low and allow 10–15 minutes for gradual warming. Never crank a cold griddle to high heat, as thermal shock causes warping and buckling over time.
Can you put a griddle on any grill?
Most gas, charcoal, and electric grills support a modular carbon steel griddle if the grate spacing accommodates the pan securely. Models like the Made In Grill are specifically engineered for flush fitment and optimal airflow.
How do you keep food from sticking to the griddle?
Proper seasoning is the key. Apply a thin layer of high-smoke-point oil after every cook, preheat gradually, and use the butter test to confirm the right temperature before adding food.
What foods should you avoid cooking on a griddle?
Large whole roasts, whole chickens, and pork loins need indirect heat and vertical space. Cook these on the grill grate portion or a separate smoker instead.
How often should you season a griddle?
Apply a light coat of oil after every cleaning once the surface is dry and still warm. For new or stripped griddles, repeat the seasoning process 3–5 times to build a solid non-stick layer.
Is a combo unit better than separate grill and griddle?
Combos save space and work well for small patios, RVs, and tailgating. Separate units offer better grease control and flavor isolation. Choose based on your space, portability needs, and flavor preferences.
Key Takeaways for Mastering Your Griddle and Grill Combo
A griddle and grill combo becomes a true outdoor kitchen powerhouse when you respect three fundamentals: gradual preheating, dynamic heat zones, and disciplined maintenance. Start every cook on low heat, build two-zone systems for simultaneous cooking, and clean and oil the surface after every session. These habits prevent warping, eliminate sticking, and extend the life of your equipment by years.
Your next step is simple: pick one technique from this guide, like the smash burger method or the two-zone breakfast setup, and try it this weekend. Once you see how responsive the flat top becomes with proper heat control, you’ll never go back to crowded stovetops or single-surface grills. Fire it up, trust the process, and start cooking with confidence.