How to Use a Charcoal Grill: Quick Steps
Firing up a charcoal grill isn’t just about cooking. It’s an experience. The sizzle of meat hitting hot grates, the smoky aroma filling the air, and the deep, rich flavor that gas grills cannot replicate make every cookout memorable. But if you’ve ever struggled with uneven heat, bitter-tasting food, or a fire that refuses to stay lit, you’re not alone. Knowing how to use a charcoal grill properly transforms frustration into mastery.
From lighting coals the right way to controlling temperature and avoiding common mistakes, this guide walks you through every step. Whether you’re grilling burgers for a weeknight dinner or smoking a brisket for 18 hours, these techniques ensure consistent, delicious results.
Choose the Right Charcoal
Lump vs. Briquettes: What’s Best?
Two main types dominate the market: lump charcoal and charcoal briquettes. Lump burns hotter and faster, making it ideal for searing steaks or making pizza. It’s pure carbonized wood with no binders or additives, so some grillers say it delivers cleaner flavor. However, lump varies in size, burns out quickly, costs more, and produces dust that falls through grates.
Briquettes, like Kingsford or Royal Oak, are uniform, affordable, and burn steadily. They are perfect for low-and-slow barbecue. Made from compressed charcoal dust and binders, they offer long, predictable cook times. Avoid “match-light” or “ready-to-light” bags because they contain accelerants that can taint food. Stick to additive-free versions for the best taste.
Never Use Lighter Fluid
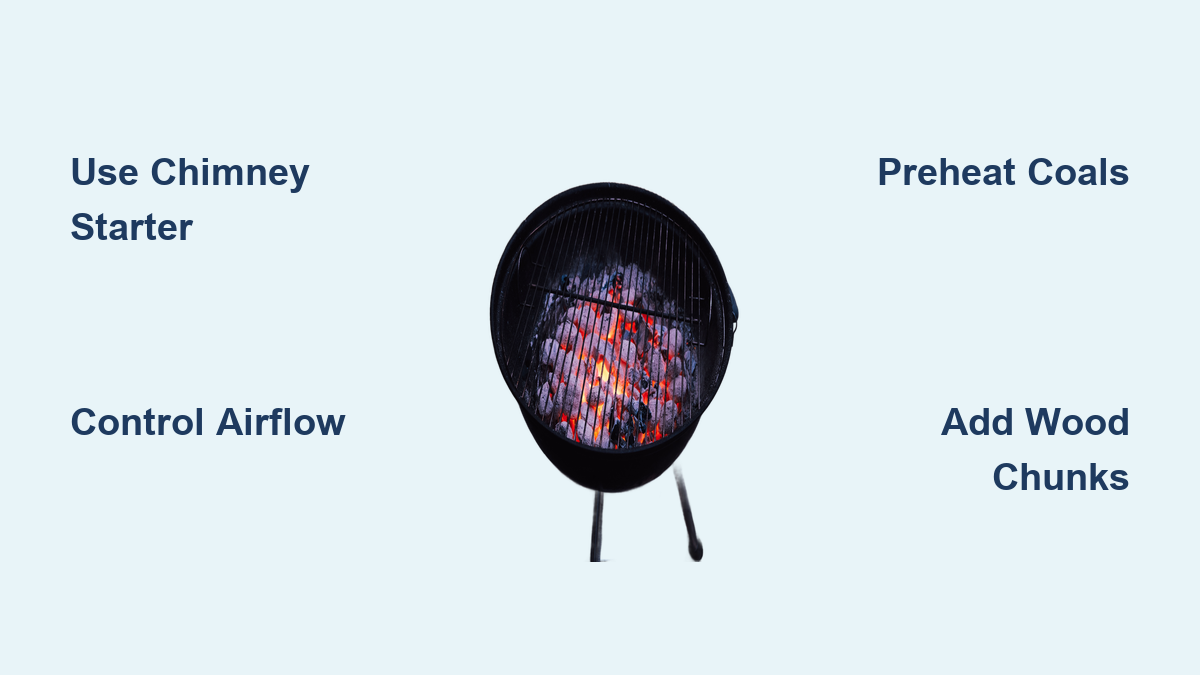
Using lighter fluid is risky and ruins flavor. It leaves behind chemical residues that transfer to your food. Instead, use a chimney starter or natural firelighters made from wood wool or wax. These light cleanly and safely, preserving the pure taste of your grill.
Gather Essential Tools
Must-Have Equipment for Success
Skip the guesswork and prevent accidents with the right tools:
- Charcoal chimney starter: The gold standard for lighting coals evenly and quickly. The Weber Rapidfire is highly recommended.
- No-bristle grill brush: Metal bristles can break off and end up in food. Use a brass, nylon, or three-sided brush instead.
- Multi-probe thermometer: Place one probe at grate level and another in your meat. Never trust the lid thermometer because it’s inaccurate.
- Instant-read thermometer: For checking chicken breasts or burgers in seconds. Reliable brands like ThermoPro or Thermapen are worth the investment.
- Heat-resistant gloves: Rated to 932°F, these protect hands when adjusting coals or handling hot grates.
- Two pairs of tongs: One for raw meat, one for cooked food to avoid cross-contamination.
- Cast iron skillet or Dutch oven: Adds versatility for one-pot meals like chili or fried chicken.
Optional but Game-Changing Accessories
- Slow ‘N Sear: Enables true low-and-slow cooking with a heat deflector and water pan.
- Kettle Pizza Kit: Turns your grill into an 800°F pizza oven.
- Rotisserie kit: Perfect for whole chickens, prime rib, or leg of lamb.
- Hunsaker Griddle: Great for pancakes, eggs, or smashburgers.
- Weber Charcoal Baskets: Help create even heat distribution.
Set Up Safely and Correctly
Pick a Safe Location
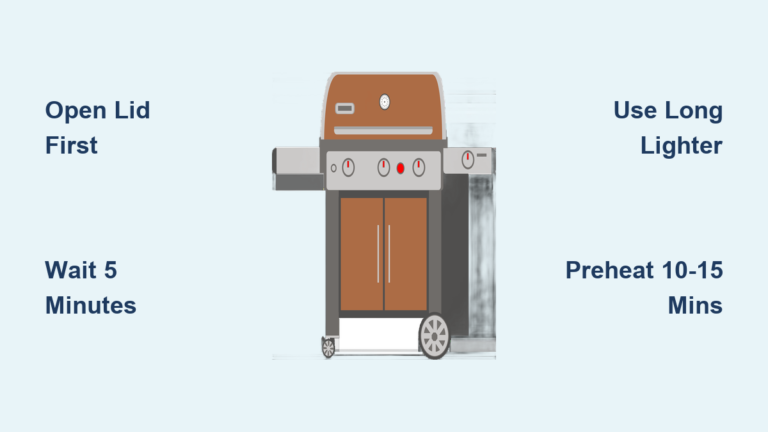
Always grill outdoors in a well-ventilated area. Keep the grill at least 10 feet from structures, fences, or overhanging trees. Never use it on a balcony or under a covered patio. Place it on a non-combustible surface like concrete or stone. Grass or wood decks are fire hazards.
Keep a fire extinguisher, bucket of sand, or baking soda nearby. High-fat foods like burgers or ribs can cause flare-ups, so be ready to close the lid and vents if flames get out of control.
Clean Before Lighting
Ash buildup blocks airflow, leading to poor temperature control. Before lighting, remove old ash from the bottom and ash catcher. Use a plastic putty knife and grill brush while the grill is still warm. The ideal time to clean is right after your last cook. Once or twice a year, deep clean with soapy water and a steel scrubber.
Light Coals the Right Way
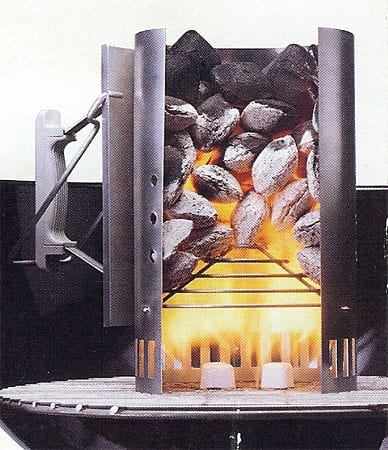
Use a Chimney Starter
This is the safest, most effective method:
- Place crumpled newspaper, cotton balls soaked in isopropyl alcohol, or paraffin cubes under the chimney.
- Fill the chimney with charcoal. About 50 briquettes works for a standard 22″ kettle.
- Light the starter material.
- Wait 15–25 minutes. Coals are ready when they’re covered in gray ash and glowing red underneath.
Do not add lighter fluid after lighting. This is extremely dangerous.
No Chimney? Try Natural Firelighters
Stack eco-friendly firelighters made from wood wool or compressed wood with wax between layers of charcoal. Let the fire catch naturally. Avoid rushing because patience ensures even heat.
Know When Coals Are Ready
Read the Visual Cues
- Not ready: Black, flaming, or hissing coals. Too cool and unstable for cooking.
- Ready for direct heat: White-hot with red centers. Blow gently and the glow should intensify.
- Ready for indirect cooking: Ashy white on top but still hot underneath.
Never cook over black coals. They produce uneven heat and bad smoke.
Master Heat Control
Understand Airflow = Temperature
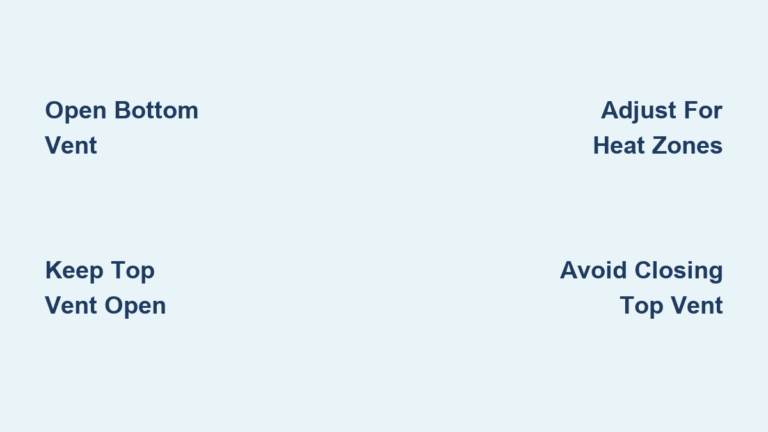
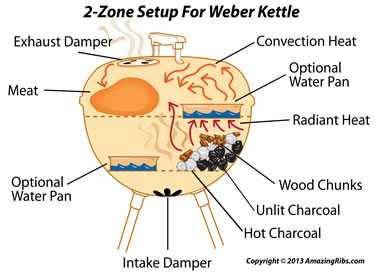
Temperature is controlled by airflow, not fuel alone. Open vents equal more oxygen and a hotter fire. Closed vents equal less oxygen and a cooler fire.
- Bottom vent: Primary control. Adjust this first.
- Top vent: Helps draw smoke up. Keep open unless lowering heat drastically.
Mark your bottom vent with a permanent marker at ¼, ½, and ¾ open for repeatable settings.
Adjust Heat On the Fly
- To raise temperature: Open both vents fully. Add 10–15 pre-lit coals from a chimney. Propping the lid open slightly (¼ inch) also increases airflow.
- To lower temperature: Partially close the bottom vent. Small adjustments make a big difference, so wait 10–20 minutes for changes to stabilize.
Never fully close the top vent unless extinguishing the fire.
Use Smart Heat Arrangements

Direct Heat for Searing
Spread coals evenly across the charcoal grate. This setup is ideal for steaks, burgers, chicken breasts, and vegetables. Cook with the lid off for quick searing, or lid on for thicker cuts.
Indirect Heat for Slow Cooking
Push coals to one side. Place food on the opposite side with the lid closed. This mimics an oven and is perfect for whole chickens, ribs, and turkey. Place a drip pan under the food to catch grease and stabilize temperature.
Try the Snake Method (15–18 Hours)
Arrange unlit briquettes in a U or snake shape around the edge of the grill. Place wood chunks on top. Light one end. The fire slowly burns around the ring, making it ideal for brisket with minimal babysitting. Rotate the cooking grate so the meat stays opposite the flame.
Use the Minion Method (Low & Slow)
Fill a charcoal basket or Slow ‘N Sear with unlit briquettes. Place 10–15 lit coals on top or underneath. The hot coals gradually ignite the rest, maintaining 225–250°F for hours. This method is great for beginners who want set-it-and-forget-it smoking.
Add Smoke the Right Way
Pick the Right Wood
- Mild: Apple, cherry, peach. Ideal for chicken, fish.
- Medium: Oak, pecan. Versatile for ribs, brisket, and turkey.
- Strong: Hickory. Bold flavor for beef . Use sparingly.
- Intense: Mesquite. Best in small amounts for Texas-style BBQ.
Use Chunks, Not Chips (And Never Soak Them)
Wood chunks burn longer and cleaner than chips, making them perfect for low-and-slow cooking. Chips work for quick grilling.
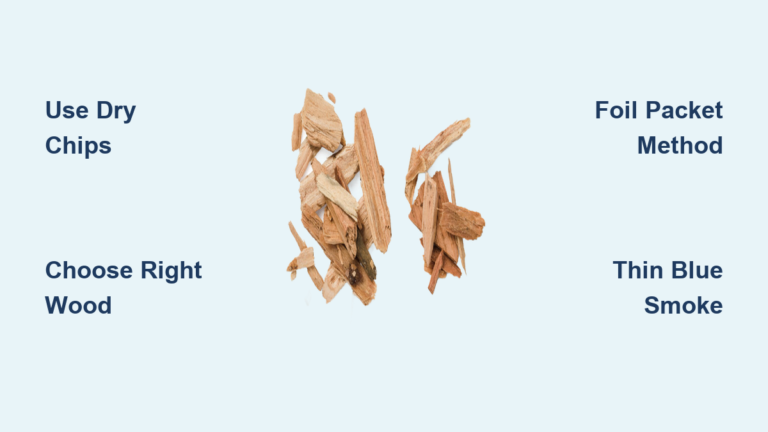
Never soak wood. Water doesn’t penetrate deeply and just steams, creating dirty smoke that tastes bitter. Dry wood burns clean and produces thin blue smoke, which is the hallmark of great BBQ.
Apply Smoke Wisely
Smoke for the first 2–4 hours only. After that, meat stops absorbing it. Over-smoking creates acrid flavors. Cold meat absorbs smoke better, so there’s no need to bring it to room temperature. Spritz meat with apple juice or water every hour to keep it moist and enhance smoke ring development.
Cook with Precision
Grill: High Heat, Direct
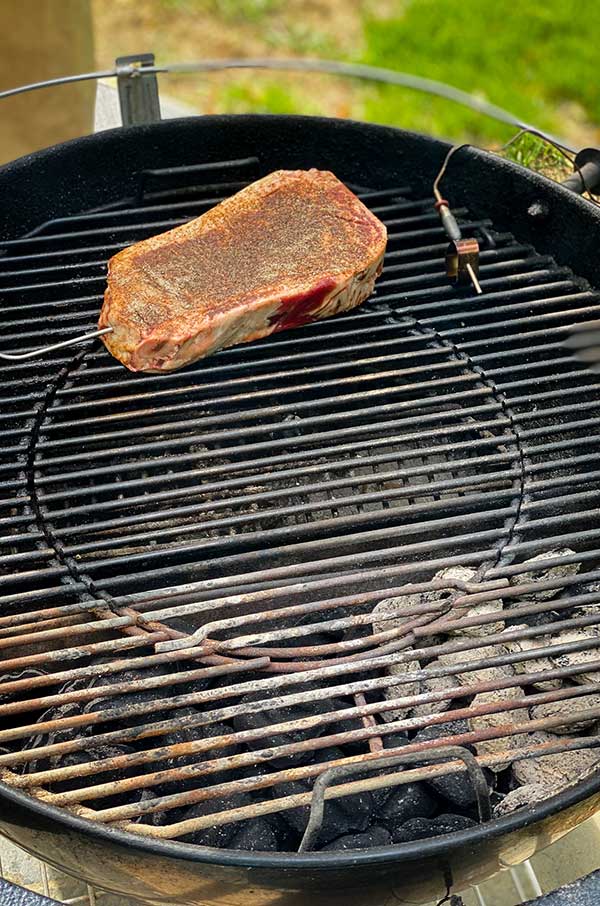
For steaks, chops, and veggies, sear over white-hot coals. Use tongs and never pierce meat because juices escape. Try the reverse sear method: cook thick cuts indirectly first, then finish over high heat for a perfect crust.
Barbecue: Low, Indirect, Long
For tough cuts like brisket , target 225–275°F and cook with the lid closed. Cook to internal temperature, not time:
- Brisket: 195–205°F
- Ribs: 190–203°F
Use a probe thermometer for accuracy.
Smoke: Infuse Flavor
Combine low heat with wood smoke using the Snake or Minion method. Add smoke early during the first half of the cook. Keep the fire stable and avoid opening the lid frequently.
Clean and Shut Down Safely
Extinguish the Fire Properly
To safely put out the grill:
- Close all vents.
- Put the lid on.
- Let coals cool completely for 2–4 hours.
Never dump hot coals in a trash can or compost because they can reignite and cause fires.
Dispose of Ash
Once cold, scoop ash into a non-combustible container or plastic bag. Dispose in general waste.
Clean While Warm
Clean grates immediately after cooking while warm. Use a no-bristle brush and plastic scraper. Empty the ash catcher. Wipe down the lid if greasy. Deep clean every 6–12 months with soap and water or a pressure washer.
Avoid Common Mistakes
Top Errors Beginners Make
- Using lighter fluid: Dangerous and ruins flavor.
- Cooking over black coals: Results in uneven cooking.
- Over-smoking: Bitter taste from too much wood or wet chips.
- Ignoring airflow: Closed vents kill the fire.
- Relying on lid thermometer: Always use a grate-level probe.
Pro Tips for Better Results
- Keep a BBQ journal: Track wood type, weather, temperatures, and results.
- Reuse unburnt coals: Smother with closed vents, cool, and save for next time.
- Add fuel safely: Place new coals on the outer edge to avoid flare-ups.
- Click your tongs: Ensure a firm grip before lifting food.
- Start with forgiving foods: Burgers, chicken thighs, fish fillets, or veggies.
Frequently Asked Questions About Charcoal Grilling
How long does it take for charcoal to be ready?
Charcoal typically takes 15–25 minutes to be ready when using a chimney starter. Coals are ready when they’re covered in gray ash and glowing red underneath. Cold weather or humid conditions may extend this time slightly.
What is the best temperature for low-and-slow barbecue?
The ideal temperature range for low-and-slow cooking is 225°F to 275°F. Fluctuations of 25–50°F are normal and should not cause stress. Always cook to internal temperature rather than relying on time alone.
Should I soak wood chips before using them?
No, you should never soak wood chips or chunks. Water doesn’t penetrate the wood effectively and creates dirty, steamy smoke rather than clean combustion smoke. Dry wood produces thin blue smoke, which is the hallmark of great BBQ.
Can I use lighter fluid to start my charcoal grill?
Using lighter fluid is strongly discouraged. It leaves behind chemical residues that transfer to food and poses safety risks. Use a chimney starter or natural firelighters made from wood wool or wax instead for a cleaner, safer burn.
How do I know when coals are ready for cooking?
Visual cues indicate readiness. Coals are not ready if they’re black or flaming. For direct heat, wait until coals are white-hot with red centers. For indirect heat, wait until they’re ashy white on top but still hot underneath.
How should I dispose of charcoal ash?
Let coals cool completely for 2–4 hours after closing all vents. Once cold, scoop the ash into a non-combustible container or plastic bag and dispose of it in general waste. Never throw hot ash in a trash can or compost bin.
Final Thoughts on Mastering Your Charcoal Grill
Learning how to use a charcoal grill opens the door to incredible flavor and culinary creativity. Start with simple grilling using direct heat and a chimney starter. Once you’re comfortable, try indirect cooking and smoking with the Snake or Minion method. Invest in a good thermometer and no-bristle brush, clean regularly, and respect the fire.
With practice, you’ll move beyond recipes and start reading smoke, adjusting vents by feel, and serving food with that unmistakable charcoal kiss. Fire up your grill this weekend, and taste the difference that proper technique makes.