How to Use a Gas Grill: Quick Steps
You just fired up your gas grill for the first time, or maybe you have owned one for years but still feel like you are guessing more than grilling. The good news is that mastering a gas grill does not require a culinary degree. With the right techniques, you can sear steaks, roast whole chickens, bake cookies, and even simmer chili, all outdoors. Knowing how to use a gas grill properly turns it from a backyard appliance into a full outdoor kitchen.
In this guide, you will learn how to set it up safely, control heat like a pro, cook everything from burgers to bread, and keep your grill in top shape for years. We will walk through every step, from ignition to cleanup, direct versus indirect cooking, essential tools, and avoiding common mistakes.
Choose the Right Location
Place Grill on Stable, Non-Flammable Surface
Set your gas grill on level ground away from structures, overhangs, and flammable materials. Keep at least 3 feet of clearance from your home, deck railings, trees, and patio furniture. Never use a gas grill indoors, in a garage, or under a covered porch unless specifically rated for enclosed spaces.
Avoid Windy or Confined Areas
Position the grill where wind will not blow flames unevenly or extinguish the burner. However, make sure there is adequate airflow around the unit to prevent gas buildup. If using on a wood deck, consider placing a flame-resistant mat underneath for added protection.
Check for Gas Leaks Safely
Use Soapy Water Test Before Every Use
Before turning on the gas, inspect all connections. Mix dish soap with water and apply it to the hose, regulator, and tank valve. Slowly open the propane tank or natural gas line. If bubbles form, you have a leak. Tighten connections or replace damaged parts immediately. Never use a flame to test for leaks, as this is extremely dangerous.
Secure Regulator and Hose Properly
Ensure the regulator clicks firmly into place on the propane tank. Use the locking nut to secure it. For natural gas models, verify the line is tightly connected to the grill inlet. After each use, close the gas valve at the source to prevent slow leaks and extend equipment life.
Preheat the Grill Correctly
Turn Burners On and Ignite
Turn one or more burners to medium, then press the ignition button. If your grill requires a match, light it first, then turn on the gas. Once lit, open other burners as needed. Always keep the lid open during ignition to avoid gas buildup.
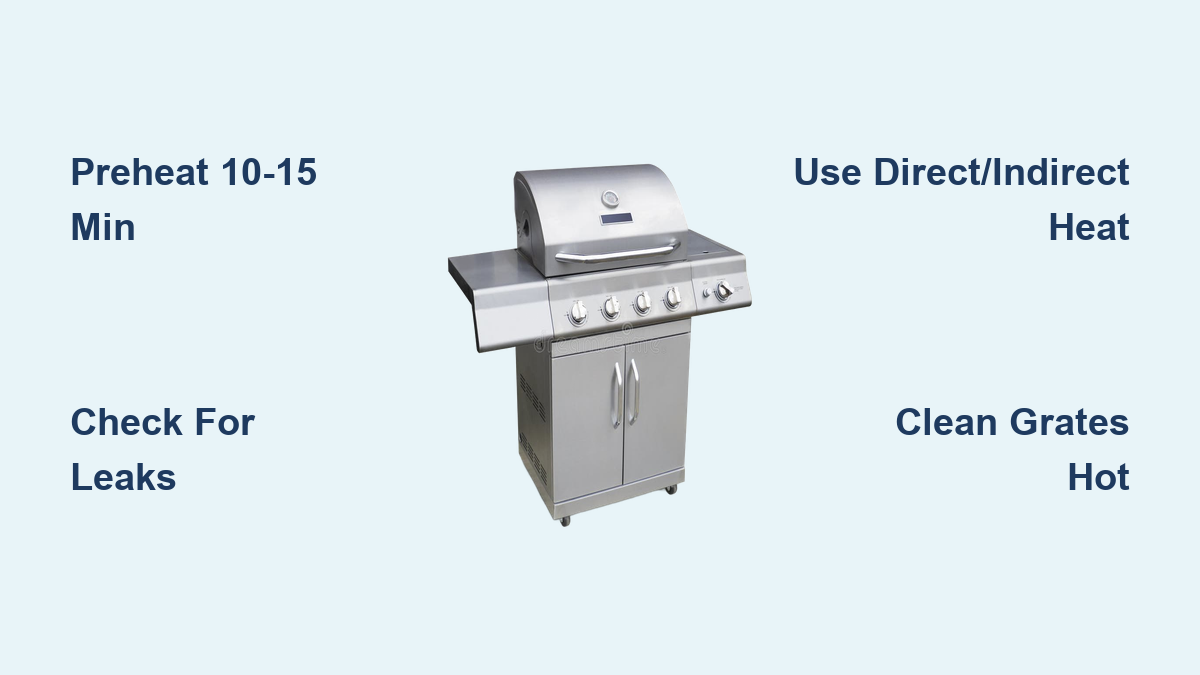
Preheat with Lid Closed for 10–15 Minutes
Close the lid and let the grill heat for 10 to 15 minutes on medium. This burns off residue, sanitizes grates, and stabilizes temperature. Skipping preheating leads to food sticking and uneven cooking, two of the most common grilling frustrations.
Clean Grates Before Cooking
Scrub with a Grill Brush
After preheating, use a brass or stainless steel grill brush to scrape off any stuck-on debris. A clean grate ensures better sear marks and prevents cross-contamination. Never use a wire brush on cold grates, since it is less effective and can leave bristles behind.
Oil the Grates to Prevent Sticking
Fold a paper towel, dip it in vegetable oil, and use tongs to rub it across the hot grates. Alternatively, lightly oil the food itself. This double layer of oil creates a non-stick surface without flare-ups.
Control Heat with Direct and Indirect Zones
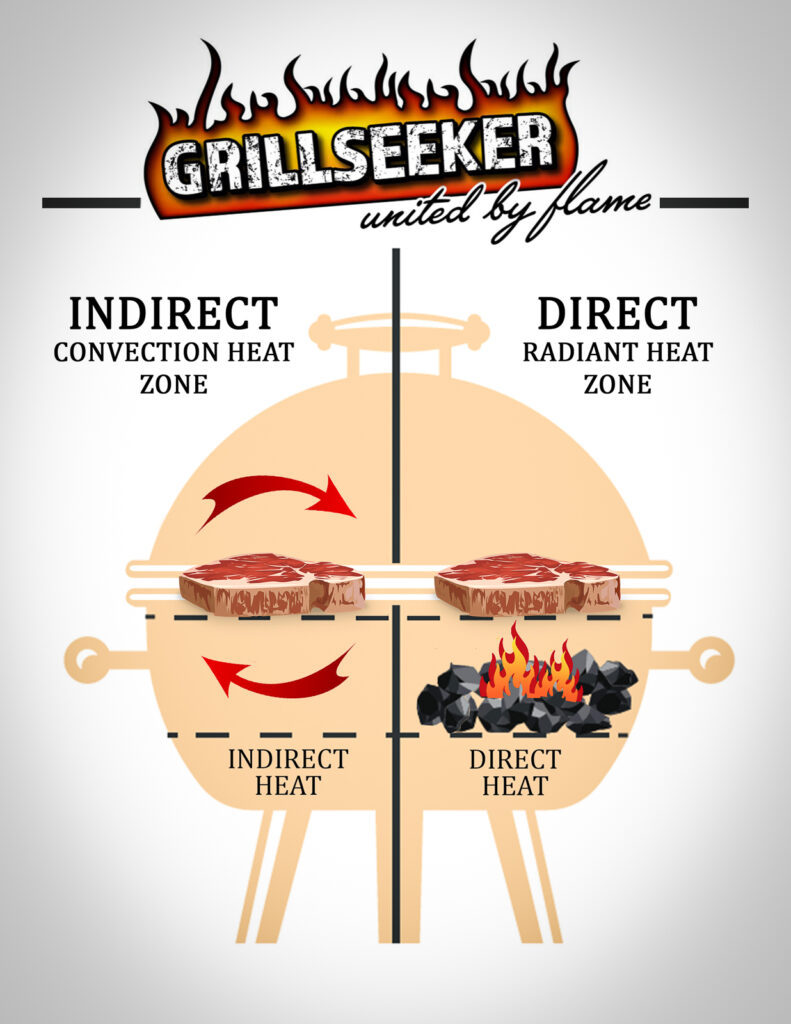
Set Up Direct Heat for Searing
Turn on burners directly under the cooking area. Close the lid and cook with food directly over the flame. This method works best for:
– Steaks
– Burgers
– Chicken breasts
– Vegetables
– Kebabs
Use temperatures between 375°F and 550°F. Keep the lid closed to trap radiant heat and speed up cooking.
Create Indirect Heat for Roasting
Turn on only one side of the burners (left or right) and place food on the opposite, unlit side. Close the lid to circulate heat like an oven. Ideal for:
– Whole chickens
– Ribs
– Roasts
– Baked goods
– Delicate fish
Maintain temperatures between 225°F and 350°F. Rotate food occasionally for even cooking, since heat rises toward the active burners.
Why Closing the Lid Matters
Leaving the lid open during searing or roasting disrupts heat retention. On a gas grill, the lid is essential for consistent results, just like your oven. Open it only when flipping or checking doneness.
Cook Different Foods Properly
Grill Steaks and Burgers to Perfection
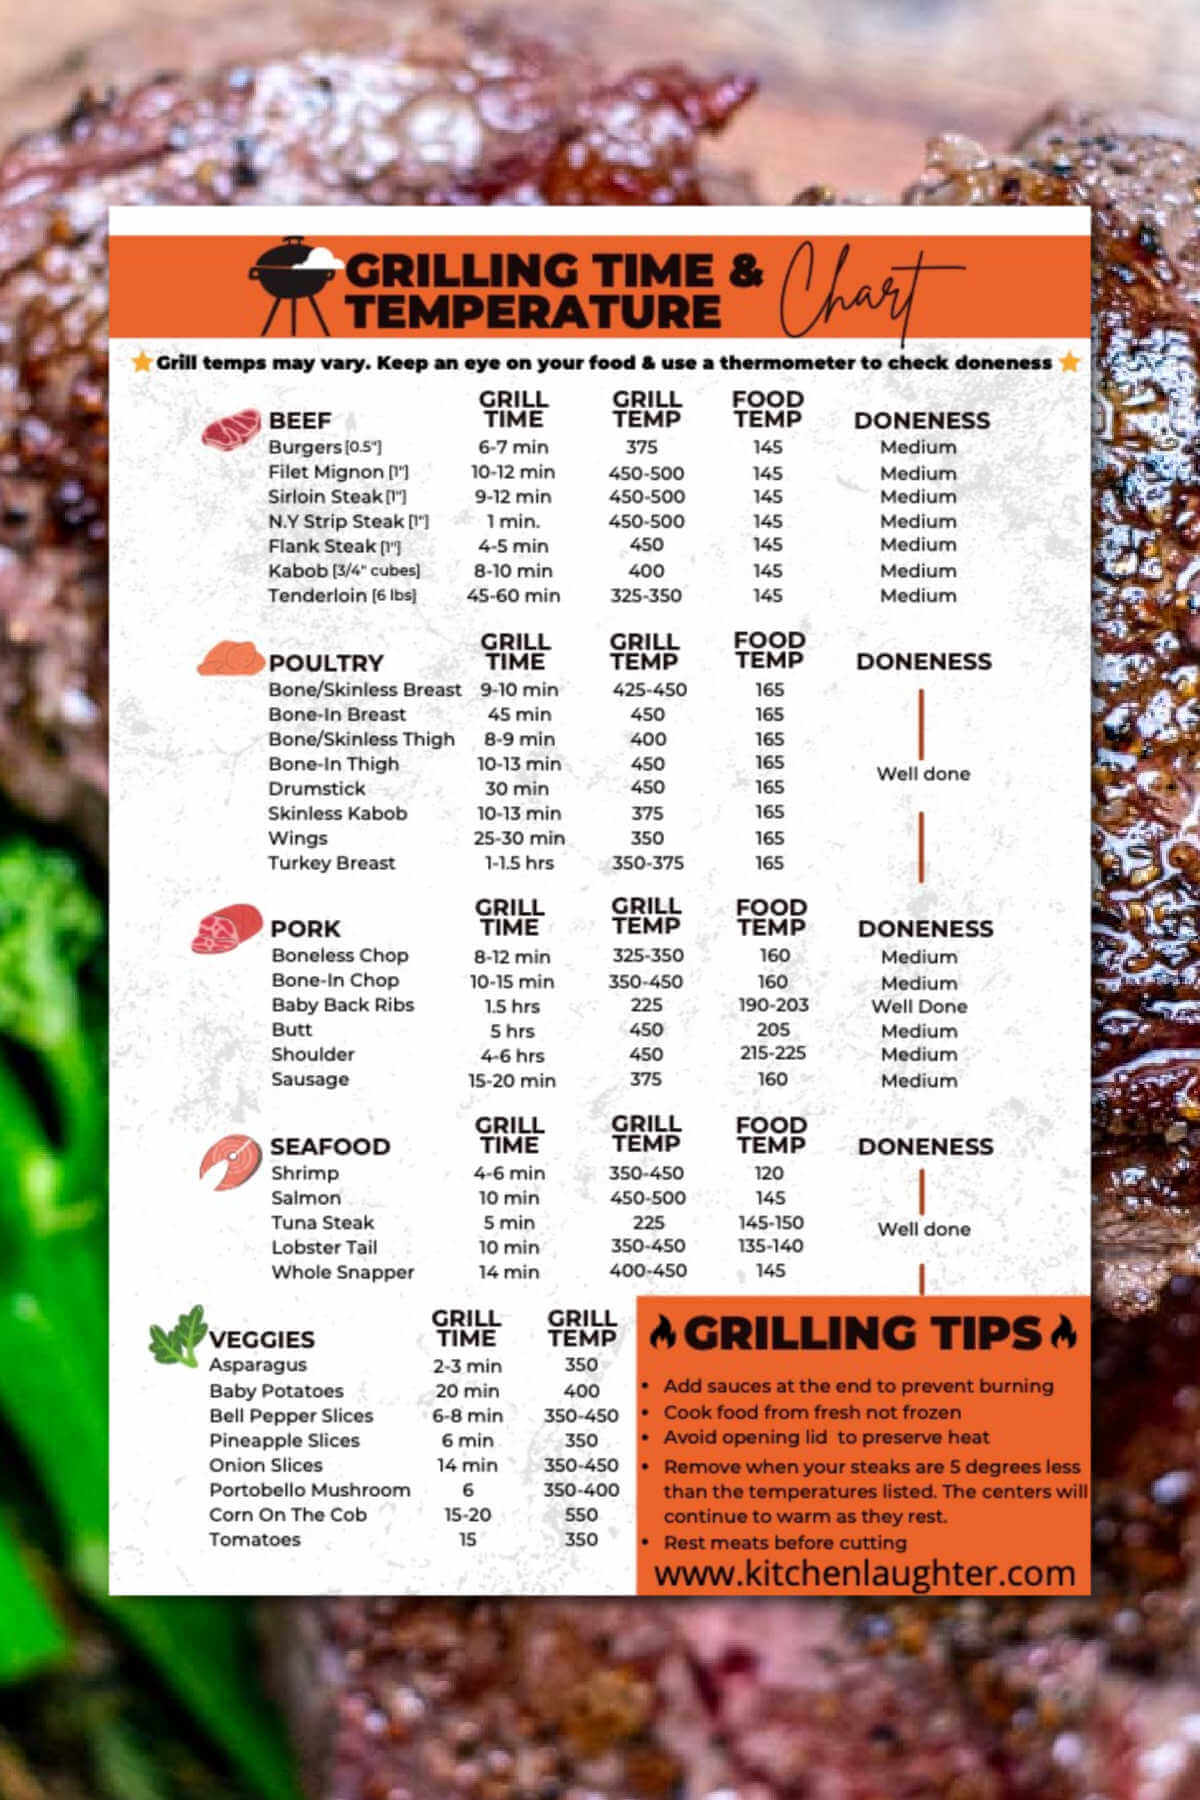
Pat steaks dry before grilling, since moisture prevents browning. Sear over direct heat for 2 to 4 minutes per side, depending on thickness. Move to indirect heat to finish if needed. Use an instant-read thermometer:
– Rare: 120°F to 130°F
– Medium-rare: 130°F to 135°F
– Medium: 135°F to 145°F
Ground beef (burgers) must reach 160°F for safety.
Prevent Fish from Sticking
Use firm fish like tuna, salmon, or swordfish for direct grilling. Brush both fish and grates with oil. For delicate fillets like cod or sole, place them on a well-oiled aluminum sheet pan or in a fish basket.
Roast Whole Chickens and Ribs
Use indirect heat with the lid closed. Place chicken breast-side up on the cool side, over a drip pan if desired. Cook at 325°F until internal temperature reaches 165°F in the thickest part. Rotate halfway through.
Ribs benefit from low-and-slow cooking at 225°F to 250°F for 3 to 5 hours, depending on size.
Bake Cookies and Cakes Outdoors
Yes, you can bake on a gas grill. Use indirect heat and a ceramic or metal pan. Preheat to match recipe temperature (e.g., 350°F). Place cake or cookie sheet on the cool side, away from flames. Close the lid and monitor with a leave-in thermometer. Baking time may vary slightly, so check a few minutes early.
Use Accessories for Versatility

Try a Grill Basket for Small Items
Grill baskets hold diced vegetables, shrimp, or sliced meats. Shake occasionally for even browning. They are great for stir-fry-style cooking without losing food through the grates.
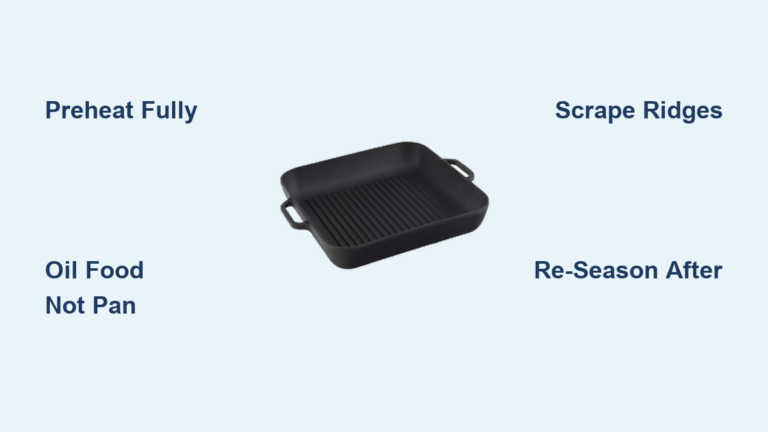
Use a Griddle for Flat Cooking
Place a cast-iron or steel griddle over one or two burners. Perfect for:
– Eggs
– Pancakes
– Quesadillas
– Smash-style burgers
Adjust heat lower than stovetop settings, since griddles retain more heat.
Boil or Simmer with a Dutch Oven
Use a heavy pot with short, oven-safe handles. Place over a single burner or on a side burner if available. A Dutch oven allows you to:
– Simmer chili
– Boil corn
– Braise short ribs
– Make soups
Note: A “medium” grill setting often produces a “low simmer” due to distance from flame.
Add Smoke Flavor with Pellets
Gas grills lack natural smoke, but you can add it. Sprinkle a handful of hardwood pellets (hickory, apple, mesquite) directly into the flavorizer bars or smoker box under the grates. Let them smolder before adding food. Keep the lid closed to maintain smoke and prevent flaring.
Monitor Temperature Accurately
Don’t Trust the Built-In Thermometer
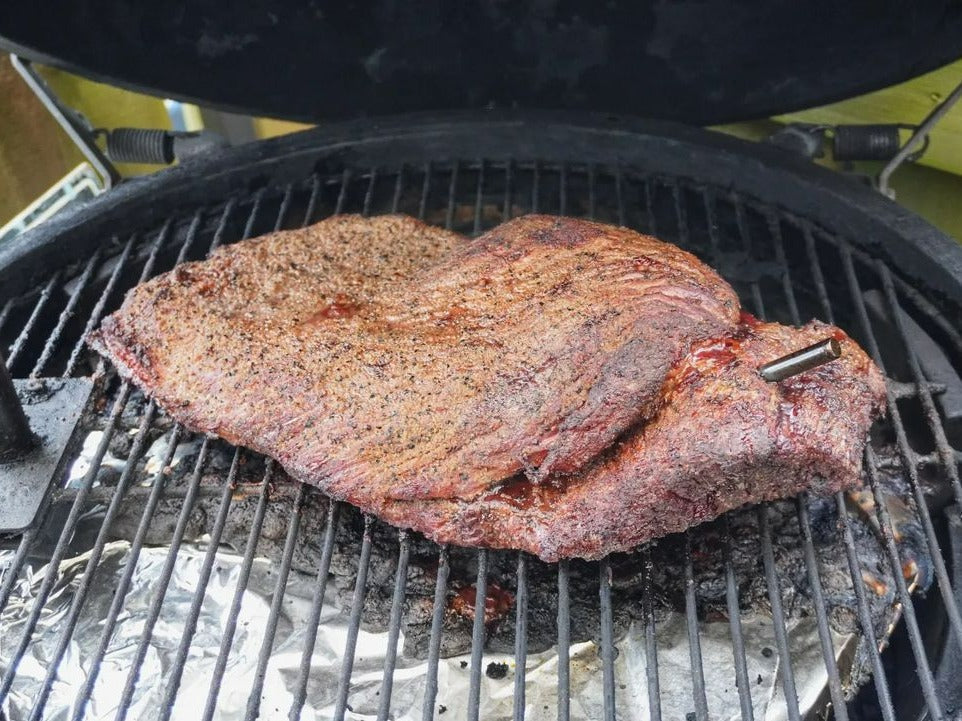
Most lid-mounted thermometers are inaccurate, often reading 25 to 50°F higher or lower than actual grate temperature. Use it only as a rough guide.
Use a Leave-In Probe Thermometer
For roasting, baking, or low-and-slow cooking, insert a leave-in probe into the thickest part of the meat or place it near the cooking zone. Connect to a wireless monitor to track real-time temps without opening the lid.
Check Doneness with an Instant-Read Thermometer
Insert into the center of meat at the end of cooking. Key safe temps:
– Poultry: 165°F
– Ground meats: 160°F
– Fish: 145°F
Probing does not “let out the juices.” It is the only reliable way to avoid undercooking or drying out your food.
Avoid Common Mistakes
Don’t Use Nonstick Pans on High Heat
Nonstick coatings break down above 600°F, releasing toxic fumes and peeling. Gas grills can exceed 800°F. Use cast iron, stainless steel, or carbon steel instead.
Don’t Skip Preheating
Cold grates cause food to stick and cook unevenly. Always preheat for 10 to 15 minutes with the lid closed.
Don’t Overload the Grill
Crowding lowers the temperature and creates steam, leading to steamed rather than seared food. Leave space between items for airflow and even browning.
Don’t Open the Lid Too Often
Every time you lift the lid, you lose heat and extend cooking time. Only open when flipping or checking doneness.
Clean and Maintain After Each Use
Brush Grates While Hot
After cooking, turn burners to high for 5 minutes to burn off residue. Then scrub grates with a grill brush. Cleaning while hot makes removal easier and prevents buildup.
Leave Grease on Grates Between Uses
Contrary to instinct, do not wash the grates clean after grilling. A light layer of grease protects against rust. The next time you preheat, the residue will burn off naturally.
Clean Drip Trays Regularly
Empty grease catchers or liners every few uses to prevent overflow and fire risk. Replace foil liners or clean metal trays with soapy water.
Extend Grill Longevity
Use Medium Heat for Daily Cooking
Running the grill on max heat every time stresses burners and shortens lifespan. Medium heat (around 350°F to 450°F) is sufficient for most tasks.
Inspect Burners and Flavorizer Bars
Check for clogs, rust, or damage every few months. Use a wire to clear burner ports. Replace cracked or corroded parts to ensure even flame distribution.
Cover the Grill When Not in Use
Use a weather-resistant cover to protect against rain, UV rays, and debris. This prevents rust and keeps internal components dry.
Upgrade Your Setup
Add a Side Burner for More Flexibility
Use it to boil corn, simmer sauces, or heat side dishes while grilling. Though less powerful than indoor stoves, it adds true kitchen functionality.
Install Metal Knobs on Dutch Ovens
Replace plastic lid knobs with metal, oven-safe versions. Plastic can melt when used on the grill.
Invest in the Right Tools
Essential tools include:
– Long-handled tongs
– Grill brush (brass or stainless)
– Instant-read thermometer
– Heat-resistant gloves
– Spatula with thin edge
Frequently Asked Questions About Gas Grilling
What temperature should I preheat my gas grill to?
Preheat your gas grill on medium heat for 10 to 15 minutes with the lid closed. This typically reaches around 350°F to 450°F, which is ideal for most cooking tasks and helps burn off residue.
How do I know when my steak is done without cutting it?
Use an instant-read thermometer inserted into the thickest part of the steak. For medium-rare, aim for 130°F to 135°F. For medium, target 135°F to 145°F. Probing does not cause juices to escape.
Can I bake on a gas grill?
Yes, you can bake cookies, cakes, and even bread on a gas grill using indirect heat. Place your bakeware on the cool side away from active burners, close the lid, and use a leave-in thermometer to monitor temperature accurately.
Is it safe to use a gas grill on a wooden deck?
Yes, but keep at least 3 feet of clearance from railings, siding, and flammable materials. Consider placing a flame-resistant grill mat underneath for extra protection against heat and grease.
How often should I clean my gas grill?
Clean the grates with a grill brush before each use. Empty drip trays every few uses, and inspect burners and gas lines every few months. Leave a thin layer of grease on grates between cooks to prevent rust.
Why does my food stick to the grill?
Food typically sticks when grates are cold or dirty. Always preheat for 10 to 15 minutes, scrub grates with a grill brush, and oil both the grates and the food before cooking.
Final Thoughts on Mastering Your Gas Grill
Knowing how to use a gas grill opens up a world of outdoor cooking far beyond burgers and hot dogs. With proper setup, heat control, and maintenance, you can sear, roast, bake, boil, and even smoke, all with precision and convenience. The key is mastering direct and indirect heat, using the right tools, and trusting your thermometer over guesswork. Avoid common pitfalls like skipping preheat or using nonstick pans, and your results will improve instantly. Fire up your grill this week and try one new technique, whether it is baking cookies outdoors or roasting a whole chicken.