How to Deep Clean a Gas Grill
Nothing ruins a summer cookout faster than a grill that sputters, smokes excessively, or imparts a bitter, acrid flavor to your food. If your gas grill hasn’t seen a deep clean in over a year, or worse, has never been thoroughly cleaned, you’re not just sacrificing taste, you’re inviting safety hazards. Built-up grease can trigger dangerous flare-ups, while clogged burner ports and rusted components compromise performance and shorten your grill’s lifespan. Knowing how to deep clean a gas grill properly is essential for safe, efficient, and flavorful grilling.
This guide walks you through a professional-level deep cleaning process based on manufacturer best practices and real-world maintenance data. You’ll learn how to disassemble, degrease, inspect, and reassemble your grill safely and effectively. Whether you’re prepping for the grilling season or shutting down for winter, this comprehensive routine will restore your grill’s performance and extend its life. No vague tips, no shortcuts, just a clear, actionable plan to get your grill in top condition.
Essential Safety Steps Before Deep Cleaning Your Gas Grill
Before touching a single tool, safety must come first. A gas grill contains flammable fuel, high-pressure lines, and sharp components, all of which demand caution.
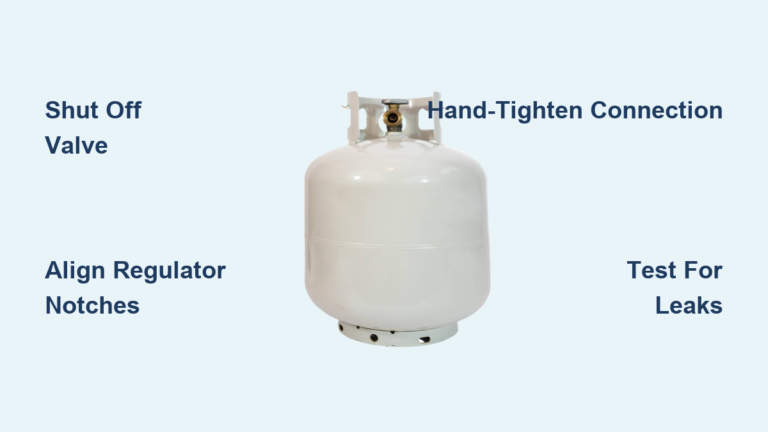
Turn off the propane tank completely. For built-in models, shut the main gas valve with a pipe wrench, turning it 90 degrees so the handle is perpendicular to the line. Next, open the grill lid and turn all burners to high for about 30 seconds to purge residual gas from the lines. Then shut them off. This prevents accidental ignition during cleaning.
Wait until the grill is completely cool. While light scraping works best on a warm grill, deep cleaning requires full disassembly, so cool-down is non-negotiable. Wear heavy-duty gloves to protect against grease, sharp metal edges, and harsh cleaners. Lay a tarp or cut-up trash bags beneath the unit to catch debris and protect your patio or deck.
Finally, disconnect any electrical components if your grill has electronic igniters or temperature probes. Avoid spraying water near these parts to prevent damage.
Required Cleaning Tools and Supplies
Having the right tools ensures a faster, more effective clean without damaging your grill.
You’ll need two large plastic bins: one for soapy water, one for rinsing. Fill the first with hot water and dish soap; use the second to rinse cleaned parts. For heavy buildup, a liquid oven or barbecue degreaser is essential. For a natural alternative, mix 1 part white vinegar with 4 parts water (¼ cup vinegar to 1 cup water) for wiping surfaces without rinsing.
Mechanical tools include a stiff wire grill brush, stainless-steel wool, a putty knife or paint scraper, and grill floss for tight spaces. Wooden toothpicks are critical for clearing burner ports. Never use metal, which can enlarge the holes and alter flame distribution.
Don’t forget a wet-dry vacuum to remove ash and debris from the cookbox, soft rags, sponges, and bristle brushes. For rusted exteriors, have wet-dry sandpaper (320-grit to 600-grit) and high-heat BBQ spray paint (rated to 1200°F) ready. Keep a soapy water solution on hand to test for gas leaks after reassembly.
Clean Grates and Flavorizer Bars the Right Way

Start with the components that see the most abuse: grates and flavorizer bars.
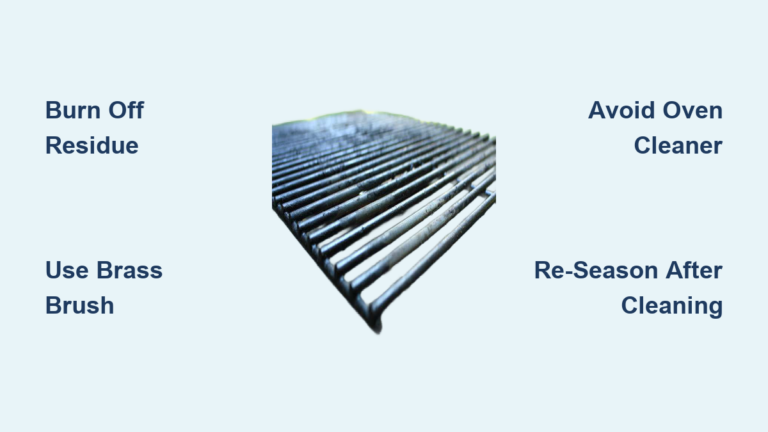
If the grill was recently used, heat it on high for 10–15 minutes to loosen residue, then let it cool to warm. Use a wire brush and grill floss to scrape off charred food and grease. Scrape directly into the cookbox so debris falls into the grease tray.
Remove the grates and flavorizer bars. Soak them in the bin of hot, soapy water for 30–60 minutes. For stubborn carbon buildup, apply oven cleaner and let sit per product instructions (usually 15–30 minutes), then scrub with steel wool or a bristle brush.
For a natural option, sprinkle baking soda on grates, spray with vinegar until it fizzes, scrub, then rinse thoroughly. Avoid restoring grates to “like-new” shine. Focus on removing carbon and grease.
Rinse all parts in clean water and dry completely before reassembly. Moisture left on metal invites immediate rust.
Restore Rusted Grates Without Replacing Them
If grates are rusted, remove loose flakes with a wire brush. Soak them in equal parts water and vinegar for several hours. This dissolves surface rust without damaging the metal.
After soaking, scrub gently, rinse well, and dry immediately. Apply a thin coat of vegetable oil to season the grates and protect against future corrosion. This step is crucial for cast iron or steel grates.
Maintain Burners and Igniters for Reliable Performance
Burners are the heart of your grill’s performance. Clogged ports or corrosion lead to uneven flames, weak ignition, or burner failure.
Inspect each burner tube for cracks, bends, or heavy rust. If removable, take them out carefully. Wipe the exterior with a damp cloth and soapy water. For deep cleaning, use a soft wire brush. Avoid soaking unless the manufacturer allows it.
Use a wooden toothpick to clear each fuel port. Debris and rust buildup here cause lazy flames or ignition failure. Never use a metal pin or drill bit, as this can widen the port and disrupt gas flow.
Check the igniter electrode (the small metal tip near each burner). Wipe it with a dry or slightly damp rag to remove grease or moisture. A dirty igniter won’t spark reliably.
Reinstall burners only when fully dry. Misaligned or damp burners can cause gas buildup and delayed ignition, which is potentially dangerous.
Scrub the Cookbox and Interior Surfaces

With grates and burners removed, the cookbox is exposed and ready for deep cleaning.
Use a putty knife or paint scraper to remove baked-on grease and food debris from the walls and floor. Work top to bottom, letting debris fall into the grease tray. A wet-dry vacuum helps remove loose ash and particles from corners and under heat deflectors.
Wipe down all interior surfaces with a rag soaked in soapy water or the vinegar solution. Avoid abrasive pads on enameled or painted surfaces.
If flavorizer bars are heavily coated with grease, clean them alongside the grates. These metal plates vaporize drippings to enhance flavor, but when clogged, they cause flare-ups and uneven heating.
Once clean, wipe the interior with a dry cloth. Ensure no standing moisture remains before reassembly.
Empty and Clean the Grease Management System
The grease management system is a fire hazard if neglected.
Remove the grease tray and disposable drip pan (if equipped). Discard the full drip pan in a sealed bag. Scrape excess grease from the tray into the trash. Never pour grease down the drain.
Soak the metal tray in soapy water if needed, scrub with a sponge, rinse, and dry completely. Reinstall the tray and a fresh drip pan.
Critical: Never pour greasy water down household drains. It solidifies in pipes and causes severe clogs. Dispose of it in a sealed container or let it harden in the trash.
A clean grease system prevents flare-ups, reduces fire risk, and keeps your grill’s base free of rancid odors.
Restore the Exterior and Cabinet

A clean exterior isn’t just about looks. It prevents rust and extends your grill’s life.
Wipe the hood, side panels, and handles with warm, soapy water. For stainless steel, use a dedicated stainless cleaner or glass cleaner. Always wipe in the direction of the grain to avoid scratches.
For painted surfaces, avoid abrasive cleaners. If paint is chipped or rusted, sand the area lightly with 320-grit wet-dry sandpaper, then progress to 600-grit for a smooth finish. Wipe away dust with a damp cloth.
Apply high-heat BBQ spray paint (rated to 1200°F) in thin, even coats. Let it cure fully before using the grill. This protects against moisture and future corrosion.
Clean inside the cabinet or base. Remove cobwebs, wipe down shelves, and clean knobs and side tables. Sticky residue attracts dirt and pests.
Reassemble and Test Your Gas Grill
Reassembly must be precise to ensure safety and performance.
Ensure all parts, including grates, flavorizer bars, and burners, are completely dry. Reinstall them in the correct order and alignment. Misaligned burners can block gas flow or cause uneven heating.
Reconnect the propane tank or gas line. Before lighting, test for leaks. Apply a soapy water solution to all gas connections, including the regulator and hose. Turn on the gas (do not ignite). If bubbles form, tighten the connection. If bubbling persists, replace the faulty part.
Once leak-free, close the lid and turn on all burners. Let the grill run on high for 10–15 minutes. This burns off any residual cleaning chemicals, oils, or moisture.
After the burn-off, check flame quality. Flames should be steady, blue, and even across all burners. Yellow or flickering flames indicate clogged ports or air imbalance.
Prevent Problems with Routine Grill Care
Avoid annual deep clean drama with simple habits after every cook.
Heat the grill on high for 10–15 minutes after cooking. This burns off food residue and makes scraping easier. Once warm (not hot), scrub grates with a wire brush. Wipe the exterior with a damp cloth.
Empty the grease tray when it’s half full. Check flavorizer bars monthly for buildup. Clean burner ports every few months with a toothpick.
Cover your grill when not in use. A quality cover blocks moisture, UV damage, and pests, preventing rust and cobweb formation.
Fix Flare-Ups and Ignition Issues Fast
Frequent flare-ups? Likely causes are grease buildup on flavorizer bars or in the cookbox. Clean these areas immediately.
If the grill won’t ignite, check:
– Gas supply (is the tank empty?)
– Clogged burner ports
– Dirty or wet igniter electrode
– Obstructed fuel line
Test connections with soapy water. Replace worn parts promptly.
Extend Grill Lifespan with Smart Maintenance Habits
A well-maintained gas grill can last 10–15 years. Poor care cuts that in half.
Deep clean at least once a year, or twice if you grill weekly. Ideal times: pre-Memorial Day and post-Labor Day.
Use covers, avoid abrasive cleaners, and never hose down electronic components. Store propane tanks upright in a well-ventilated area.
Replace worn parts early, especially burners and grates. OEM parts ensure proper fit and performance.
Season grates with oil after cleaning to prevent rust. Never cook on dry, unseasoned metal.
Frequently Asked Questions About Deep Cleaning a Gas Grill
How often should you deep clean a gas grill?
You should deep clean a gas grill at least once per year, though twice a year is ideal. The best times are pre-Memorial Day to start the season and post-Labor Day before winter storage. If you grill weekly or notice performance issues, clean more frequently.
Can you use a hose to rinse a gas grill?
You can use a hose cautiously, but avoid spraying water near electronic components like igniters and temperature probes. Ensure the grill is unplugged and completely cool. For most deep cleans, hand washing with bins of soapy water is safer and more thorough.
What is the best natural cleaner for a gas grill?
A mixture of 1 part white vinegar to 4 parts water works well for wiping metal surfaces without rinsing. For grates, sprinkle baking soda, spray with vinegar until it fizzes, scrub, and rinse. Equal parts water and vinegar also dissolve rust when grates are soaked for several hours.
Why does my gas grill flame up so much?
Excessive flare-ups indicate grease buildup on the flavorizer bars or inside the cookbox. Clean these areas immediately and empty the grease tray. Flare-ups can also result from food drippings igniting, so trim excess fat from meats before grilling.
How do you clean clogged burner ports on a gas grill?
Use a wooden toothpick to gently clear each fuel port on the burner tube. Never use metal pins, drill bits, or wire, as these can enlarge the holes and disrupt flame distribution. Clearing ports prevents uneven heating and weak ignition.
Is it safe to use oven cleaner on a gas grill?
Yes, liquid oven cleaner is safe for heavy grease buildup on grates and flavorizer bars. Follow product instructions, typically letting it sit for 15–30 minutes, then scrub with steel wool and rinse thoroughly. Avoid using it on painted or enameled surfaces.
Final Thoughts on Deep Cleaning Your Gas Grill
Deep cleaning your gas grill isn’t just about appearance. It directly impacts safety, cooking performance, and how long your grill lasts. Built-up grease causes flare-ups, clogged burners create uneven heat, and rust shortens component life. A thorough annual clean eliminates these hazards and restores your grill to like-new condition.
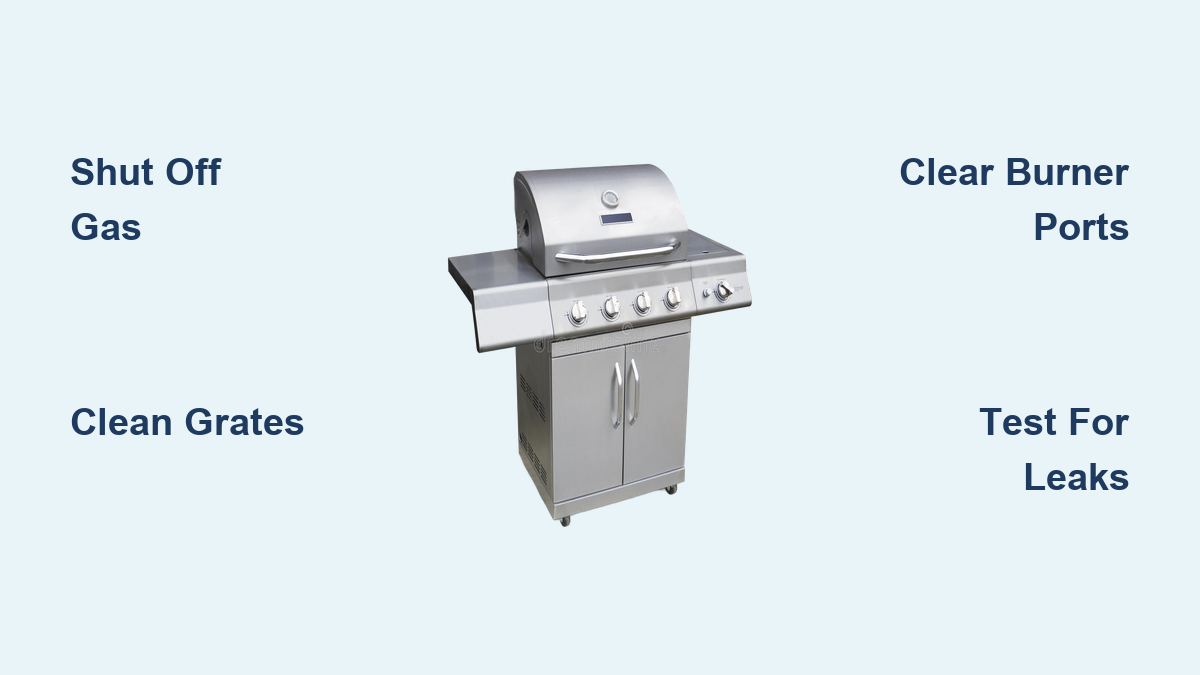
The key steps are simple: shut off the gas, disassemble components, soak and scrub grates and flavorizer bars, clear burner ports with toothpicks, scrape the cookbox, empty the grease system, and refinish the exterior if needed. Reassemble dry parts, test for gas leaks with soapy water, and burn off any chemical residue on high heat for 10–15 minutes.
Your next step is to schedule your deep clean. Mark your calendar for pre-Memorial Day and post-Labor Day, gather your supplies, and set aside two to three hours. Once done, commit to light post-cook maintenance: heat the grill, scrape the grates, and empty the grease tray regularly. With consistent care, your gas grill will deliver safe, flavorful results for over a decade.