How to Connect a Natural Gas Grill
Connecting a natural gas grill can transform your backyard cooking experience—no more propane tank swaps or mid-cookout fuel shortages. But doing it safely requires more than just screwing on a hose. Natural gas operates under specific pressure requirements, and using the wrong fittings or skipping safety checks can lead to gas leaks, poor performance, or serious hazards. This guide covers every essential step, from verifying your grill’s fuel type to performing final leak tests, so you can set up your grill with confidence.
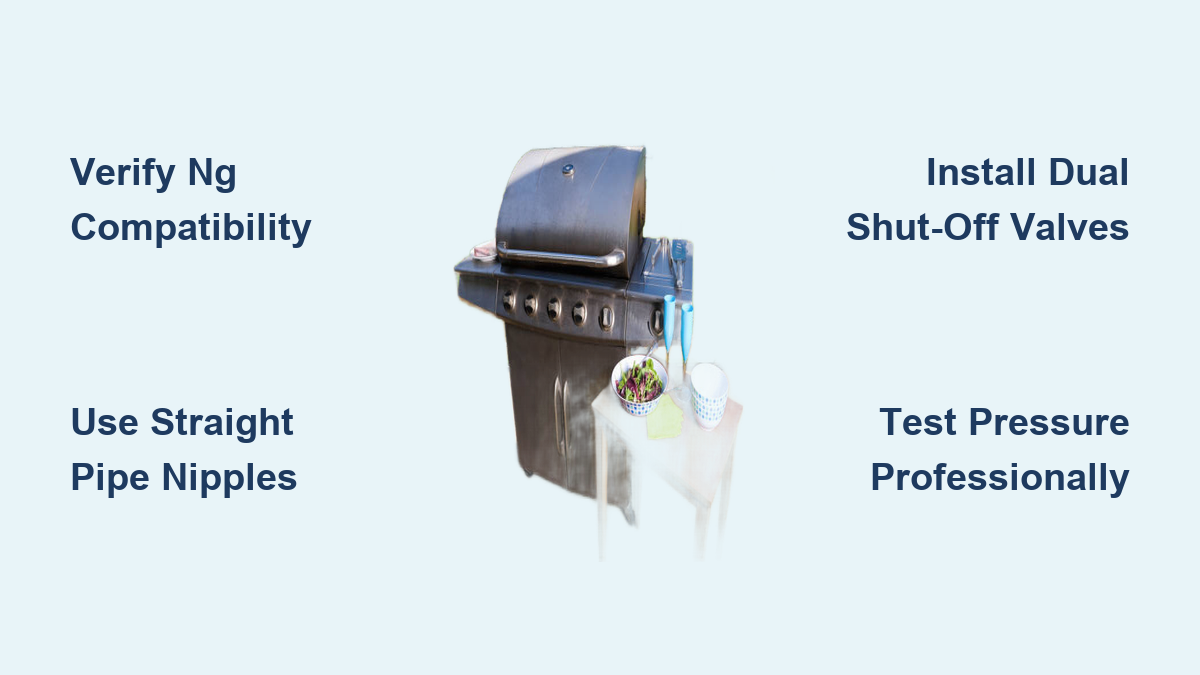
You’ll learn how to check fuel compatibility, understand water column pressure, select proper fittings, install dual shut-off valves, and recognize when professional help is necessary. Whether you’re a first-time NG user or upgrading from propane, these steps will help you build a safe, long-lasting connection.
Verify Your Grill’s Fuel Type Before Connection

Before touching any fittings, confirm your grill is designed for natural gas—not propane. Most grills ship ready for propane, which means yours may need conversion before connecting to an NG line.
Check for Natural Gas Configuration
Look for clear indicators that your grill is NG-compatible:
– A label near the gas inlet reading “Natural Gas” or “NG”
– Smaller burner orifices designed for lower-pressure natural gas
– A black regulator marked with “NG” (propane regulators often have red tips)
If you spot “LP,” “propane,” or a red-tipped regulator anywhere on the unit, your grill is not ready for natural gas use.
Convert Propane Grills Properly
If your grill currently runs on propane, a conversion kit is mandatory. These kits typically include NG-specific orifices, a new regulator, and updated burner labels. You can find them at major retailers like Lowe’s or Home Depot, usually priced under $50. Follow the kit instructions exactly—installing mismatched orifices can cause weak flames or dangerous flare-ups.
Pro Tip: Never assume a grill is NG-ready based on appearance alone. Always check the manual or manufacturer tag before connecting.
Confirm Gas Pressure Requirements

Natural gas grills require precise pressure to operate safely and efficiently. Skipping this verification is one of the most common DIY mistakes.
Understand Water Column Pressure (WCP)
WCP is the standard measurement for natural gas pressure. Most NG grills require between 5 and 10 inches of WCP, though your specific model may differ. Find the exact figure in your owner’s manual under “gas specifications” or “technical data.”
Pressure that is too low results in weak, uneven flames. Pressure that is too high risks flashbacks, burner damage, or fire.
Have a Professional Test the Pressure
You cannot safely test WCP yourself. A licensed gas technician uses a manometer to measure pressure directly at the supply line and confirm it matches your grill’s requirements. This step is non-negotiable for both safety and code compliance in most areas.
Warning: Connecting your grill without verified pressure risks appliance damage and may violate local gas codes.
Use Only Approved Fittings and Piping
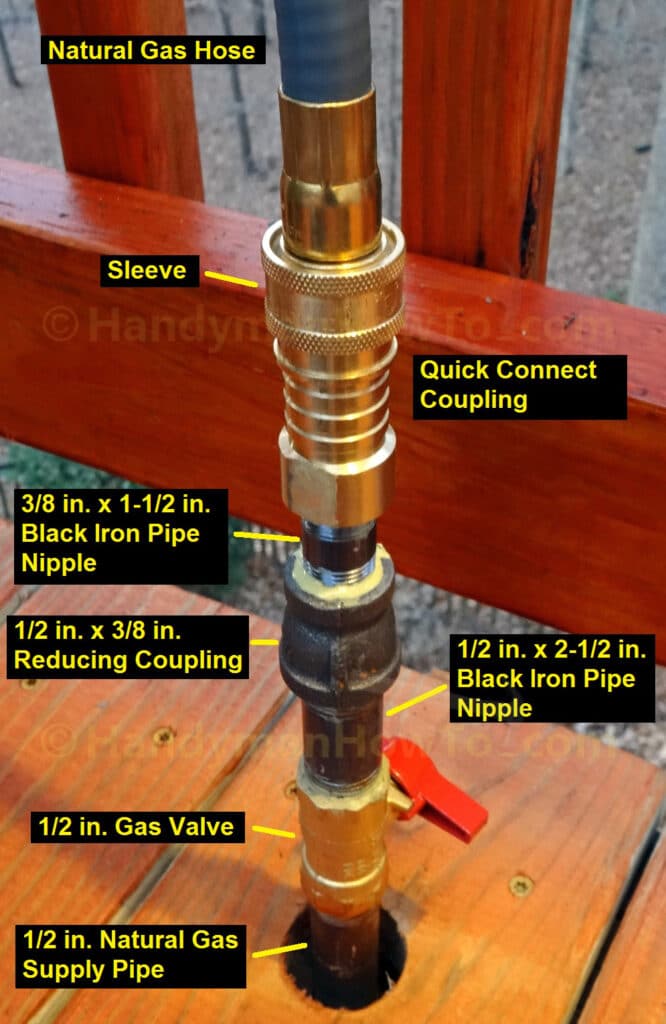
The fittings you choose directly impact gas flow integrity and long-term safety. Using the wrong type is a leading cause of leaks and performance issues.
Straight Pipe Nipples Are Mandatory
Straight pipe nipples—made of brass or steel with matching threading—ensure a secure, leak-free connection with full, unobstructed gas flow. They are the only approved fitting type for natural gas grill installations.
Never Use Flare Fittings
Flare fittings are common on propane systems but strictly prohibited for natural gas grills. They can crush or deform the end of the flexible hose, restricting gas flow and creating potential leak points.
Visual Cue: If your hose end looks pinched, flattened, or flared, it is damaged and must be replaced immediately.
Handle Size Mismatches Correctly
If your gas line is 3/8″ and your grill inlet is 1/2″, use this three-part setup to maintain a safe, straight-flow path:
1. A 3/8″ straight pipe nipple connected to the supply line
2. A bell reducer to step up from 3/8″ to 1/2″
3. A 1/2″ straight pipe nipple connecting to the hose
This configuration avoids flare fittings entirely while accommodating different pipe sizes.
Install the Gas Supply Line Correctly
Your supply line setup must be both safe and compliant with local codes.
Check for an Existing Gas Bib
Many homes already have a gas outlet (pipe bib) near the patio or deck. Look for a threaded brass or black iron pipe stub with a cap or valve in your planned grill area. If one exists, inspect it for damage before use.
Use the Factory 10-Foot Hose Only
Your grill came with a 10-foot flexible hose rated for outdoor natural gas use. Do not cut, modify, or extend this hose under any circumstances.
Never Couple Multiple Hoses
Joining two 10-foot hoses to reach 20 feet is unsafe and not recommended. Coupling points introduce leak risks and can cause pressure drops that result in low flame output.
Hard Pipe for Distances Over 10 Feet
If your grill sits more than 10 feet from the gas source, run rigid black iron or CSST (Corrugated Stainless Steel Tubing) piping to a new outlet closer to the grill. This keeps the flexible hose under 10 feet and maintains safe pressure. Refer to your owner’s manual for hard-piping diagrams, and hire a licensed plumber or gas fitter—this is not a DIY job.
Install Dual Shut-Off Valves for Safety
A dual-valve system gives you complete control over gas flow and adds a critical layer of safety.
Place Valves Inside and Outside
Install two manual quarter-turn ball valves with clear “open/closed” indicators:
– Inside valve: Located where the gas line exits your home (basement, utility room, or garage)
– Outside valve: Installed near the gas bib, within easy reach of the grill
Follow Proper Valve Operation
- Open both valves fully before igniting the grill
- Close both valves completely after each use to cut off gas flow entirely
- Always close both valves before disconnecting or performing any maintenance
The inside valve serves as your main emergency shut-off, while the outside valve lets you isolate the grill quickly without going indoors.
Know When to Call a Licensed Professional
Some steps are beyond the scope of DIY work, even for experienced homeowners.
Hire a Licensed Pro for These Tasks
- WCP testing: Only certified technicians have the equipment and training to measure gas pressure safely
- Hard piping installation: Requires permits, pressure testing, and code compliance
- Gas line extensions or new outlets: Involves cutting into existing lines with serious leak risks if done incorrectly
- Final leak verification: Professionals use calibrated detectors and soapy water tests to confirm connections are airtight
Avoid Unlicensed Handymen
“Handyman” services may lack proper gas licensing and insurance. Always verify credentials before hiring. Look specifically for licensed plumbers or certified gas fitters in your area.
Cost Note: Professional installation typically ranges from $150 to $400 depending on your region—a small price for verified safety and code compliance.
Perform the Final Connection Step by Step
With everything prepared, you’re ready to make the final hook-up.
Hook-Up Procedure
- Close both shut-off valves completely
- Attach a 1/2″ straight pipe nipple to the outdoor gas bib using thread seal tape rated for gas (yellow or pink)
- Screw the flex hose onto the nipple by hand, then tighten an additional 1/4 to 1/2 turn with a wrench—do not over-tighten
- Open the inside valve slowly and listen for hissing sounds
- Open the outside valve
- Apply soapy water to all connections; bubbles indicate a leak requiring immediate tightening or replacement
- Follow manufacturer instructions to light the grill
Safety First: If you smell gas (a rotten egg odor) at any point, shut off both valves, ventilate the area, and contact your gas company immediately.
Maintain Your Natural Gas Grill System Long-Term
Ongoing maintenance keeps your system safe and functional for years.
Inspect Shut-Off Valves Monthly
Turn both valves on and off to confirm smooth operation. Replace any valve that feels stiff, leaks, or shows corrosion.
Examine the Flex Hose Every 3–6 Months
Check for cracks, cuts, abrasions, rodent damage, or crushed ends. Replace the hose every 5 years or sooner if any damage appears.
Monitor Grill Performance
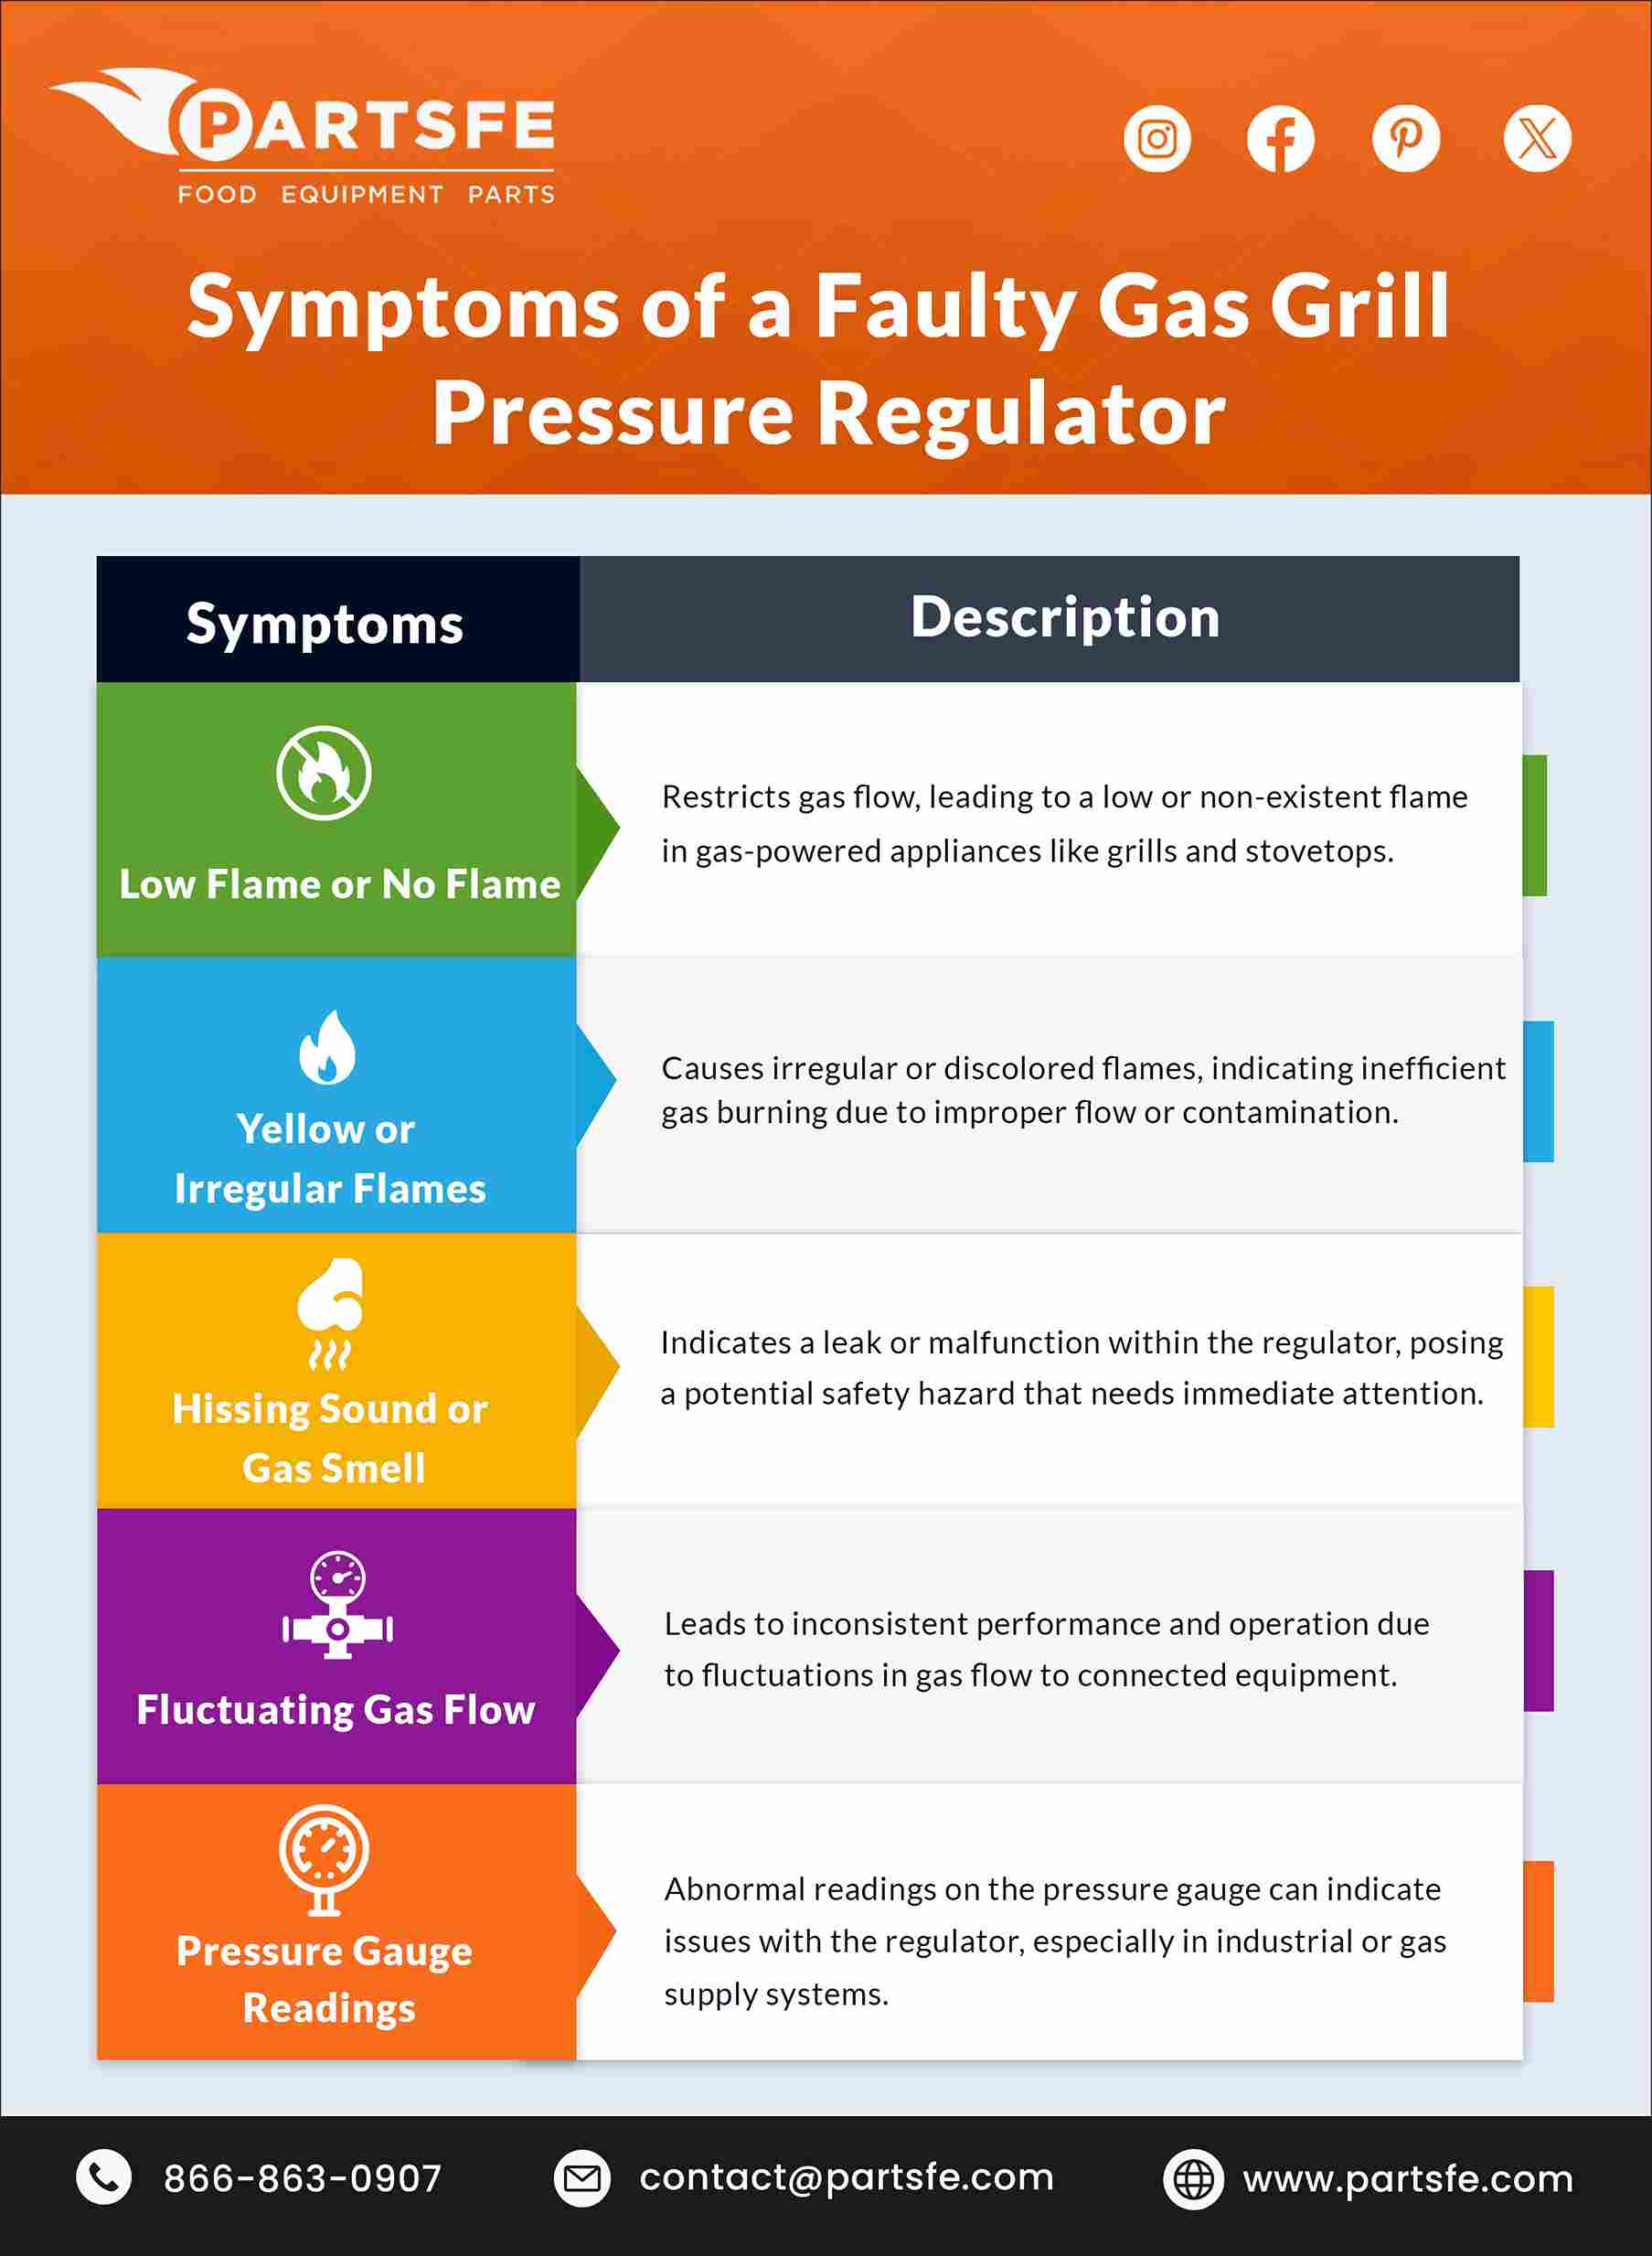
- Weak flames may indicate low pressure, clogged orifices, or hose damage
- Uneven heating suggests blockages or restricted gas flow
- Hissing sounds require an immediate leak test
Keep Your Owner’s Manual Accessible
Store the manual in a weatherproof bag near the grill. It contains model-specific WCP values, hard-piping diagrams, and replacement part numbers you’ll need over time.
Frequently Asked Questions About Connecting a Natural Gas Grill
Can I connect a propane grill to a natural gas line without converting it?
No. Propane grills operate at higher pressure than natural gas systems. Connecting without conversion can cause serious safety hazards, including flashbacks and flare-ups. You must install a manufacturer-approved NG conversion kit first.
How do I know if my home has a natural gas line for a grill?
Look for a gas pipe bib (a threaded brass or black iron pipe stub with a valve) near your patio or deck. If none exists, contact a licensed plumber to assess whether your home’s gas system can support an outdoor grill outlet.
What happens if I use flare fittings on a natural gas grill?
Flare fittings can crush or deform the end of the flexible hose, restricting gas flow and creating potential leak points. This leads to poor grill performance and increases the risk of gas escaping into your outdoor space.
Is it safe to connect two 10-foot hoses together for more reach?
No. Coupling hoses is not recommended because connection points can leak and cause pressure drops. If your grill is more than 10 feet from the gas source, have a professional install hard piping to bring the supply closer.
How often should I replace my natural gas grill hose?
Replace the flex hose every 5 years, or immediately if you notice cracks, cuts, corrosion, or crushed ends. Inspect it every 3–6 months for any signs of wear or damage.
Do I need a permit to connect a natural gas grill?
Requirements vary by jurisdiction. Many areas require permits for new gas line installations or hard piping work. Check with your local building department or hire a licensed professional who understands local codes.
Key Takeaways for a Safe Natural Gas Grill Connection
Connecting a natural gas grill is about more than attaching a hose—it’s about fuel compatibility, pressure accuracy, proper fittings, and layered safety controls. Always verify your grill is NG-ready before connecting, use only straight pipe nipples (never flare fittings), and never couple multiple hoses to extend your reach. Install dual shut-off valves inside and outside for maximum control, and have a licensed professional handle pressure testing and any hard piping work.
Your next step: review your grill’s owner’s manual for model-specific WCP and fitting requirements, then contact a licensed gas professional to verify your supply line pressure before making the final connection. With the right setup, you’ll enjoy reliable, clean-burning grilling for years to come.