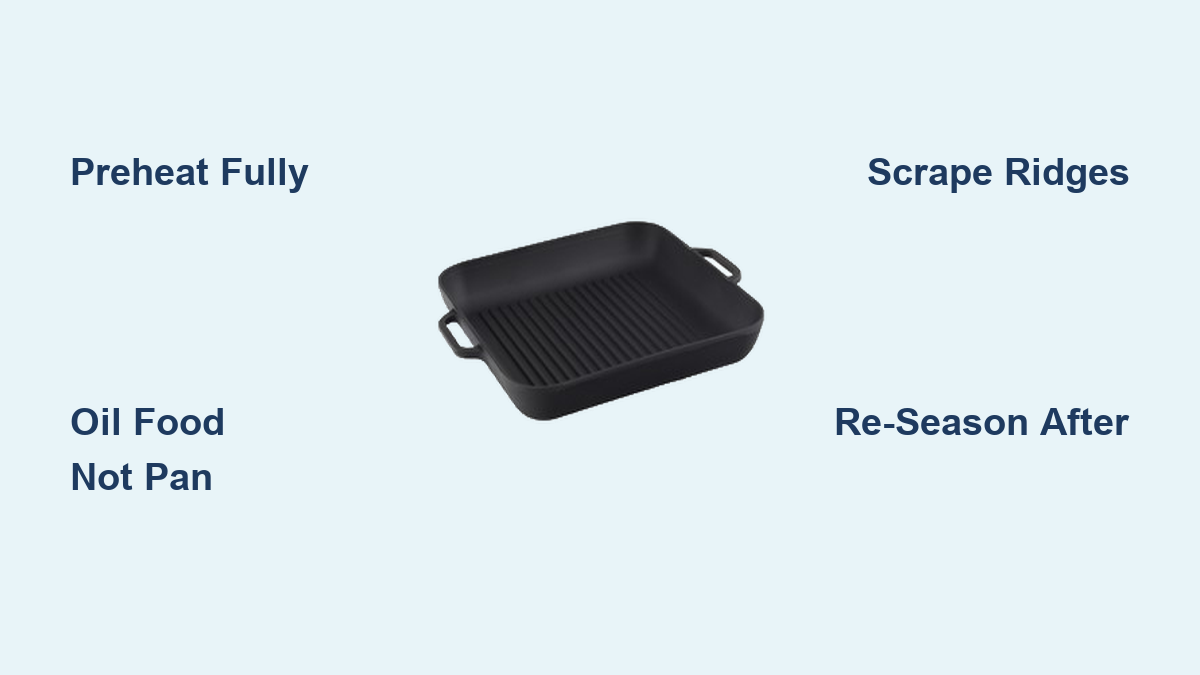
How to Use a Cast Iron Grill Pan
You just unboxed a heavy, ridged cast iron grill pan and you’re ready to bring those picture-perfect sear marks into your kitchen. But between the smoke alarms and stubbornly stuck chicken, something is not going as planned. The truth is, a cast iron grill pan is not just a flat skillet with lines on it. It is a precision tool that mimics outdoor grilling, and it follows its own set of rules for preheating, oiling, and cleaning. When used correctly, it delivers juicy steaks with crisp char, smoky-tasting vegetables, and golden grilled peaches without firing up the backyard grill.
This guide walks you through every step: selecting the right pan, mastering the preheat, achieving perfect grill marks, cooking a variety of foods, and maintaining your investment for decades. By the end, you will know exactly how to use a cast iron grill pan like a seasoned pro.
Master the Preheat Before Anything Touches the Pan
Test for the Leidenfrost Point
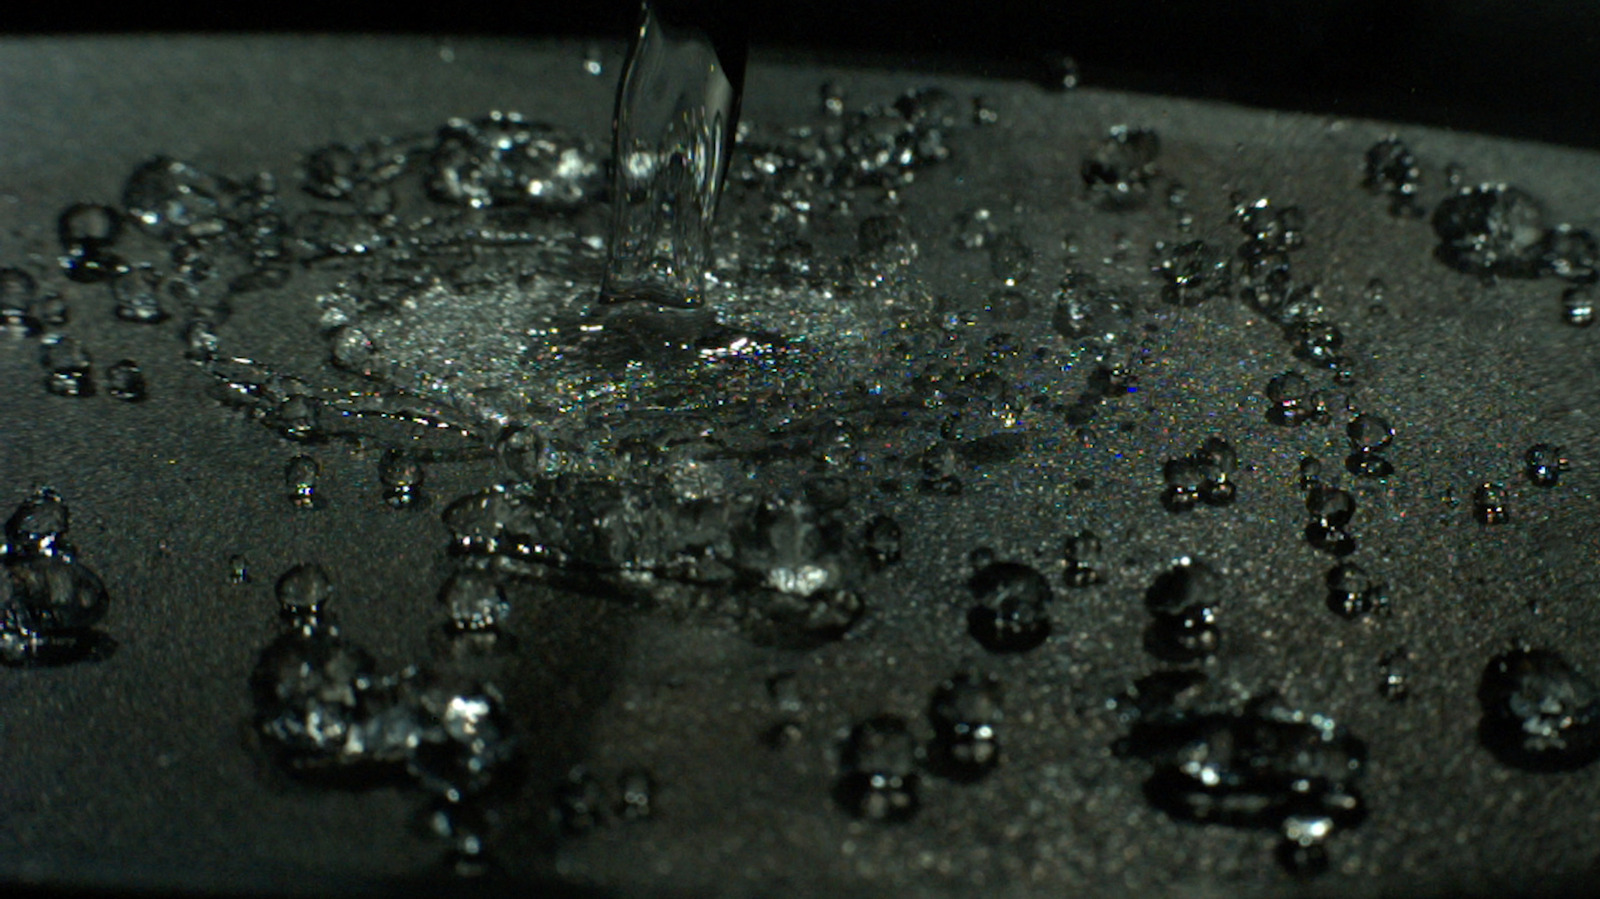
Before any food touches the surface, the pan must be fully preheated. Place your cast iron grill pan on a burner set to medium-high and let it heat for at least 5 minutes. Cast iron absorbs heat slowly, so rushing this step leads to uneven cooking and sticking. To test readiness, flick a few drops of water onto the ridges. If the droplets bead up, skitter, and evaporate quickly, you have reached the Leidenfrost point, which is the ideal searing temperature. If the water vanishes instantly, the pan is not hot enough yet. If it just sizzles and sits there, it is still too cool. Wait until the droplets dance across the surface.
Minimize Smoke During Heating
Cast iron gets extremely hot, which means smoke is inevitable, especially if you oil too early. To reduce it, delay oiling until the pan is fully heated. Run your exhaust fan on high and open a nearby window. Use oils with high smoke points like avocado, grapeseed, or refined peanut oil. Never use olive oil or butter at this stage because they will burn and create acrid fumes.
Season Your Pan for Non-Stick Performance
Apply Oil After Every Use
Your grill pan’s non-stick surface comes from seasoning, a polymerized layer that builds up over time. After cleaning, always re-season the pan. Wipe a thin coat of neutral oil over the entire surface using a paper towel. Place the pan on a cold stove, then turn the burner to medium for 5 minutes. Let it cool completely before storing. This routine prevents rust and enhances performance with each use.
Skip the Soap When Possible
While a small amount of mild soap will not ruin a well-seasoned pan, it is best to skip it. Residual soap can strip oil and dull the patina. Instead, clean with hot water and mechanical scrubbing. Re-season immediately after to protect the surface.
Oil the Food Instead of the Pan
Prevent Flare-Ups with Smart Lubrication
Here is a pro tip: oil the food, not the pan. When you pour oil into a hot grill pan, it pools in the valleys and can ignite, causing dangerous flare-ups. Instead, lightly coat your steak, chicken, or vegetables with oil before placing them on the dry, scorching ridges. This method gives you control, reduces smoke, and still prevents sticking, provided the pan is properly preheated.
Use High-Heat Oils Only
Choose oils that will not break down under intense heat. Ideal options include:
– Avocado oil (smoke point: 520°F)
– Grapeseed oil (smoke point: 420°F)
– Refined peanut oil (smoke point: 450°F)
Avoid extra virgin olive oil or unrefined coconut oil because they will burn before you get a good sear.
Achieve Perfect Grill Marks Every Time
Let Food Sear Undisturbed
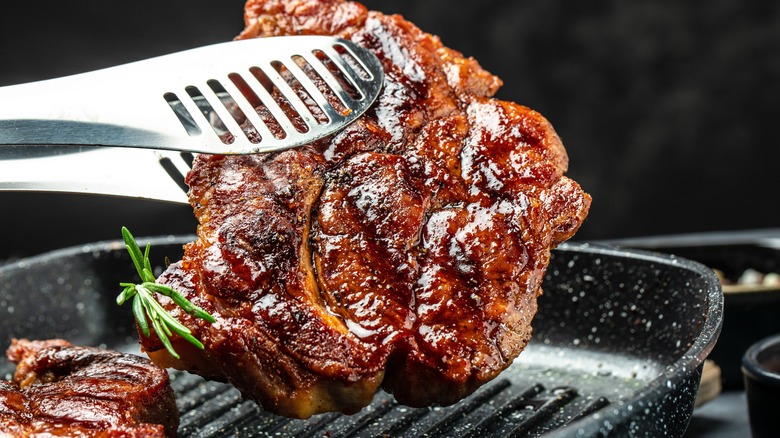
The secret to crisp, restaurant-style grill marks is simple: do not touch the food. Once you lay it on the hot ridges, resist the urge to peek or adjust. Moving too soon breaks the sear and causes sticking. Wait 2 to 4 minutes, depending on thickness, until the food naturally releases. You will feel it loosen when you gently lift a corner with tongs.
Rotate for Crosshatch Searing
Want those iconic crisscross marks? After the first sear, rotate the food 90 degrees before flipping. This works best on diagonal ridges. Finish with a flip and cook the other side using the same technique. The result is professional-looking char with maximum surface contact.
Simulate a Grill Lid Indoors
Trap Heat Like an Outdoor Grill
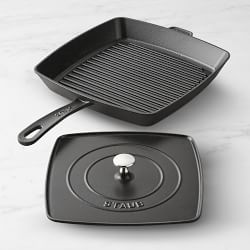
Outdoor grills use lids to circulate heat and cook food evenly. Indoors, you can mimic this with a simple trick: cover the pan. Use a stainless steel bowl turned upside down, a dedicated grill pan lid, or even a heavy skillet. This creates a mini oven effect, ideal for thicker cuts like pork chops, sausages, or chicken breasts.
Melt Cheese and Cook Through Safely
When making burgers, place cheese on top and cover to melt without burning the exterior. For chicken, cover after searing to ensure the center cooks to 165°F without over-charring the outside. This technique also helps delicate fish like salmon cook through gently while maintaining a crisp skin.
Choose the Right Foods for Your Grill Pan
Grill Meats for Juicy Results
Cast iron’s heat retention locks in juices while creating a caramelized crust. Ideal meats include:
– Steaks (ribeye, strip, flank)
– Burgers (especially smash burgers for ultra-crispy edges)
– Lamb chops
– Pork tenderloin and chops
– Chicken thighs and breasts
For best results, pat meat dry before seasoning because moisture prevents browning.
Char Vegetables Without Steaming
Grill pans excel with vegetables because the ridges lift them above excess liquid. Try:
– Zucchini and squash
– Bell peppers
– Mushrooms
– Asparagus
– Romaine lettuce (halved and grilled for Caesar-style salads)
– Onions and scallions
Toss in oil and seasonings first, then grill over medium-high heat until tender with dark grill marks.
Enhance Fruits and Cheeses
Yes, you can grill fruit, and it is delicious. The pan concentrates natural sugars and adds texture. Try:
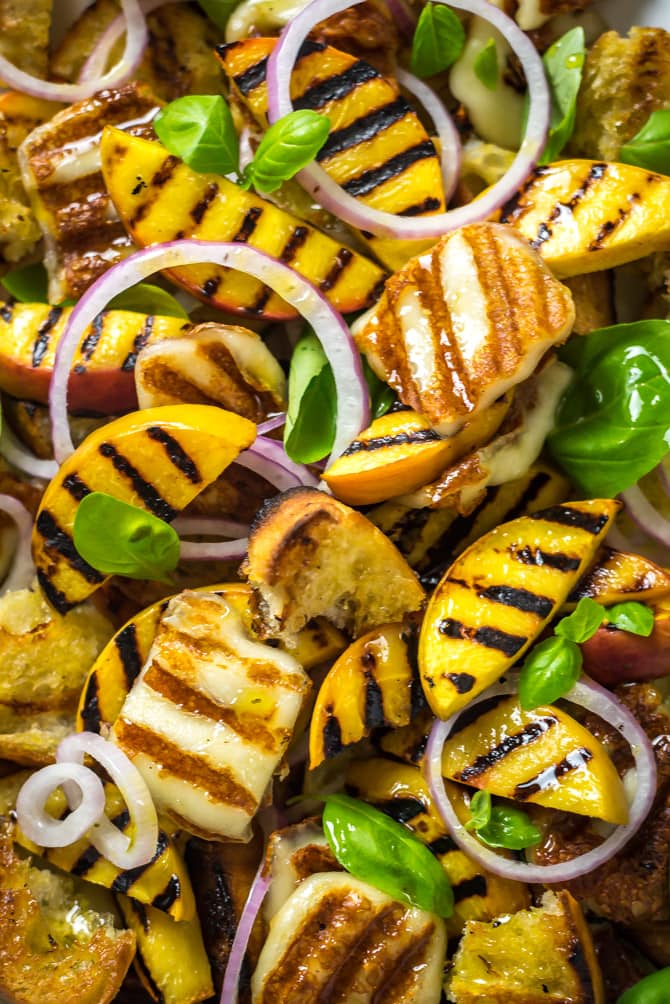
– Peaches and nectarines (halved and pitted)
– Pineapple rings
– Watermelon slices
– Avocados (halved and grilled flesh-side down)
Serve with yogurt, ice cream, or honey for dessert. Firm cheeses like halloumi and paneer also hold up well, developing a golden crust while staying chewy inside.
Clean the Ridges the Right Way
Scrape Instead of Soaking
Cleaning a ridged pan seems intimidating, but it is straightforward. Never soak it because prolonged moisture leads to rust. While the pan is still warm but not scalding, use a chain mail scrubber or the edge of a metal spatula to scrape off stuck bits. The valleys will trap debris, but aggressive scraping is safe on bare cast iron.
Use Salt for Stubborn Residue
For stubborn gunk, make a salt paste with coarse kosher salt and a splash of water. Scrub the surface with a cloth or crumpled foil. The salt acts as a gentle abrasive that lifts residue without harming the seasoning.
Simmer for Tough Buildup
If food is baked on, add 1 to 2 cups of water and a teaspoon of salt to the pan. Simmer for 15 to 30 minutes to loosen debris. Once cooled slightly, scrape again. Avoid long simmering with fatty residues because dry scraping works better for grease.
Dry and Re-Season Immediately After Washing
Prevent Rust with Thorough Drying
After washing, dry the pan immediately with a towel. Then place it on a burner over medium heat for 3 to 5 minutes to ensure all moisture evaporates. Any lingering water will cause rust.
Rebuild the Seasoning Layer
While the pan is still warm, apply a paper-thin layer of oil using a lint-free cloth or paper towel. Wipe off excess because too much oil leaves a sticky residue. Heat for another 5 minutes, then let cool. This closes the pores in the metal and strengthens the non-stick surface.
Troubleshoot Common Cast Iron Grill Pan Problems
Fix Sticking with Proper Heat
If food sticks, the culprit is almost always insufficient preheating. The pan must be hot enough to create an instant sear. Use the water test to confirm. Also, ensure food is dry because wet surfaces steam instead of sear.
Reduce Smoke with Better Ventilation
Excessive smoke means oil is burning or ventilation is poor. Use high-smoke-point oils, oil the food instead of the pan, and run your hood fan. Consider cooking near an open window or using a portable air purifier.
Handle Uneven Cooking
Hot spots occur if the pan is not preheated long enough or your burner does not match the pan size. Center the pan over the flame and allow 5 to 7 minutes to heat evenly. Rotate food halfway through if needed.
Maximize Flavor Without Real Smoke
Add Smoky Taste with Spices
Since indoor grilling lacks wood or charcoal flavor, boost umami and smokiness with spices:
– Smoked paprika (adds depth and color)
– Smoked salt (enhances savory notes)
– Soy sauce or fish sauce (in marinades for meat or veggies)
– Anchovy paste or hoisin sauce (for complex, grilled-like flavor)
Avoid liquid smoke because it often tastes artificial.
Focus on Caramelization
With no real smoke, browning is your best flavor tool. Achieve a deep sear on meats and vegetables to trigger the Maillard reaction. Let food stay in contact with the hot ridges without moving. The darker the crust (without burning), the richer the taste.
Compare Cast Iron to Other Grill Pans

Why Cast Iron Outperforms
Not all grill pans are equal. Here is why cast iron wins:
– Taller ridges lift food higher, reducing grease contact and improving drainage
– Superior heat retention maintains searing temperature even when food is added
– Durability allows metal utensils, high heat, and aggressive cleaning
– No coating degradation, unlike non-stick pans, it improves with age
Aluminum or non-stick grill pans may be lighter, but they cannot handle the same heat or develop the same crust.
Invest in a Lid-Compatible Design
When buying, choose a model that accepts a lid or cover. This small feature transforms your pan from a searing tool into a full indoor grill. It is essential for cooking through thick cuts and melting cheese without drying out food.
Frequently Asked Questions About Cast Iron Grill Pans
How long should I preheat a cast iron grill pan?
Preheat for at least 5 minutes on medium-high heat. Cast iron absorbs heat slowly, and rushing this step causes sticking and uneven cooking. Use the water test to confirm readiness: drops should bead up and skitter across the surface.
Should I oil the pan or the food?
Oil the food, not the pan. Pouring oil into a hot grill pan causes it to pool in the valleys and ignite. Lightly coating your ingredients with high-smoke-point oil gives you better control and reduces smoke.
What is the best oil for a cast iron grill pan?
Use oils with high smoke points like avocado oil (520°F), grapeseed oil (420°F), or refined peanut oil (450°F). Avoid olive oil or butter at high heat because they burn quickly and create acrid smoke.
How do I clean the ridges without ruining the seasoning?
Scrape with a chain mail scrubber or metal spatula while the pan is still warm. For stubborn residue, scrub with a paste of coarse kosher salt and water. Never soak the pan, and always dry and re-oil it immediately after cleaning.
Can I use soap on a cast iron grill pan?
A small amount of mild soap is acceptable, but it is best to skip it. Hot water and mechanical scrubbing preserve the seasoning. Always re-season with a thin coat of oil after washing.
Why does my food stick to the grill pan?
Sticking almost always means the pan was not hot enough. Ensure you preheat for at least 5 minutes and confirm with the water test. Also, pat food dry before placing it on the ridges because moisture causes steaming instead of searing.
Key Takeaways for Mastering Your Cast Iron Grill Pan
A cast iron grill pan is more than a cooking tool; it is a gateway to bold flavors and textures year-round. The three most important habits are preheating properly, oiling the food instead of the pan, and cleaning without soap while the surface is still warm. Master these, and you will get restaurant-quality sear marks without leaving your kitchen.
Your next step: pull out your cast iron grill pan, run the water test, and sear a steak tonight. Pay attention to how the food releases naturally when the crust is ready. With consistent practice and proper care, your pan will last decades and only get better with use. Fire it up; your indoor grilling journey starts now.